

Installing cylinder lights might seem intimidating if you’ve never done it before. But the process is straightforward when you know what to expect.
At PacLights, we’ve helped countless businesses upgrade their lighting systems. This guide walks you through every step, from planning your setup to flipping the switch on your new fixtures.
What Cylinder Lights Actually Do
How Cylinder Lights Work
Cylinder lights are directional fixtures that mount to ceilings or walls and concentrate light downward or outward onto specific work surfaces. The cylindrical housing contains an LED engine, optics, and a driver, all working together to produce focused illumination without the scattered waste of older fixture types. Unlike traditional pendant lights that cast light in all directions, cylinder lights use batwing optics to direct 80–90% of their output exactly where you need it. This directional design means you achieve adequate brightness with fewer fixtures and lower wattage.
A 150-watt LED cylinder delivers roughly 15,000 lumens, whereas a legacy 400-watt metal-halide fixture produced similar output but consumed nearly three times the energy. The beam angle matters considerably: a 24-degree beam creates narrow, concentrated pools ideal for task-critical zones, while a 36-degree beam spreads light wider for general coverage in hallways or open areas. Modern LED cylinders last 50,000 hours or longer, which translates to roughly 14 years of continuous operation or 27 years at 8 hours daily. This longevity eliminates the constant maintenance disruptions that plague older HID or fluorescent systems.
Where Cylinder Lights Perform Best
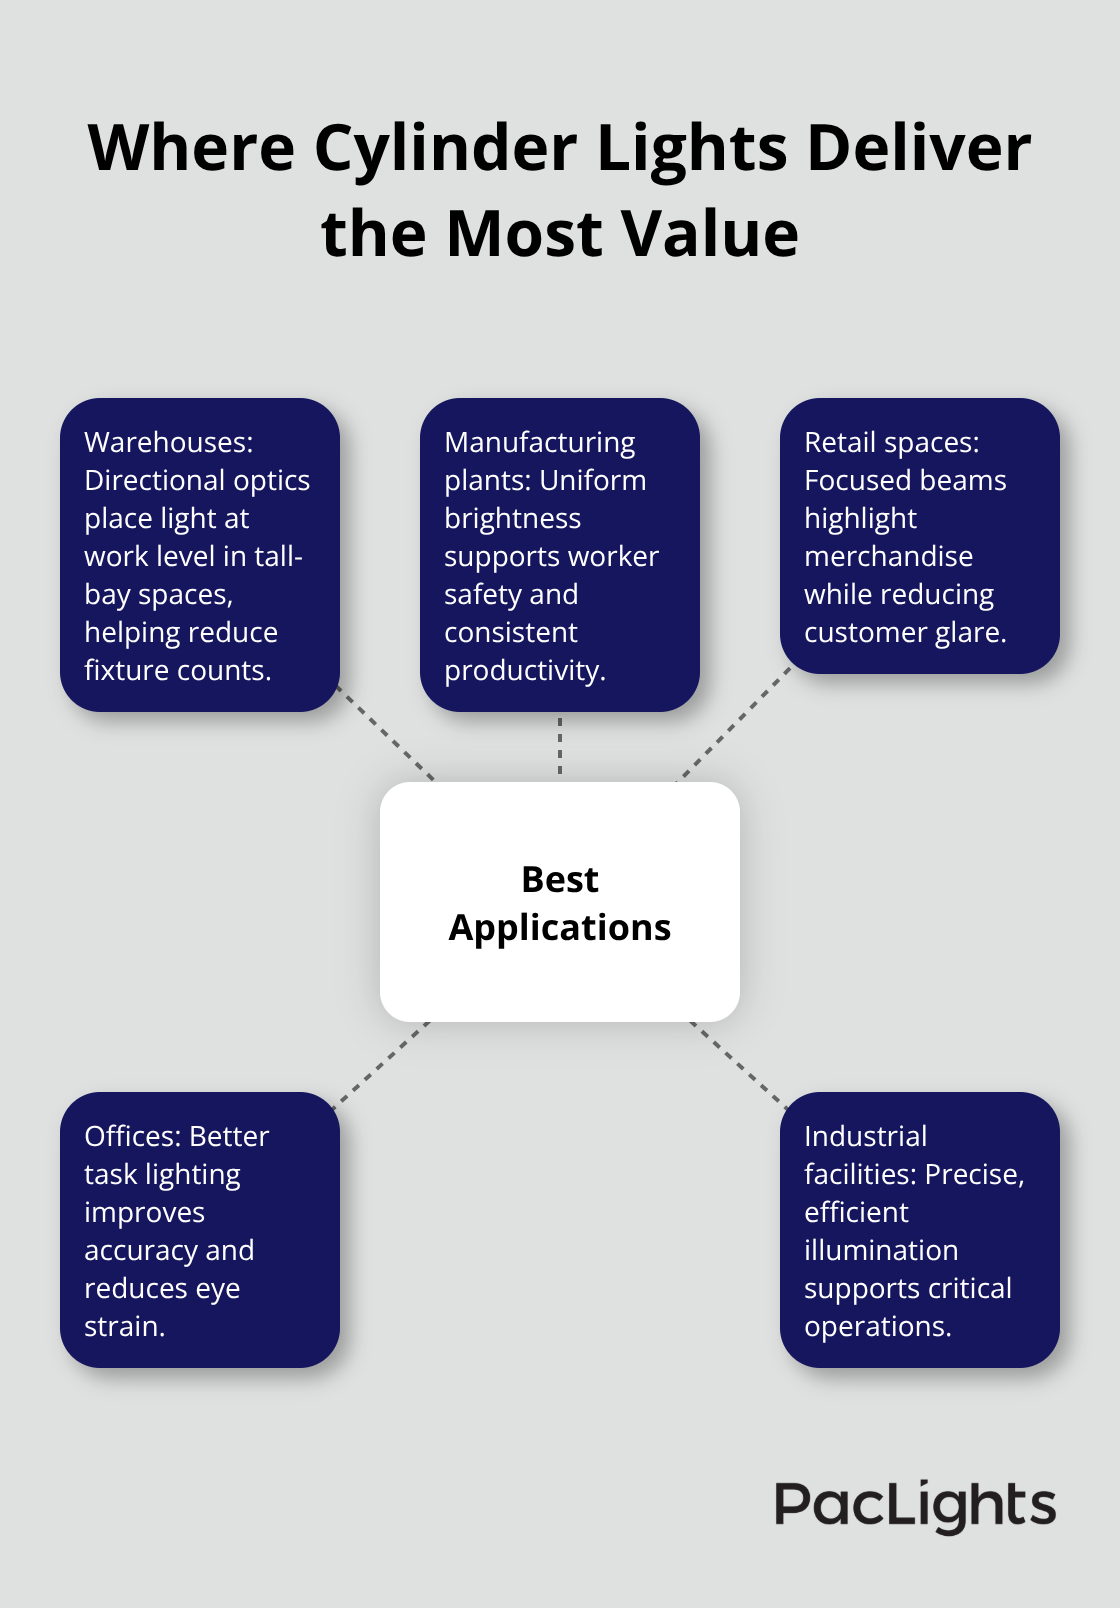
You’ll find cylinder lights in warehouses, manufacturing plants, retail spaces, offices, and industrial facilities where uniform brightness matters for worker safety and productivity. Warehouses with 24-foot ceilings or higher benefit especially from cylinders because their directional optics place light precisely at work level without requiring massive fixture counts.
The U.S. Department of Energy reports that lighting accounts for 17–20% of operating expenses in industrial facilities, and upgrading to LED cylinders cuts those costs by 50–70%.
A 100,000-square-foot warehouse operating 24/7 with aging HID or fluorescent lighting typically spends $50,000–$80,000 annually on lighting alone; switching to LED cylinders delivers substantial immediate savings. Retail environments use cylinders to highlight merchandise and reduce glare that discourages customers, while offices deploy them to improve task accuracy and reduce eye strain.
Why Light Quality Matters for Your Operations
Research from the Illuminating Engineering Society confirms that inadequate illumination causes eye fatigue and mistakes, while proper lighting at around 30 foot-candles improves accuracy measurably. Cylinder fixtures achieve that 30 foot-candle target with fewer units than older technologies because their optics concentrate output efficiently. Color rendering index (CRI) of 80 or higher, paired with appropriate color temperature between 3000K and 5000K, ensures true color perception for quality control and defect detection tasks. These specifications directly impact your bottom line through reduced errors, faster production cycles, and lower worker compensation claims related to eye strain.
Now that you understand what cylinder lights accomplish, the next step involves assessing your specific space to determine which fixtures and configurations will work best for your operation.
Planning Your Space Before Installation
Measure Your Space and Calculate Fixture Needs
Assessing your space accurately prevents costly mistakes and ensures your cylinder lights perform as intended. Measure the ceiling height, floor dimensions, and identify work surfaces where light matters most. For a warehouse with a 30-foot ceiling and 100-by-200-foot footprint, you need roughly 60–80 cylinder pendants spaced approximately 25 feet apart to hit the 30 foot-candle target for general illumination. If your facility has task-critical zones like assembly or quality-control areas, those demand 50–75 foot-candles, which means denser fixture placement or higher-wattage models.
Calculate total light output by multiplying your space’s square footage by the target foot-candle level, then divide by the fixture’s lumen rating to determine how many units you actually need. A modern 150-watt LED cylinder delivers around 15,000 lumens, making it far more efficient than older 400-watt metal-halide fixtures that required triple the power for similar output. Document your current lighting costs and energy consumption before proceeding; this baseline helps you quantify savings later. Measure illumination in key work areas using a basic light meter if possible, or contact a lighting professional for a free assessment.
Account for Ceiling Type and Environmental Conditions
Ceiling type affects installation difficulty significantly. Concrete ceilings require hammer drills and masonry anchors, while suspended ceilings allow clip-on fixtures for faster installs. Damp locations like canopies or kitchens need IP44–IP65-rated cylinders, which cost 20–40% more but resist corrosion and prevent electrical downtime.
Select Fixtures Based on Height and Beam Requirements
Selecting the right fixtures depends on your ceiling height, beam angle requirements, and control preferences. For ceilings below 20 feet, flush-mount or short pendants work best; above 25 feet, longer pendants position light closer to work surfaces without excessive spacing. A 24-degree beam creates narrow pools ideal for precision tasks, while a 36-degree beam spreads light wider for hallways and general areas.
Choose Color Temperature and Verify Electrical Capacity
Color temperature choice matters significantly: 4000K supports task accuracy better than 3500K in high-focus zones, with research showing a 5–15% improvement in task accuracy at the higher temperature. Specify a color rendering index of at least 80 for true color perception, especially in retail or quality-control environments. Before purchasing, confirm your electrical system can handle the load: a 20-amp circuit should carry no more than 16 amps continuously to maintain safety margins.
Gather Tools and Plan Control Systems
Gather essential tools including a voltage tester, circuit breaker shutoff capability, wire nuts rated for your conductor size, and appropriate anchors for your ceiling type. Drywall requires toggle anchors, concrete demands wedge anchors, and suspended ceilings often use clip-on hardware. If you plan to use dimming controls, decide between 0-10V, DALI, or wireless options early, as wiring requirements differ substantially. Lighting professionals can provide free layout designs and ROI assessments tailored to your specific facility, helping you quantify payback timelines and avoid oversizing or undersizing your installation. With your space assessed and fixtures selected, you’re ready to move forward with the actual installation process.
Getting Cylinder Lights Mounted and Wired Correctly
Positioning Fixtures for Perfect Alignment
Precise mounting prevents uneven illumination and wasted light across your space. Use a level and chalk line to mark mounting points so fixtures sit perfectly straight; one crooked installation ruins the visual rhythm across your entire facility. For drywall ceilings, toggle anchors rated for at least 20 pounds hold securely, while concrete requires wedge anchors driven with a hammer drill set to the correct depth. Suspended ceilings allow clip-on fixtures that install faster, but verify the grid can support the fixture weight before proceeding. Try a 30–36 inch drop from fixture bottom to your work surface; this height prevents glare while delivering light exactly where workers need it. Measure twice before drilling once, especially in commercial spaces where mistakes mean downtime and repair costs.
Spacing and Height Considerations
For pendant installations, rigid stems with field-cut instructions let you fine-tune positioning after rough-in work completes. Space multiple fixtures using a 1.6–2.0 spacing-to-height ratio, meaning an 8-foot ceiling needs pendants roughly 12–16 feet apart, while a 12-foot ceiling allows 19–24 feet between units. This spacing prevents dark zones between fixtures and creates uniform brightness across desks, tables, and corridors.
Electrical Safety and Wire Connections
Electrical work requires absolute attention to safety because mistakes cause fires and electrocution. Turn off power at the circuit breaker and verify dead wires with a voltage tester before touching anything; this single step prevents fatal mistakes. Match black wires to black, white to white, and ground to ground using wire nuts rated for your conductor gauge-undersized connections overheat and fail. Keep continuous load at 80% or less of your circuit rating, so a 20-amp circuit carries no more than 16 amps continuously to maintain safety margins and prevent nuisance trips. Never daisy-chain more than four fixtures on a single 15-amp circuit; exceeding this creates fire risk and violates electrical codes.
Cable Routing and Connection Methods
Route wiring through conduit if your local code requires it, and keep cables away from high-traffic areas where damage becomes likely. Installation documentation provides separate wiring instructions for each dimming method, including 0-10V, DALI, and wireless options, so follow those guides exactly rather than improvising connections. Test each fixture individually before powering the full circuit; this reveals connection problems before they damage equipment or hurt someone.
Testing and Verification
Check for flickering by running fixtures at full brightness for several minutes, as loose connections or incompatible drivers often cause this issue. Verify that all mounting hardware sits tight by hand-checking bolts and anchors quarterly, as vibration and thermal cycling loosen connections over months of operation.
Final Thoughts
Installing cylinder lights transforms your facility’s efficiency and worker safety, but the work doesn’t end once power flows through your fixtures. Proper maintenance keeps your investment performing at peak output for years to come. Dust cylinders monthly to prevent light loss from accumulated debris, tighten mounting hardware quarterly since vibration and thermal cycling gradually loosen connections, and replace LEDs with matching wattage and color temperature if needed. A 50,000-hour lifespan means minimal replacements, but when you swap components, verify the specifications match your original setup to avoid compatibility issues.
Your payback timeline depends on current energy costs and usage patterns. LED cylinder fixtures typically deliver 50–70% energy reductions compared to older HID or fluorescent systems, translating to roughly $225 saved per year per installation. A mid-sized office with 40 fixtures could save approximately $9,000 annually, achieving full ROI in 18–24 months depending on local electricity rates. Many facilities qualify for ENERGY STAR rebates and federal tax incentives that accelerate payback further, so investigate available programs in your region before finalizing your budget.
The real value emerges over time through lower energy bills, fewer maintenance disruptions, and measurable improvements in worker accuracy and safety. Uniform illumination across workplanes prevents eye strain and fatigue, while proper color temperature and CRI support faster task completion and fewer errors. We at PacLights offer free lighting layout designs and ROI assessments tailored to your specific facility, helping you quantify savings and make informed decisions backed by real data rather than guesswork.
Disclaimer: PacLights is not responsible for any actions taken based on the suggestions and information provided in this article, and readers should consult local building and electrical codes for proper guidance.