

Choosing the right downlight flush mount options shapes how your space looks and performs. At PacLights, we know that the best fixtures balance aesthetics with energy efficiency.
Modern lighting goes beyond brightness-it’s about creating the right atmosphere while keeping costs down. This guide walks you through the types, efficiency benefits, and design choices that matter.
Which Fixture Type Fits Your Space
Recessed Downlights for Clean, Modern Aesthetics
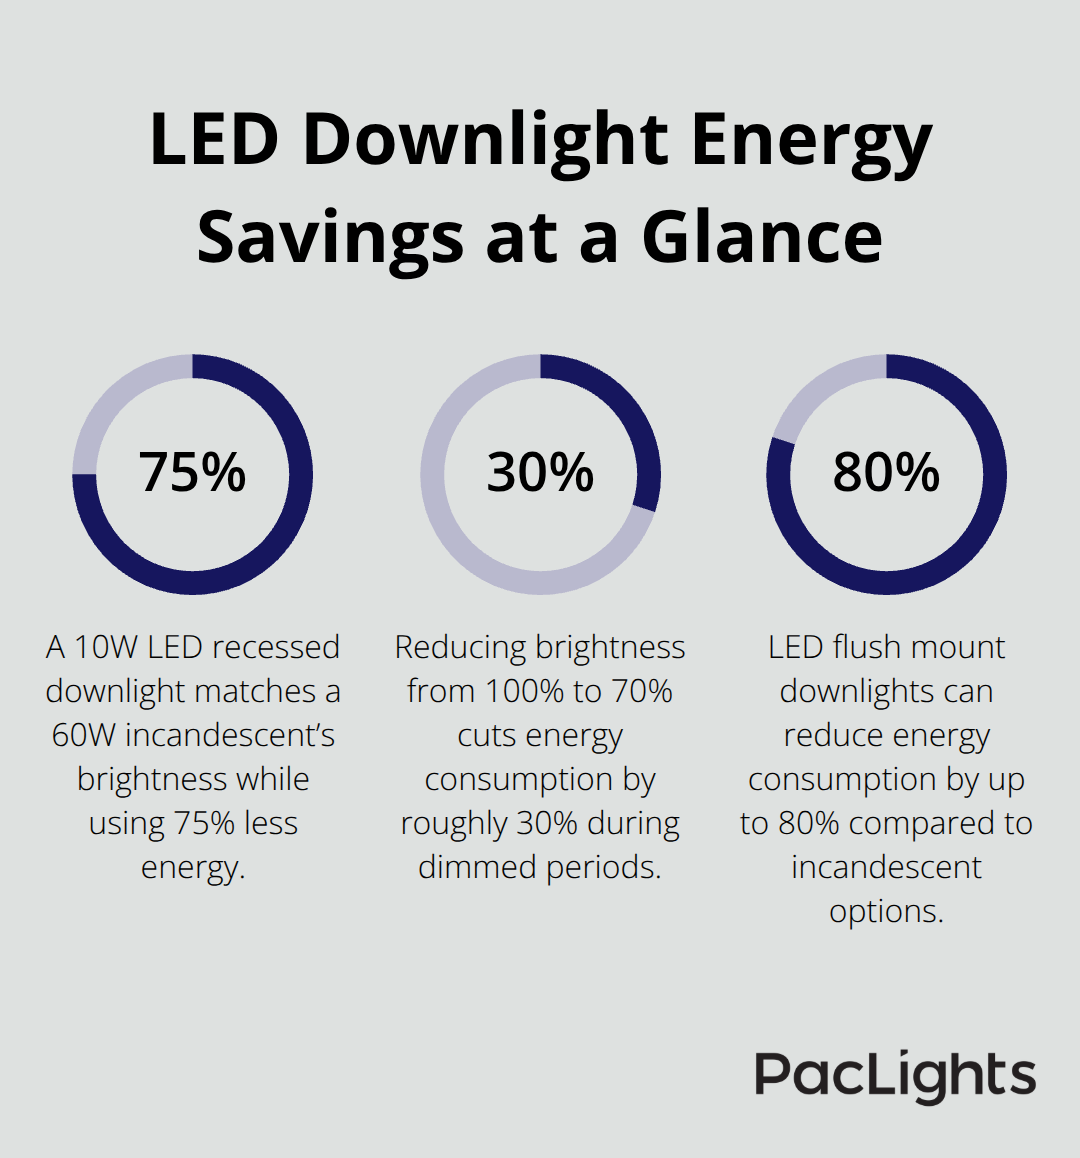
Recessed downlights sit flush with the ceiling and deliver the cleanest aesthetic for modern interiors. These fixtures hide their housing above the drywall, leaving only the trim ring visible, which works exceptionally well in spaces with 8-foot ceilings where a seamless look matters. A 10W LED recessed downlight outputs roughly 800 lumens, matching the brightness of a 60W incandescent while consuming 75% less energy. For retrofit installations in existing ceilings, spring-loaded clips hold the fixture in place without requiring extensive rewiring, and installation takes 20 to 30 minutes per fixture.
New construction recessed downlights allow electricians to hide wiring before drywall installation, creating an even cleaner result. The trade-off is that recessed fixtures require adequate ceiling cavity space and proper insulation clearance to prevent heat buildup.
Surface-Mounted Fixtures for Shallow Ceilings
Surface-mounted flush mounts sit directly on the ceiling surface and work best when ceiling cavities are shallow or inaccessible. These fixtures deliver comparable brightness to recessed options, with typical outputs between 800 and 1,100 lumens, but they protrude slightly from the ceiling, making them visible as a design element rather than hidden. Surface mounts install faster since electricians access the junction box without cutting ceiling openings, which reduces labor time and cost. They suit renovation projects where opening ceilings would cause structural disruption or aesthetic damage. Semi-flush designs bridge both approaches, sitting partially recessed with a small decorative ring that adds architectural interest while maintaining a low-profile appearance.
Color Temperature and Dimming Control
Color temperature flexibility matters across all three fixture types: warm white at 2700 to 3000K creates relaxing spaces, while cool white at 4000 to 5000K supports task clarity in kitchens and bathrooms. The Illuminating Engineering Society recommends 4000 to 5000K for food preparation areas where color accuracy and visibility directly impact safety and function. Dimming capability works across all three fixture types and costs 15 to 25% more upfront per fixture but extends LED lifespan and reduces energy consumption during low-usage periods.
Electrical Planning Before Installation
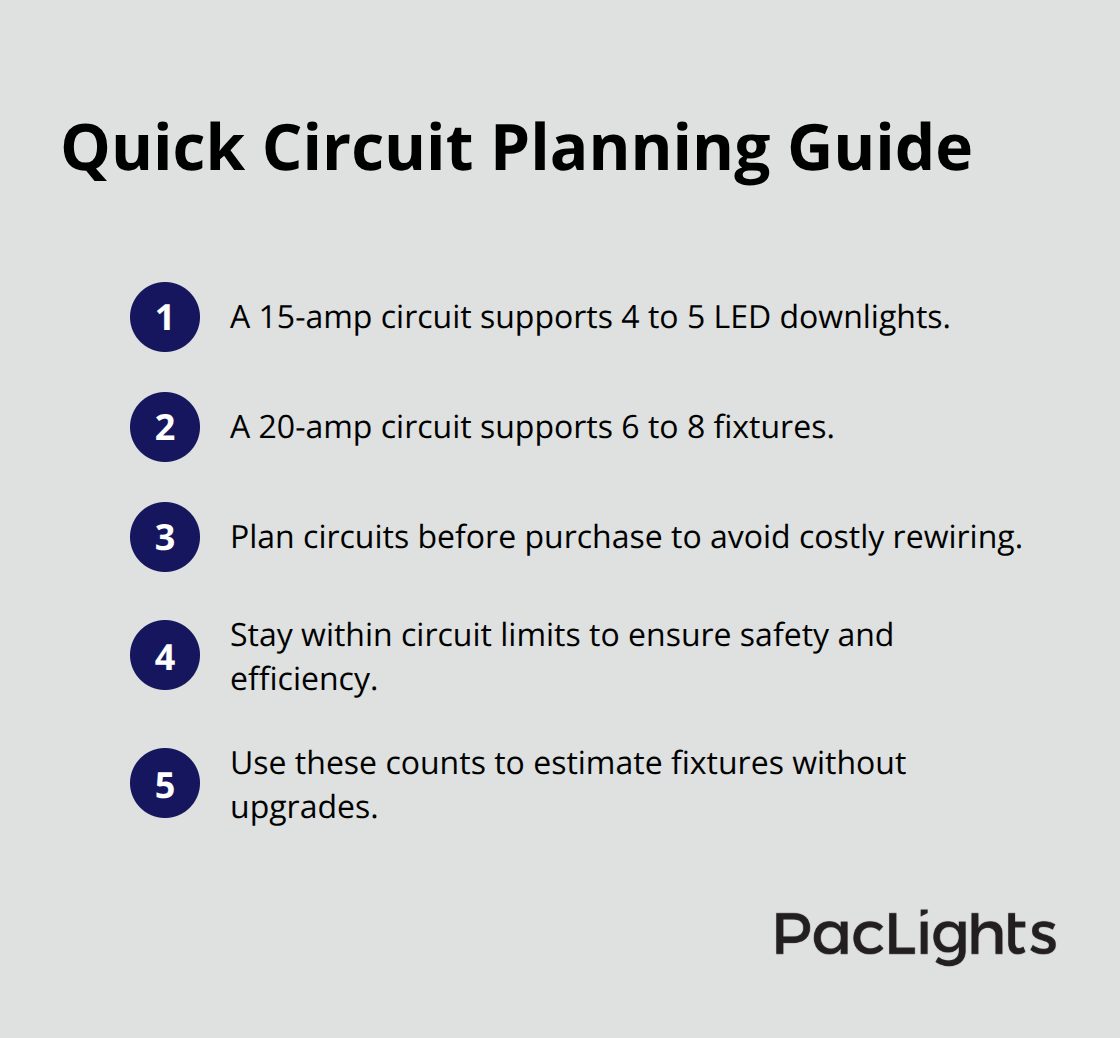
A 15-amp circuit typically supports 4 to 5 LED downlights, while a 20-amp circuit handles 6 to 8 fixtures. Electrical planning before purchase prevents costly rewiring later and ensures your system operates safely and efficiently. Understanding these circuit limits helps you determine how many fixtures your current electrical infrastructure can support without upgrades.
How Much Can You Save With LED Flush Mounts
Monthly and Annual Savings Add Up Fast
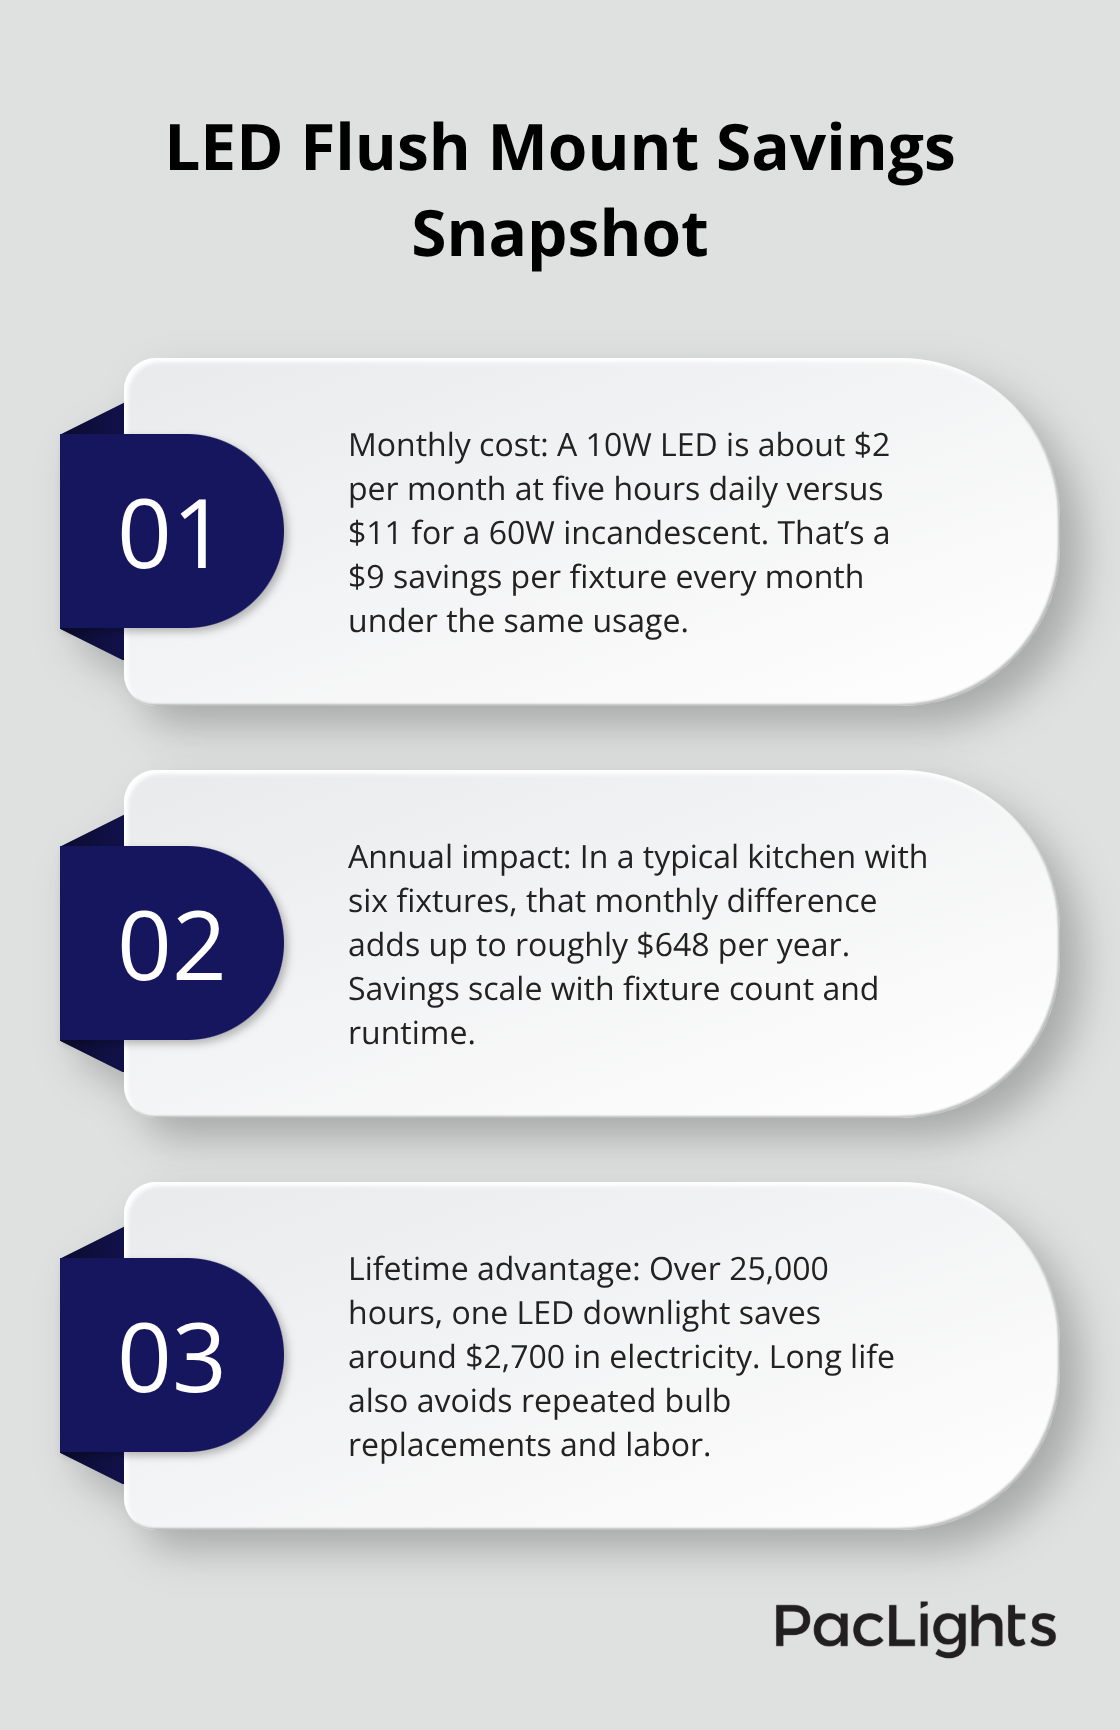
LED flush mounts deliver measurable energy savings that compound over time. A 10W LED downlight costs roughly $2 per month to operate at five hours daily, compared to $11 monthly for a 60W incandescent running the same schedule. That $9 monthly difference per fixture adds up quickly across a typical kitchen with six fixtures, saving approximately $648 annually. Over a 25,000-hour lifespan (about 14 years of five-hour daily use), a single LED downlight saves approximately $2,700 in electricity costs versus an incandescent equivalent.
These numbers assume standard residential rates around $0.12 per kilowatt-hour, though LED flush mount downlights can cut energy consumption by up to 80% compared to traditional incandescent options.
Replacement Costs Favor LED Longevity
The real advantage emerges when you consider that LED fixtures typically last 25,000 to 50,000 hours, meaning you replace incandescent bulbs multiple times while your LED fixtures remain operational. At roughly $5 to $10 per incandescent replacement, those bulb costs alone add $125 to $250 over the LED lifespan. This extended durability eliminates the hassle of frequent replacements and reduces maintenance labor across your home.
Dimming Amplifies Your Savings
Dimming capability amplifies these savings further, though it requires purchasing dimmable fixtures at 15 to 25% higher upfront cost. If you use dimming during evening hours or lower-activity periods, the extended lifespan and reduced energy consumption justify the premium within three to five years. A practical example: reducing brightness from 100% to 70% cuts energy consumption by roughly 30%, not just 30% of the reduced brightness.
Electrical Upgrades Become Unnecessary
Electrical planning matters significantly-a 15-amp circuit supporting four to five LED downlights draws minimal load, whereas the same circuit with incandescent fixtures would approach capacity limits and require upgrades. This means retrofit projects avoid expensive panel work and rewiring costs that typically run $100 to $200 for professional assessment. Your existing electrical infrastructure often supports LED conversion without modification, making the transition straightforward and affordable.
Calculate Your Specific ROI
Free lighting layout designs and ROI assessments help you model your specific usage patterns and electricity rates, transforming these broad savings into your home’s actual numbers. Understanding your exact payback timeline and long-term savings makes the investment decision clear. With these calculations in hand, you can move forward confidently into selecting the specific fixtures and design elements that match your space.
How Design Choices Shape Your Space
Color Temperature Sets the Mood and Function
Warm white lighting at 2700 to 3000K creates relaxing atmospheres in bedrooms and living rooms, while cool white at 4000 to 5000K sharpens visibility in kitchens, bathrooms, and workspaces. The Illuminating Engineering Society recommends 4000 to 5000K specifically for food preparation areas where color accuracy directly impacts both safety and function. Mixing color temperatures in the same room creates visual tension and makes spaces feel disjointed-commit to one temperature across your ceiling fixtures. Your room’s primary purpose determines the right choice: if you cook or work in the space regularly, cool white wins; if you want to unwind, warm white delivers that comfort.
Beam Angles Control Light Distribution and Drama
Beam angles matter equally to color temperature. A narrow 30-degree beam concentrates light on a specific area like a kitchen island, while a 60-degree spread distributes light more evenly across the entire room. Narrow beams create drama and highlight architectural features; wide beams provide ambient background lighting. Most residential spaces benefit from 40 to 60-degree angles, which balance task and ambient lighting without harsh shadows.
Trim Styles and Aperture Shapes Define Aesthetics
Trim and finish choices affect both aesthetics and performance in ways most people overlook. Flangeless trims disappear into the ceiling for a seamless, minimalist look that works in contemporary spaces; flanged trims create a deliberate architectural accent that suits traditional and transitional designs. Open trims direct more light downward for maximum brightness, while baffled trims reduce glare for fixtures positioned near eye level or in bright spaces. Adjustable gimbal trims allow roughly 30 degrees of aiming, letting you highlight artwork or architectural details without harsh shadows. Aperture shape matters too-square openings suit modern spaces and emphasize clean lines, while circular apertures blend into traditional ceilings and feel less obtrusive.
Fixture Sizing, Wall Color, and Ceiling Height Work Together
Fixture diameter should be roughly one-third of your room’s width. A 12-foot-wide kitchen works well with 14 to 16-inch fixtures; a 20-foot space needs 18 to 20-inch fixtures. Undersized fixtures look sparse and create dark zones; oversized fixtures overwhelm small spaces and waste energy. Wall color dramatically impacts your lighting needs-medium-dark walls roughly double your lumen requirements to achieve the same perceived brightness, while very dark surfaces can quadruple them. A kitchen with dark cabinets needs significantly more fixtures or higher-output LEDs than one with light cabinetry. Ceiling height influences fixture depth: under 8 feet, try slim-profile fixtures that don’t intrude into your space; above 10 feet, slightly deeper housings maintain visual proportion and prevent the ceiling from feeling flat.
Dimming Capability Requires Upfront Planning
Dimmable fixtures cost 15 to 25% more upfront but deliver flexibility for mood adjustments and energy savings that justify the premium within three to five years of regular use. Confirm hole sizes for retrofit installations and verify that your dimmers are LED-compatible before ordering-incompatible dimmers cause flicker and frustration.
Final Thoughts
Downlight flush mount options deliver measurable results when you match fixtures to your space’s actual needs. A 10W LED downlight costs $2 monthly versus $11 for a 60W incandescent at five hours daily, and over 25,000 hours that single fixture saves $2,700 in electricity alone while eliminating repeated bulb replacements. Your existing 15-amp circuit supports four to five LED downlights without upgrades, avoiding expensive electrical work that would otherwise run $100 to $200.
The choice between recessed, surface-mounted, and semi-flush designs shapes both how your room looks and how much you spend on energy each month. Warm white 2700K lighting relaxes you in bedrooms; cool white 4000 to 5000K sharpens focus in kitchens where food preparation demands accuracy. Fixture sizing, wall color, and ceiling height work together to determine whether you need six fixtures or twelve, and whether dimming capability justifies its upfront cost.
Plan before purchasing to transform broad savings estimates into your home’s actual numbers. We at PacLights offer free lighting layout designs and ROI assessments that model your specific situation and show exactly when your investment pays for itself. With that clarity, selecting the right downlight flush mount fixtures becomes straightforward, and you move forward confident that your space will look better while costing less to operate.
Disclaimer: PacLights is not responsible for any actions taken based on the suggestions and information provided in this article, and readers should consult local building and electrical codes for proper guidance.