

Cylinder wall lights installation done wrong wastes energy, creates dark spots, and looks awkward. We at PacLights have seen countless projects fail because people skip the planning phase.
This guide walks you through everything-from picking the right fixtures to mounting them at the correct height and angle. Get this right, and your space transforms.
Choosing the Right Cylinder Wall Lights for Your Space
Understanding Light Output and Brightness
Light output matters more than most people think, and here’s why: an 18-watt cylinder wall light with 1400 lumens performs completely differently than a 5-watt fixture with 400 lumens. The first floods a hallway or accent wall with brightness; the second barely illuminates a narrow zone. Measure your wall length and identify what you actually need the light to do.
A 30-foot corridor requires different fixtures than a 12-foot entryway.
For general illumination along hallways, try fixtures spaced 5 to 7 feet apart, which means you’ll need multiple units with moderate output. For accent lighting on artwork or architectural features, narrower beam angles of 15 to 24 degrees work best, and you can use lower wattage because the light concentrates. Check the lumens-per-watt rating; LED cylinder lights deliver up to 80 percent energy savings compared to halogen or incandescent options because they convert more electricity into light instead of heat.
Selecting Materials and Finishes
Material and finish choices shape whether a space feels modern, industrial, or traditional. Brushed nickel and matte black dominate contemporary installations, while brushed gold and polished chrome suit luxury hospitality settings. Metal finishes create focused beams and cleaner shadows, while glass or acrylic diffusers soften light and reduce harsh lines on walls.
Your finish should coordinate with door hardware, railings, and other metal elements in the space, not clash with them. This attention to detail separates polished installations from mismatched ones.
Evaluating Energy Efficiency and Lifespan
LED fixtures with integrated drivers and high-efficiency optics consume 5 to 20 watts depending on output, while older halogen equivalents demand 35 to 50 watts for similar brightness. Over a year, that difference adds up. A 20-watt LED running 8 hours daily uses roughly 58 kilowatt-hours annually; a 50-watt halogen uses 146 kilowatt-hours. At typical commercial rates, that’s meaningful cost separation.
Look for fixtures rated for 50,000-plus hour lifespan, which means fewer replacements and less maintenance labor. Dimmable LED cylinders pair well with smart controls, letting you adjust brightness for different times of day or activities without replacing bulbs. Once you’ve selected the right fixtures, the next critical step involves planning where and how high to mount them on your walls.
Where to Position Cylinder Wall Lights
Setting the Right Mounting Height
Mounting height and spacing determine whether your installation looks intentional or haphazard. Standard practice places wall cylinders at 60 to 72 inches from the floor, but this baseline shifts based on room size and fixture scale. In a 9-foot corridor with standard fixtures, 66 inches works well. In a 12-foot entryway with larger 30-watt cylinders, push fixtures higher to 72 inches to avoid glare at eye level and reduce the risk of people walking into the beam.
Hallway installations require consistent heights along the entire run; mismatched heights create visual chaos regardless of how well the fixtures perform. Measure twice, mark your positions with a level, and use a stud finder to locate mounting points. Avoid drywall alone for heavy fixtures; anchor into studs whenever possible.
Positioning Accent and Architectural Lighting
For accent lighting on artwork, position cylinders 18 to 24 inches above the piece to avoid washing out details with harsh downward light. Upward-directed beams work better for highlighting architectural features like crown molding or textured walls. This approach emphasizes surface texture and adds visual depth to the space without overwhelming the viewer.
Calculating Proper Spacing Between Fixtures
Spacing determines whether dark spots appear between fixtures or light distributes evenly. Space cylinders 6 to 8 feet apart for general hallway illumination; this distance prevents gaps while avoiding overlapping beams that waste energy. In wider spaces like hotel lobbies, 8 to 10 feet apart works if you increase wattage to 18 to 20 watts per fixture.

Test spacing by visualizing the beam spread based on the fixture’s color temperature and beam angle. A 4000K neutral white with a 36-degree beam angle creates softer, wider coverage than a 5000K cool white with a 24-degree narrow beam, even at the same wattage.
Identifying and Eliminating Shadow Patterns
Shadow patterns emerge when fixtures sit too close to walls or when obstructions block light paths. Walk the space at night with test fixtures or temporary lighting to spot dark zones before finalizing installation. Align fixtures with architectural elements like door frames or corner columns to create visual rhythm and prevent random placement that reads as an afterthought.
In commercial spaces, this alignment also helps with merchandise displays or wayfinding. Adjust mounting angles slightly inward or outward depending on whether you want to emphasize the wall surface or create softer ambient light that bounces into the room. Once you’ve confirmed your positions and spacing, the next phase involves preparing your walls and understanding the electrical requirements that support safe, code-compliant installation.
Getting the Installation Right
Mounting Height and Angle Precision
Installation determines whether your project succeeds or fails, and three critical areas separate professional results from amateur mistakes: mounting precision, electrical safety, and avoiding common setup errors. Start with mounting height and angle because these decisions affect both performance and safety. Standard guidance places fixtures at 60 to 72 inches from the floor, but this baseline shifts based on ceiling height and fixture size. In a 9-foot-high corridor with 12-watt cylinders, 66 inches works perfectly. In a 10-foot space with 30-watt fixtures that produce sharper beams, move to 72 inches to eliminate glare at eye level and prevent people from walking directly into concentrated light.
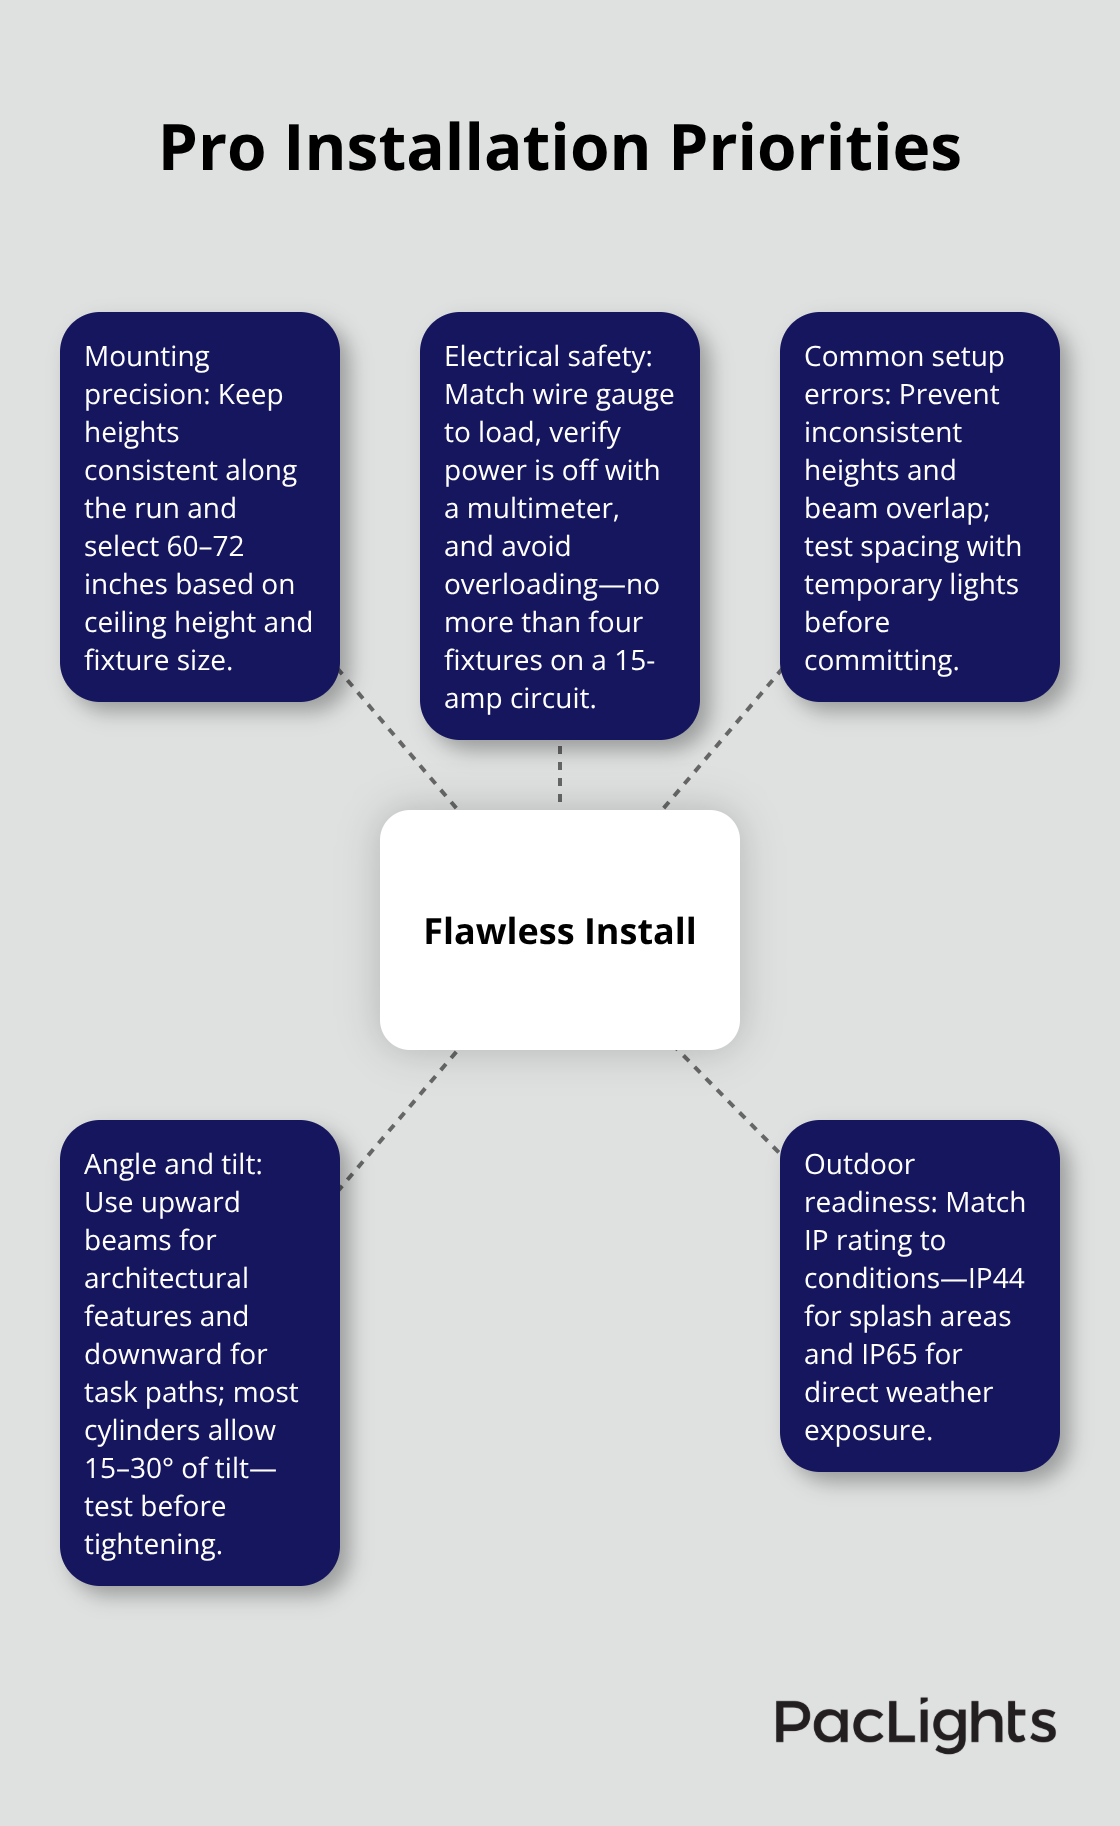
Use a laser level, not a standard bubble level, to mark mounting points across multiple fixtures. A standard level introduces errors that compound over 30 or 40 feet of wall space. Angle matters equally. Upward-directed beams highlight architectural features and add visual depth; downward angles work better for task lighting in hallways or corridors. Most cylinders allow 15 to 30 degrees of tilt, so test angles during installation before tightening mounting brackets permanently. Take photographs at different angles during the test phase, then commit to one direction for all fixtures in a run to maintain visual consistency.
Electrical Work and Code Compliance
Electrical work demands respect because mistakes create fire hazards and code violations. Mount fixtures only into wall studs when possible; drywall anchors fail under fixture weight over time, especially with 20-watt units that vibrate slightly during operation. Run electrical wiring through conduit if code requires it in your jurisdiction, and verify wire gauge matches the amperage draw. An 18-watt fixture at 120 volts draws roughly 0.15 amps, but multiple fixtures on one circuit add up quickly.
Never daisy-chain more than four fixtures on a single 15-amp circuit; this leaves safety margin and prevents overload conditions. Power off at the breaker before any work, test the circuit with a multimeter to confirm power is off, and never assume a switch means power is disconnected. Hire a licensed electrician if you lack experience with wall wiring or if local codes mandate professional installation; the cost of an electrician visit typically runs 150 to 300 dollars but prevents expensive code violations and insurance issues.
Avoiding Common Installation Mistakes
Mounting fixtures at inconsistent heights destroys visual alignment even if spacing and brightness are correct. Another frequent error involves ignoring beam overlap; fixtures placed too close together create hot spots of wasted light while gaps remain dark. Test spacing with temporary work lights before finalizing positions.
Poor wire management causes flickering and creates safety hazards. Use wire staples rated for your wire gauge and secure all connections with proper wire nuts, not tape alone. Many installers ignore IP ratings for outdoor installations, choosing indoor-rated fixtures for covered patios or entryways. An IP20-rated fixture fails quickly in damp conditions; outdoor applications demand IP44 minimum for splash exposure or IP65 for direct weather exposure.
Final Thoughts
Cylinder wall lights installation succeeds when you treat planning as seriously as the physical work itself. The three phases we covered-selecting fixtures by output and efficiency, positioning them at correct heights and spacing, and executing installation with electrical precision-form a complete system. Skip any phase, and your project suffers from wasted energy, visual inconsistency, or safety violations.
LED fixtures rated for 50,000-plus hours mean you replace bulbs rarely and spend less on maintenance labor. Proper spacing eliminates dark spots that force occupants to add supplementary lighting, which compounds energy waste. Correct mounting height prevents glare complaints and reduces the risk of people walking into concentrated beams, which matters in commercial spaces where liability concerns are real.
For residential installations or small commercial spaces under 2,000 square feet, you can handle planning and installation yourself if you follow local electrical codes and use a licensed electrician for wiring work. For larger facilities, hotels, or complex layouts, professional lighting design saves money by optimizing fixture count and placement before installation begins. Contact PacLights to discuss your project and access professional guidance tailored to your space.
Disclaimer: PacLights is not responsible for any actions taken based on the suggestions and information provided in this article, and readers should consult local building and electrical codes for proper guidance.