

Most commercial spaces waste 20-30% of their lighting budget on poor downlight placement. At PacLights, we’ve seen firsthand how incorrect spacing leads to dark spots, glare, and unnecessary energy costs.
This commercial downlight spacing guide walks you through the exact standards and calculations you need to get it right. You’ll learn how to position fixtures for optimal brightness while cutting energy consumption.
Understanding Downlight Spacing Standards
The 1 to 1.5 Rule and Why It Works
The 1 to 1.5 rule forms the baseline for most commercial spaces: space your downlights one to one and a half times the ceiling height apart. A 10-foot ceiling means fixtures should sit 10 to 15 feet apart. This ratio isn’t arbitrary. The Illuminating Engineering Society recommends it because it prevents the dark spots and pools of light that plague poorly designed systems.
However, this rule assumes standard 8 to 10-foot ceilings with average reflectance surfaces. Higher ceilings or dark finishes demand tighter spacing. Lower ceilings allow wider spacing.
How Ceiling Height and Beam Angle Shape Coverage
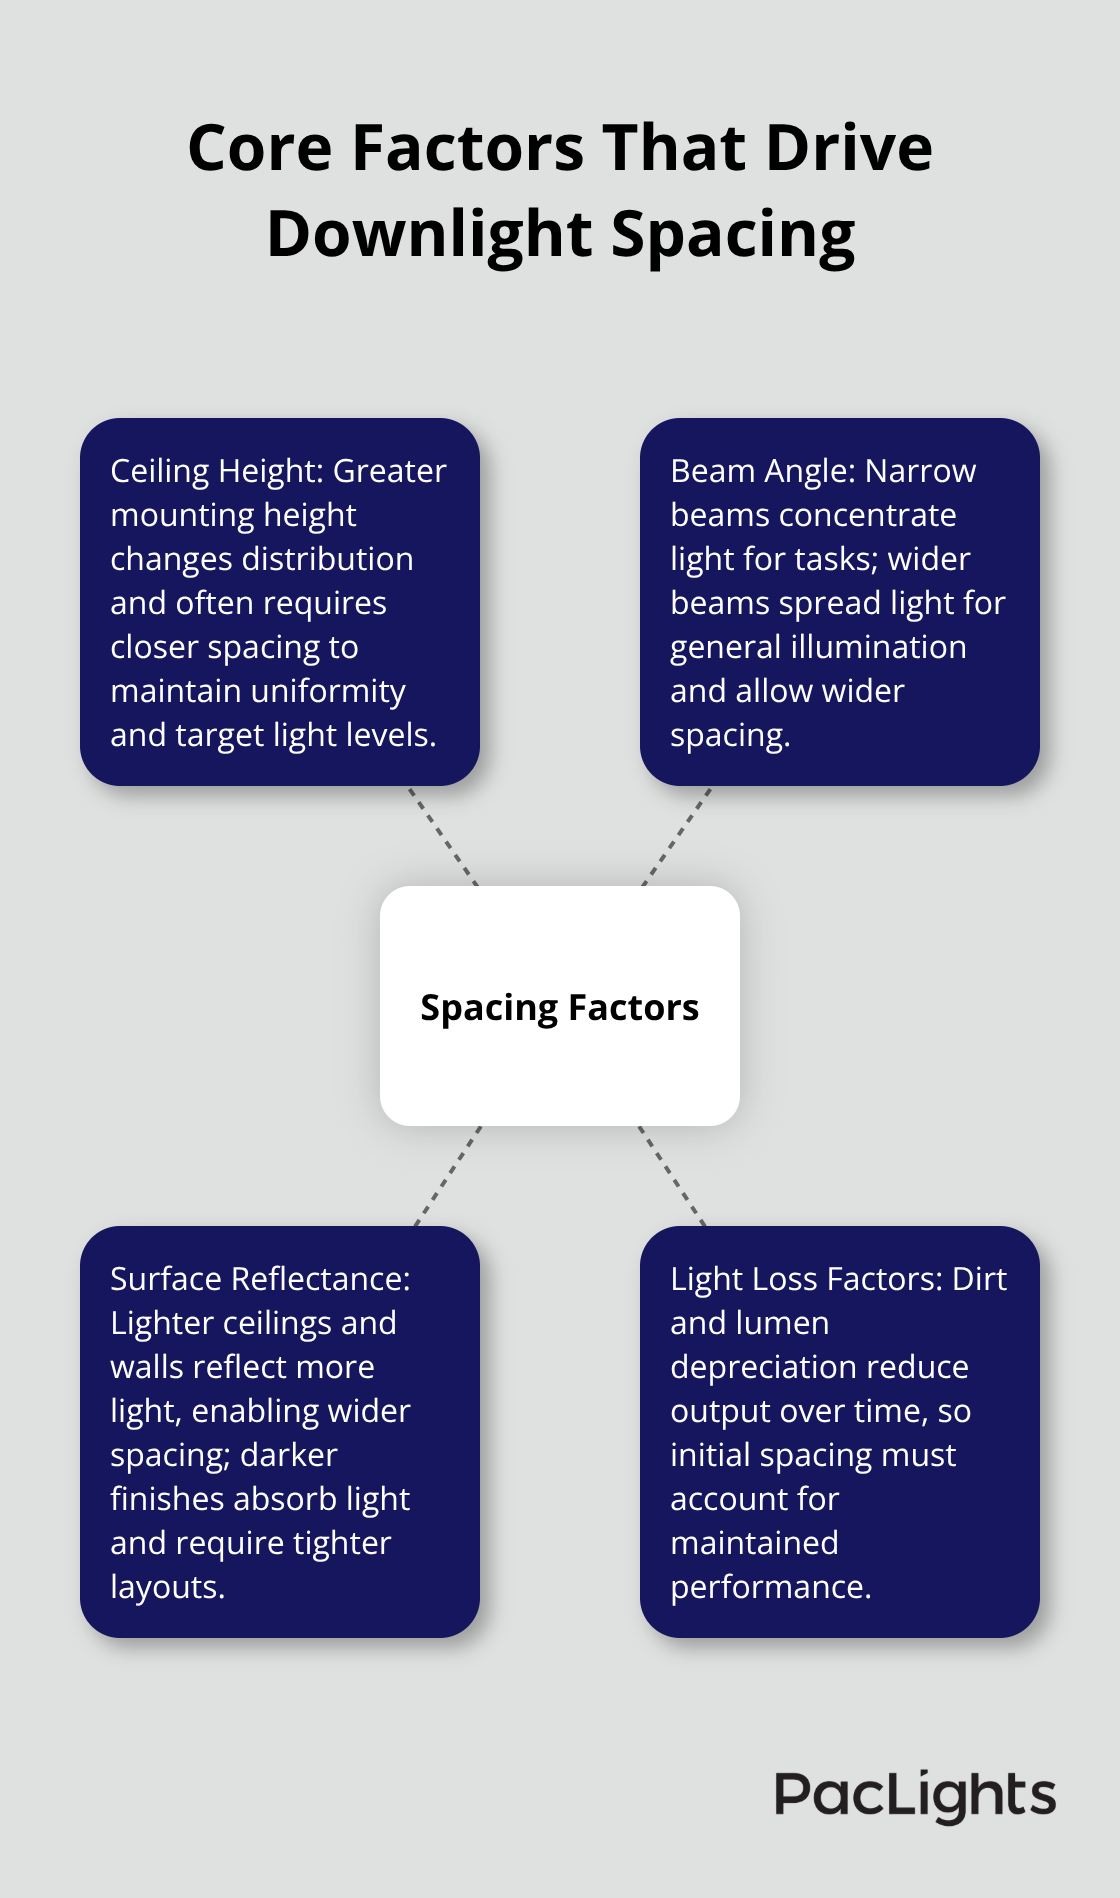
Your ceiling height directly determines how much floor area each downlight covers effectively. A 12-foot ceiling requires closer spacing than a 9-foot ceiling because light spreads wider at greater distances. The spread angle of your fixture matters equally. A downlight with a 40-degree beam angle covers less area than one with a 60-degree angle at the same height. Most commercial downlights fall between 30 and 60 degrees.
Narrow-beam fixtures work for task lighting over desks or counters. Wide-beam fixtures suit open floor plans and general illumination. Many facilities select fixtures first, then struggle to space them correctly. Reverse this approach: determine your required light levels and ceiling height, then choose fixtures with appropriate beam angles. This prevents costly adjustments later.
Surface Reflectance and Its Impact on Spacing
Surface reflectance changes everything about spacing calculations. White ceilings reflect 80-90% of light; acoustic tiles reflect only 50-70%; dark finishes drop to 30-40%. A space with acoustic tiles needs closer spacing than one with a white painted ceiling to achieve the same brightness. Wall color matters equally. White walls bounce light around and create more uniform coverage. Gray or dark walls absorb light, creating visible inconsistencies if fixtures sit too far apart.
Most commercial spaces have mixed finishes, so measure reflectance values for each surface in your specific area rather than relying on general assumptions. This precision prevents over-specification and unnecessary energy waste.
Light Loss Factors and Long-Term Performance
Light loss factors account for dirt accumulation and fixture degradation over time. Downlights in dusty environments lose 10-15% of output annually. Clean facilities with sealed fixtures lose only 3-5%. This means a warehouse needs tighter initial spacing than a climate-controlled office to maintain target light levels after 2-3 years of operation. Proper spacing prevents the need for constant maintenance adjustments and keeps energy consumption stable throughout the fixture lifespan.
Once you understand these spacing fundamentals, the next step involves calculating the exact number of fixtures your space actually needs-and identifying where most facilities go wrong with their placement decisions.
How Many Downlights Does Your Space Actually Need
Calculate Your Target Illumination Level
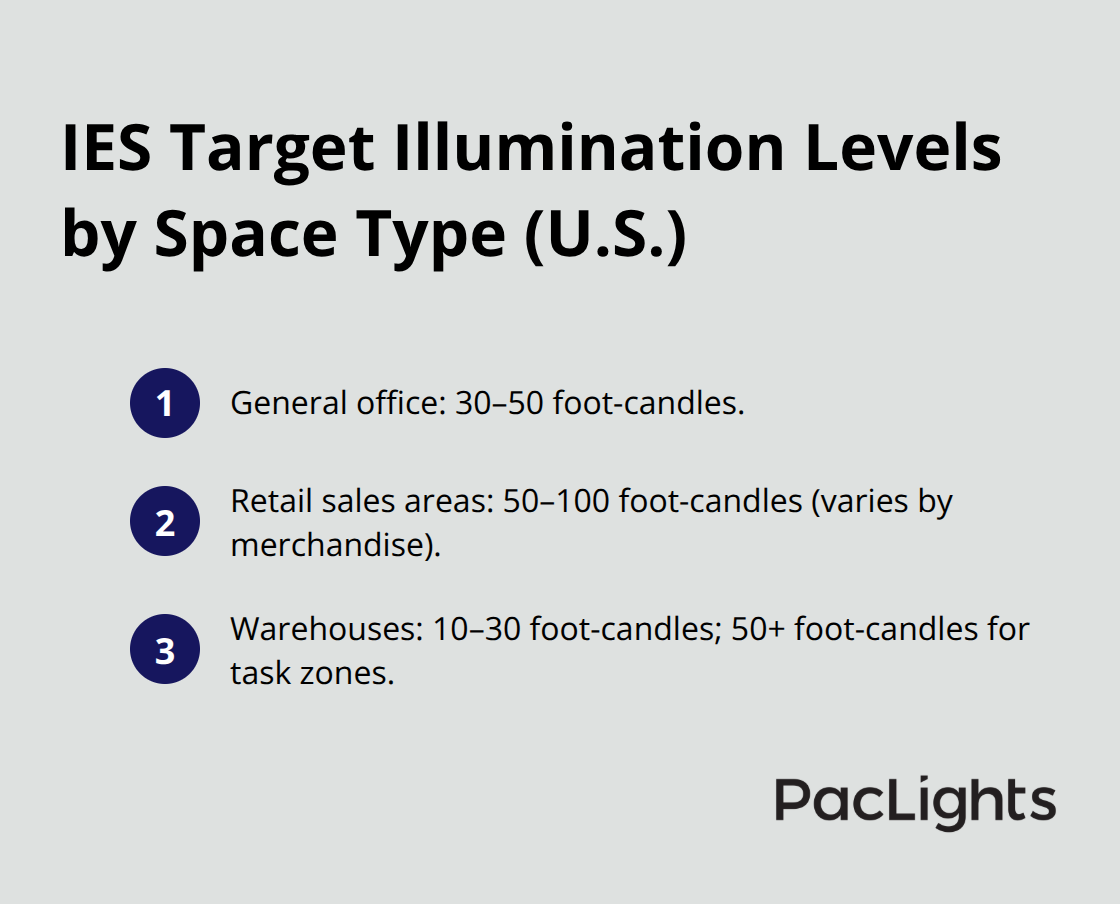
Calculating fixture quantity starts with one number: your target illumination level in foot-candles or lux. The Illuminating Engineering Society publishes specific recommendations for different space types. General office areas need 30-50 foot-candles. Retail spaces require 50-100 foot-candles depending on merchandise type. Warehouses typically need 10-30 foot-candles for basic operations, but task areas demand 50+ foot-candles.
Most facilities guess at these numbers and end up over-specifying, which wastes 15-25% of their lighting budget annually. Start with an inexpensive light meter (available for under $50) to measure your current light levels, then compare against IES standards for your specific space type. This single step eliminates guesswork and prevents costly oversizing.
Apply the Fixture Quantity Formula
Once you know your target foot-candles, use this calculation: multiply your room area in square feet by your target foot-candles, then divide by the lumens per fixture. A 2,000 square foot office targeting 40 foot-candles needs 80,000 lumens total. If your downlights produce 1,000 lumens each, you need 80 fixtures.
However, this assumes perfect conditions. Multiply by your light loss factor (typically 0.75-0.85 for maintained commercial systems) to account for dirt and aging. The same space now needs roughly 95 fixtures instead of 80. This accounts for real-world performance degradation over time. Most commercial facilities skip this step and wonder why their spaces feel dim after two years. The spacing distances from the 1 to 1.5 rule then determine how you arrange these 95 fixtures across your ceiling grid.
Leverage Controls to Maximize Efficiency
Proper fixture quantity means nothing if lights run constantly when nobody needs them. Spaces with perimeter windows can reduce downlight operation by 40-60% during daylight hours using daylight harvesting sensors. A facility with 4,000 square feet of office space saves roughly 8,000-12,000 kWh annually when downlights turn off as natural light exceeds 300 lux near windows. At typical commercial electricity rates of $0.12 per kWh, that’s $960-$1,440 yearly savings from a single control strategy.
Motion sensors add another 20-35% savings in spaces with variable occupancy like conference rooms or storage areas. The combination of correct fixture quantity plus intelligent controls transforms spacing from a one-time calculation into an ongoing efficiency advantage.
Avoid the Three Spacing Mistakes That Destroy ROI
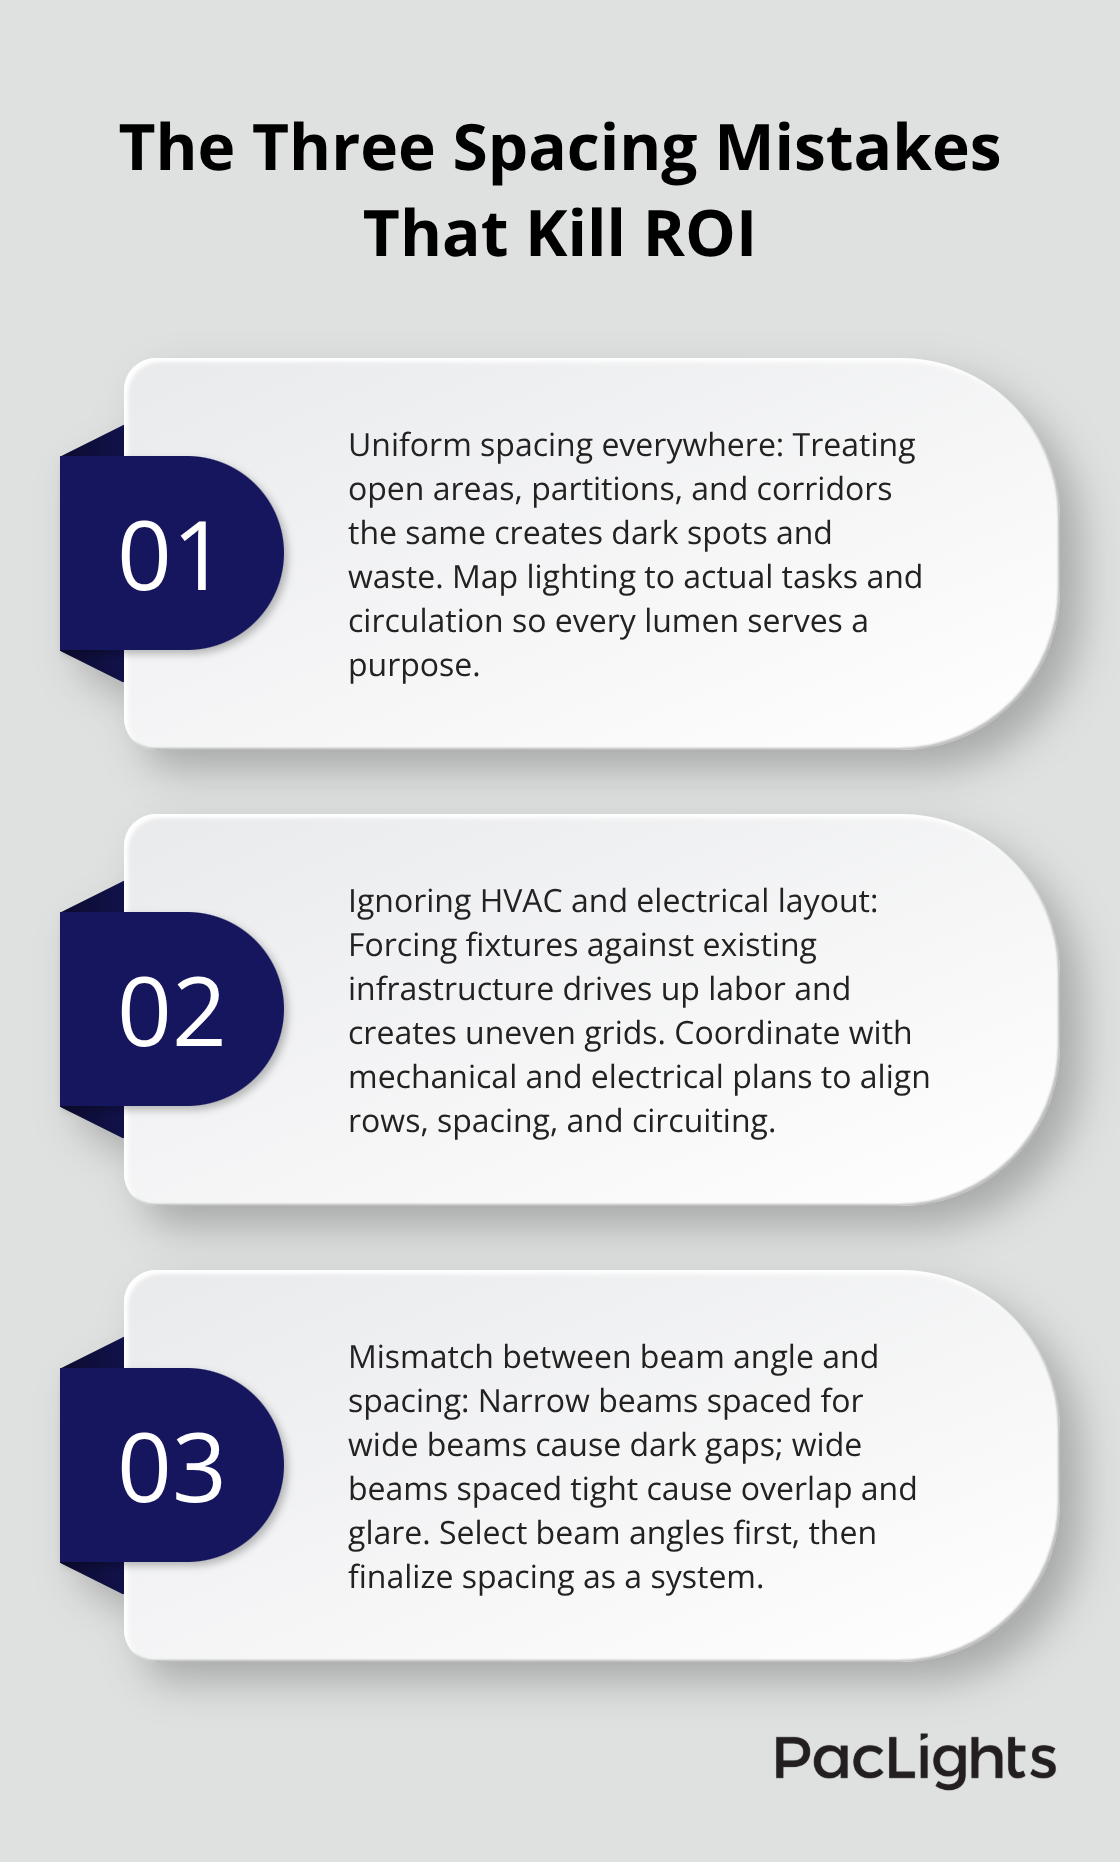
Mistake one: spacing fixtures uniformly across your entire ceiling regardless of actual light requirements. Open floor plans need different spacing than spaces with interior walls and partitions that block light. A single downlight over a hallway wastes energy compared to spacing fixtures only over actual work areas.
Mistake two: ignoring your existing HVAC layout and electrical infrastructure. Cramming fixtures into spaces designed for different spacing wastes installation labor and creates misaligned ceiling grids that look unprofessional. Plan your lighting layout around your existing building systems, not against them.
Mistake three: selecting fixtures without considering their beam angle and then spacing them according to generic standards. A 40-degree beam fixture spaced for a 60-degree beam creates dark spots. Conversely, wide-beam fixtures spaced tightly create overlapping brightness and waste energy. Your fixture selection and spacing decisions must work together as a system, not as independent choices. Once you understand how to calculate the right quantity and avoid these placement errors, the next step involves selecting the specific fixture types that perform best in your commercial environment.
Selecting and Installing Commercial Downlights That Actually Perform
Match Fixture Type to Your Space Requirements
The fixture type you select determines whether your spacing calculations deliver results or create problems. Most commercial facilities choose downlights based on price alone, then wonder why their spacing strategy fails to produce uniform brightness. Recessed downlights come in three main categories: reflector trim, baffle trim, and aperture trim. Reflector trim fixtures direct more light downward and work best for spaces requiring concentrated brightness over specific areas.
Baffle trim reduces glare and suits open offices where direct downlight brightness causes discomfort. Aperture trim provides the cleanest aesthetic but sacrifices some light output compared to reflector options. Your ceiling height and space function should drive this choice, not aesthetics or initial cost. A 9-foot warehouse needs the light output of reflector trim even if baffle trim looks better. A 12-foot open office benefits from baffle trim’s glare reduction despite producing 15-20% less lumens per fixture.
Select Beam Angles That Align With Your Spacing Plan
Beam angle selection requires equal attention because it directly impacts your spacing calculations. A 40-degree narrow beam concentrates light over 60-75% of the fixture’s vertical distance, making it ideal for task lighting in retail or offices with specific work zones. A 60-degree medium beam spreads light over 85-95% of that distance and suits general illumination in open floor plans.
A 90-degree wide beam covers nearly 110% of the vertical distance and works for lower ceilings or spaces where uniform coverage matters more than focused brightness. Installing a 40-degree fixture spaced for a 60-degree beam creates dark zones between fixtures. Installing a 60-degree fixture spaced for a 40-degree beam creates overlapping brightness that wastes energy. Your fixture selection and spacing decisions must work together as a system, not as independent choices.
Execute Proper Installation Techniques
Installation techniques matter as much as fixture selection. Proper mounting requires downlights to sit flush with your ceiling plane without gaps that allow air leakage or dust infiltration. Sealed fixtures with gaskets perform better in dusty environments like warehouses or facilities near construction areas, maintaining 5-10% higher light output over three years compared to unsealed fixtures.
Electrical connections need proper wire gauging to handle your circuit load. Under-sized wiring creates voltage drop that reduces fixture brightness by 5-8% without any visible reason. Professional installation prevents these costly mistakes before they affect your facility performance.
Plan Your Layout With Professional Design Services
A professional lighting layout design service identifies technical requirements before installation begins, preventing costly corrections. These services account for your specific ceiling height, surface reflectance, beam angles, and building infrastructure, ensuring your spacing strategy translates into actual performance on your facility floor. PacLights offers free lighting layout designs and ROI assessments that help you make informed decisions about your commercial lighting system.
Final Thoughts
Proper downlight spacing directly reduces your facility’s energy costs and improves worker comfort. The 1 to 1.5 rule provides your starting point, but ceiling height, beam angle, surface reflectance, and light loss factors determine whether your spacing strategy actually works. Most commercial facilities waste thousands annually because they ignore these variables and space fixtures uniformly across their entire ceiling.
Your bottom line improves when spacing aligns with your actual illumination requirements. A 2,000 square foot office that over-specifies fixtures by just 20% wastes roughly $2,400 annually in unnecessary energy consumption. Correct spacing paired with daylight harvesting and motion controls cuts that waste significantly, with facilities implementing these controls alongside proper spacing seeing 40-60% energy reduction in perimeter zones and 20-35% savings in variable-occupancy spaces.
This commercial downlight spacing guide approach requires three concrete steps: measure your current light levels and compare them against IES standards for your specific space type, calculate your actual fixture quantity using the lumens formula and light loss factors rather than guessing, and select fixtures with beam angles that match your spacing plan before installation. Professional lighting design eliminates guesswork and prevents costly installation mistakes, so contact PacLights to schedule your free lighting layout design and discover exactly how much energy and money proper spacing can save your facility.
Disclaimer: PacLights is not responsible for any actions taken based on the suggestions and information provided in this article, and readers should consult local building and electrical codes for proper guidance.