

Retrofitting your lighting system doesn’t require a complete overhaul. Wafer downlights offer a practical solution that fits into existing ceiling infrastructure while cutting energy costs significantly.
At PacLights, we’ve seen how wafer downlight retrofit ideas transform commercial and residential spaces. This guide walks you through the benefits, installation process, and strategies to maximize your return on investment.
Why Wafer Downlights Make Retrofit Sense
Wafer downlights cut energy consumption by roughly 75% compared to incandescent bulbs, according to the U.S. Department of Energy. A practical example: swapping 20 fixtures from 400W metal halide to 150W LED wafers at standard commercial rates of $0.125 per kilowatt-hour and 12 hours daily saves approximately $2,737 annually. That’s not theoretical savings-it’s money that hits your facility budget immediately. The payback period typically runs 9 to 14 months, and utility rebates reduce many facilities’ net investment by 30 to 50%. High-usage spaces like hallways, stairwells, and 24/7 areas compound these savings fastest, so prioritize those zones first if you phase a retrofit.
Lifespan and Maintenance Reality
LED wafers last about 50,000 hours versus 6,000 to 15,000 hours for metal halide lamps. That translates to roughly 45 years of operation at three hours daily. For a 20-fixture retrofit, the maintenance cost difference reaches approximately $13,000 over the fixture lifespan-no more frequent lamp replacements, no emergency bulb-out calls during business hours. The slim profile design sits under two inches deep, which means no structural ceiling modifications and no $500 to $1,500 per-fixture labor costs lost to reconstruction. Existing wiring connects directly using push-in connectors; you avoid separate electrical boxes or plenum work entirely. Installation becomes straightforward enough that a 20-fixture project completes during off-hours without disrupting operations.
Measure Your Space Before Purchasing
A professional lighting audit reveals up to 50% potential savings before any installation starts, giving you concrete ROI data for budgeting and board approval. Measure your existing housing diameter (typically 4, 5, or 6 inches), verify voltage compatibility (120V or 277V), and confirm whether your housings are IC-rated or non-IC-this determines which retrofit kits fit without modification. PacLights offers free lighting layout designs and ROI assessments to specify the right wafer downlights and quantify financial returns for your exact facility. Bulk-order discounts matter too: about 5% off with a shipping account and 2% additional off for check payments. Planning your full retrofit scope upfront maximizes these savings and eliminates piecemeal purchasing at full price.
The numbers are clear, but the real work starts when you assess your current system and select the right specifications for your space.
Getting Your Retrofit Specifications Right
Document Your Existing System Accurately
Start by recording what you actually have, not what you think you have. Power off at the circuit breaker, use a voltage tester to confirm the circuit is dead, then measure your existing recessed housing diameter with a tape measure-4, 5, or 6 inches are standard, and selecting the wrong size means ordering incompatible kits. Check your electrical panel for voltage: most commercial spaces run 120V or 277V, and mixing them up prevents the retrofit kit from functioning. Inspect whether your housings are IC-rated (insulation contact, meaning they touch insulation) or non-IC rated (requiring airflow clearance)-this distinction determines which wafer downlight kits physically fit without modification. If your ceiling has HVAC ducts, fire suppression lines, or conduits running through the plenum, note their locations now to avoid cutting into them during installation.
Conduct a Professional Lighting Audit
A comprehensive lighting audit takes two to three hours for a typical 10,000 square foot office and identifies exactly how many fixtures you need, what wattage matches your space, and where occupancy sensors will deliver the fastest payback. This assessment reveals up to 50% potential savings before any installation starts, giving you concrete ROI data for budgeting and board approval. PacLights provides free lighting layout designs and ROI assessments to specify the right wafer downlights and quantify financial returns for your exact facility. Bulk-order discounts matter too: about 5% off with a shipping account and 2% additional off for check payments. Planning your full retrofit scope upfront maximizes these savings and eliminates piecemeal purchasing at full price.
Select Color Temperature and Lumen Output
Color temperature choice depends entirely on how the space functions, not on personal preference. Retail and hospitality spaces perform better with 2700K (warm, inviting light that encourages browsing and dining), while offices, warehouses, and task-heavy environments benefit from 4000K (cool, focused light that supports alertness and accuracy). Wafer downlights typically deliver 800 to 2,500 lumens depending on the model, so match lumen output to your ceiling height and room size-a 10-foot ceiling in a 5,000 square foot retail space needs different brightness than a 12-foot warehouse. Dimmable drivers are non-negotiable if your space uses existing dimmers; many older magnetic dimmers cause flicker or hum with LEDs, so verify compatibility before installation or budget for dimmer replacement.
Execute Installation and Verify Performance
Installation follows a consistent pattern: cut 6-3/8 inch ceiling holes aligned with your existing wiring runs, run 14/3 Romex between holes using existing pathways where possible, connect wafers to the new circuit with push-in connectors (no soldering required), and secure each wafer with the built-in ceiling clips. After mounting, test dimmer compatibility, measure actual light levels with a lumen meter to confirm even distribution, and adjust motion sensor thresholds if applicable. Run a baseline energy reading two weeks after operation to verify your projected savings match reality-any variance greater than 10% signals a problem worth investigating before you retrofit additional fixtures.
With your specifications locked in and installation complete, the real opportunity emerges: layering advanced controls on top of your new wafer downlights to compound energy savings far beyond what the fixtures alone deliver.
How Controls Transform Wafer Downlight Savings
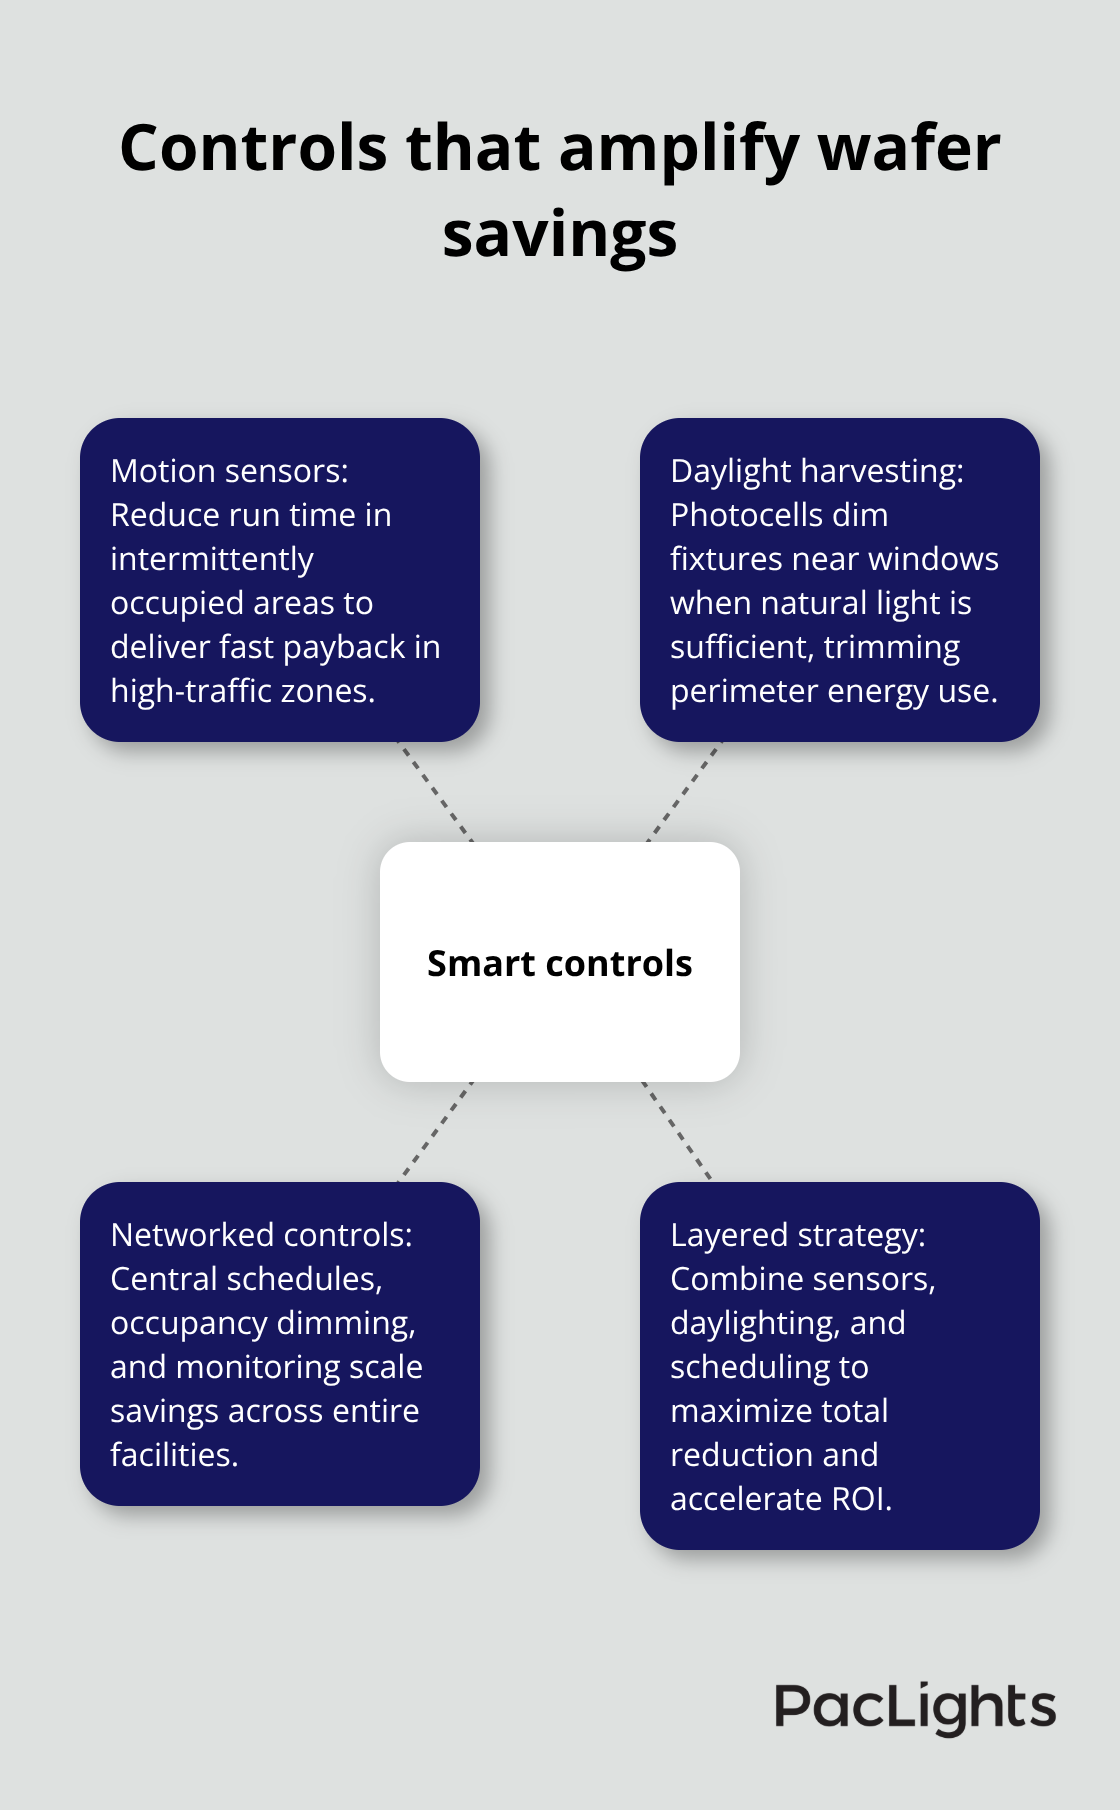
Motion Sensors Deliver Fast Payback in High-Traffic Zones
Wafer downlights alone cut energy consumption by 75%, but motion sensors compound that advantage dramatically. ENERGY STAR data confirms that occupancy sensors cut usage by 30% or more, and when you add daylight harvesting with dimming, the savings accelerate further. A typical 10,000 square foot office retrofitted with 80 wafer downlights running at full brightness 12 hours daily consumes roughly 14.4 kilowatt-hours. Add occupancy sensors to spaces with intermittent use-hallways, restrooms, storage areas, conference rooms-and that figure drops by 30%, saving 4.3 kilowatt-hours daily or about $1,570 annually at $0.125 per kilowatt-hour. The sensor hardware costs roughly $50 to $150 per unit and consumes only 1 to 2 watts, meaning payback arrives in 4 to 6 months on high-traffic zones alone.
Retail environments see faster returns. A 5,000 square foot store retrofitting 50 wafer downlights with motion sensors in back-of-house areas reduces energy costs by $800 to $1,200 annually while eliminating manual light switching in stockrooms or employee break areas. Installation requires running low-voltage wiring from sensors to dimmers or control nodes, a task that takes one to two hours per zone and costs roughly $200 to $400 in labor.
Daylight Harvesting Reduces Perimeter Zone Energy Use
Daylight harvesting works through photocells mounted near windows that dim wafer downlights automatically when natural light reaches target levels, typically reducing energy by 15% to 25% in perimeter zones. A healthcare facility with patient rooms facing south can cut lighting energy by 20% through daylight harvesting alone. The combination of dimmable wafers plus photocells preserves tunable white capabilities (shifting from 4000K to 2700K across the day) without manual adjustment, supporting both occupant comfort and energy efficiency simultaneously.
Networked Controls Scale Savings Across Entire Facilities
Networked lighting controls multiply savings across an entire facility through centralized scheduling, occupancy-based dimming, and real-time energy monitoring. A 50,000 square foot industrial warehouse retrofitted with 300 wafer downlights and networked controls can program fixtures to operate at 50% brightness during low-activity shifts and full brightness during peak hours, reducing annual energy costs by $8,000 to $12,000 depending on shift patterns. The control system itself-including software, network hardware, and installation-costs roughly $15,000 to $25,000 for a facility of this size, but the five-year payback and ongoing optimization justify the investment.
Dimmable LED drivers compatible with 0-10V control systems or DALI protocols enable precise brightness adjustment without the flicker or hum that older magnetic dimmers cause with LEDs. A hospitality property with 200 guest rooms retrofitted with dimmable wafers and networked controls reports payback in 18 to 24 months while dramatically improving guest experience through customizable ambiance.
Layering Controls Achieves Maximum Energy Reduction
The real advantage emerges when you layer motion sensors, daylight harvesting, and networked scheduling together. A 20,000 square foot mixed-use office retrofitting 120 fixtures with all three control types achieves 40% to 50% total energy reduction versus baseline incandescent or fluorescent systems, delivering payback under 12 months with utility rebates factored in. PacLights offers free lighting layout designs and ROI assessments that model sensor placement and control strategies specific to your facility’s usage patterns, occupancy schedules, and climate. Start with high-usage zones and occupancy sensors first, then add daylight harvesting in perimeter spaces, and finally implement networked controls once you understand your facility’s actual usage patterns through two weeks of post-retrofit energy data.
Final Thoughts
A 20-fixture retrofit from metal halide to LED wafers saves approximately $2,737 annually in energy costs alone, with payback arriving in under nine months when utility rebates reduce your net investment by 30 to 50%. The 50,000-hour lifespan eliminates roughly $13,000 in maintenance expenses over the fixture lifetime compared to traditional lamps, and the slim two-inch profile means no expensive ceiling reconstruction. These numbers compound when you layer motion sensors and daylight harvesting into your wafer downlight retrofit ideas, pushing total energy reductions to 40 to 50% and cutting payback to under 12 months.
Reducing energy consumption by 75% versus incandescent lighting cuts your facility’s carbon footprint significantly while lowering operational costs that directly affect your bottom line. A 10,000 square foot office retrofitted with wafer downlights and networked controls eliminates roughly 50 tons of CO2 emissions annually, equivalent to removing a vehicle from the road for a year. The environmental impact matters equally to the financial returns your retrofit delivers.
Start your retrofit planning with a professional lighting audit to identify your exact savings potential and prioritize high-usage zones first. We at PacLights provide free lighting layout designs and ROI assessments tailored to your facility’s specific needs, helping you model sensor placement, control strategies, and financial returns before installation begins. Contact us to schedule your audit and lock in bulk-order discounts that reduce costs further.
Disclaimer: PacLights is not responsible for any actions taken based on the suggestions and information provided in this article, and readers should consult local building and electrical codes for proper guidance.