

Recessed linear track lighting transforms any space with sleek, modern illumination that sits flush with your ceiling. This versatile lighting solution offers both ambient and accent lighting options.
We at PacLights see many homeowners struggle with installation complexity and electrical connections. This guide walks you through each step, from planning to final testing, so you can achieve professional results.
What Should You Know Before Installation
Proper planning prevents installation headaches and costly mistakes. Start by measuring your room dimensions and calculating the required light output based on 20-30 lumens per square foot for ambient lighting or 50-70 lumens for task-focused areas. A 200-square-foot kitchen needs approximately 4,000-6,000 lumens total, which translates to roughly 8-12 feet of linear track lighting (depending on your chosen fixtures).
Calculate Your Track Layout Requirements
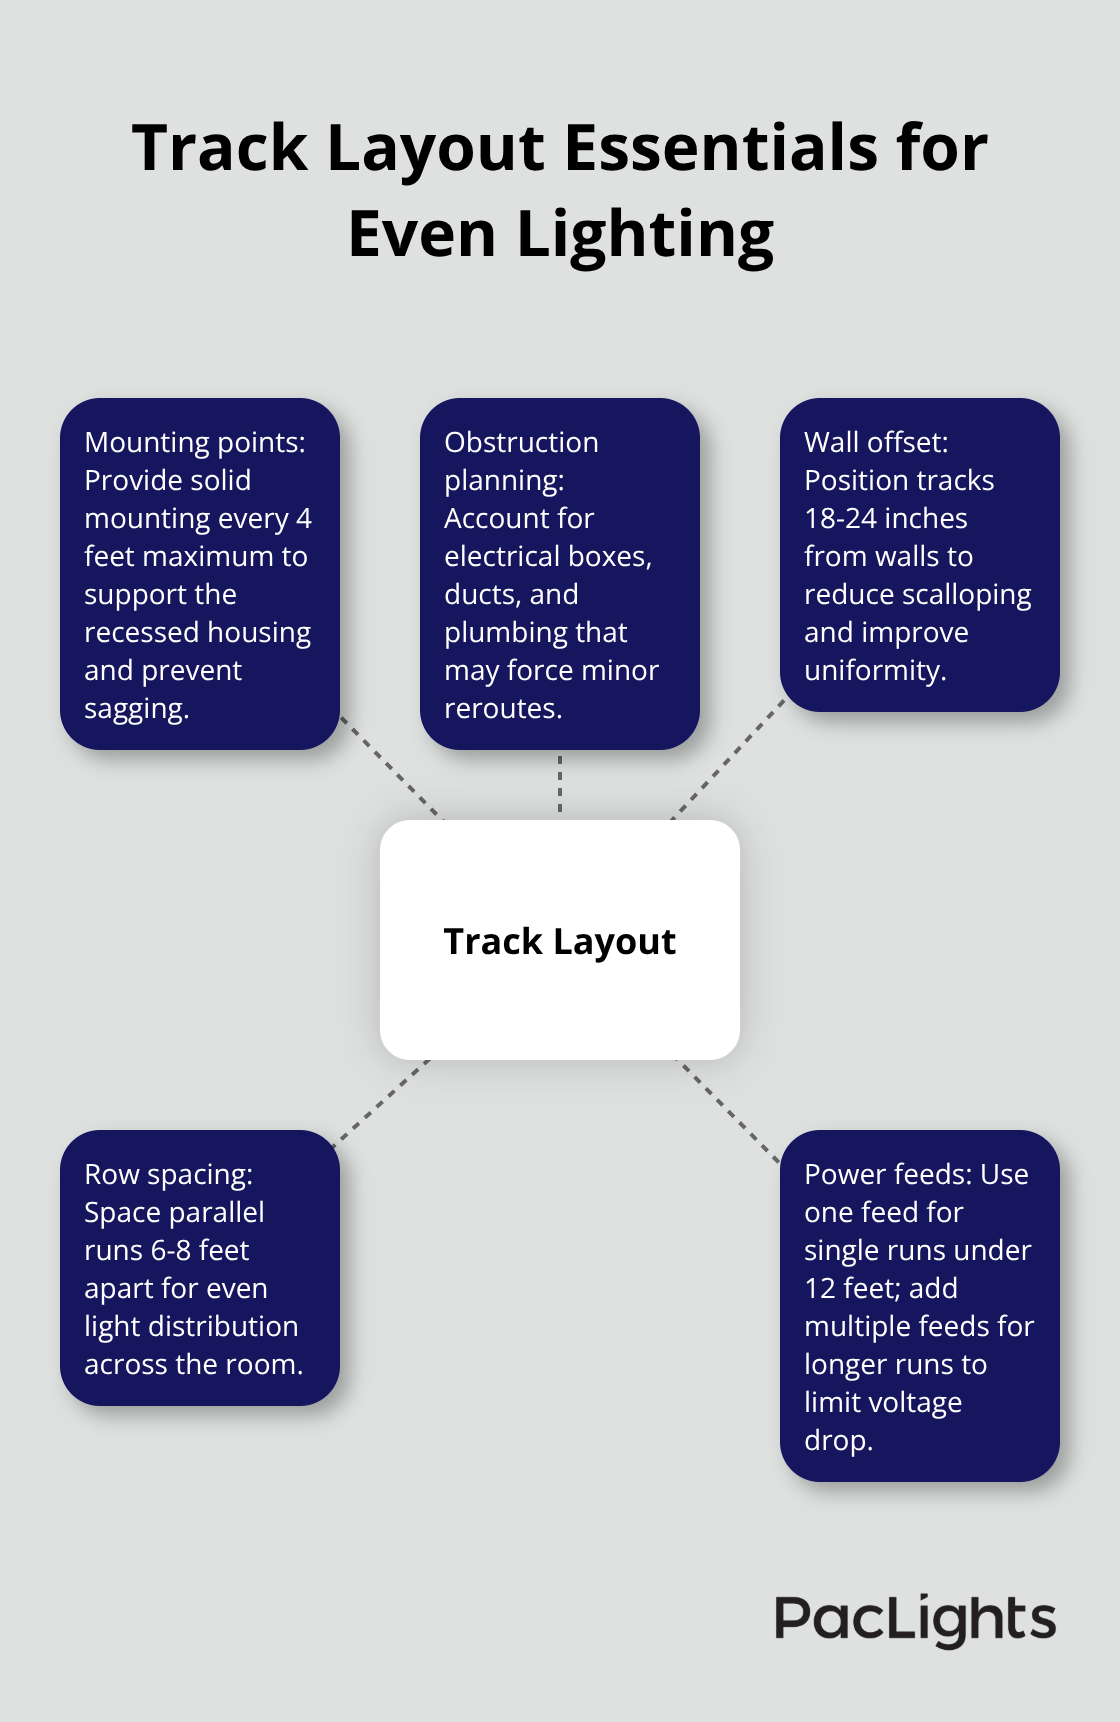
Map your ceiling layout and identify joist locations with a stud finder, as track housing requires solid mounting points every 4 feet maximum. Account for existing electrical boxes, HVAC ducts, and plumbing that might interfere with your planned route. Most residential installations work best with tracks positioned 18-24 inches from walls and spaced 6-8 feet apart for even light distribution. Single-run installations under 12 feet can use one power feed, while longer runs need multiple connection points to prevent voltage drop.
Select Compatible System Components
Track systems fall into three main categories: H-style, J-style, and L-style, with components that are not interchangeable between styles. H-style systems dominate residential applications due to lower costs and wider fixture selection. Choose 120V systems for most home installations rather than low-voltage options that require transformers and create additional failure points. LED fixtures consume 80% less energy than halogen alternatives while lasting 25,000-50,000 hours compared to 2,000-4,000 hours for traditional bulbs.
Assemble Your Installation Toolkit
You need a reciprocating saw for ceiling cuts, fish tape for new electrical cable runs, wire strippers, voltage tester, and mounting hardware rated for your ceiling type. Drywall anchors work for lightweight tracks under 15 pounds, but joists provide the only secure mounting for heavier systems. Purchase 14-gauge electrical wire for 15-amp circuits or 12-gauge for 20-amp installations, plus wire nuts and electrical tape for connections. Always turn off the power at the circuit breaker before beginning any electrical work.
With your planning complete and tools ready, you can move forward to mark your ceiling and begin the physical installation process.
How Do You Execute the Physical Installation
Mark your track centerlines with a chalk line and position them exactly where your measurements indicated. Cut rectangular openings 1.25 inches wide by the length of each track section with a reciprocating saw, making cuts 1/8 inch larger than the housing dimensions to accommodate slight adjustments. Professional electricians recommend that you cut all openings first before you run any wire to identify potential obstacles like cross-bracing or ducts.
Fish new 14-gauge cable from your electrical panel to the first track location and leave 8 inches of extra wire at each connection point for easy splicing. Connect the black wire to the track’s hot terminal, white to neutral, and bare copper to the ground screw. Secure all connections with wire nuts rated for your wire gauge.
Install Housing and Make Connections
Push track housing sections into your ceiling openings until the mounting flanges sit flush against the drywall surface. Most residential tracks use spring-loaded clips that expand against the ceiling cavity, but heavier systems require screws into ceiling joists every 48 inches maximum. Connect track sections with the manufacturer’s joining connectors, which typically slide together with a quarter-turn lock mechanism.
Test each connection with a voltage tester before you energize the circuit, as loose connections cause 40% of track lighting failures according to electrical contractor surveys. Install your wall switch last and connect the hot wire from your panel to one terminal and the wire going to your tracks to the other terminal, with neutral wires joined together in the switch box.
Complete System Testing and Adjustments
Power up your circuit and test each track section individually before you install light fixtures. Track systems should provide consistent voltage across their entire length – voltage drops that exceed 5% indicate undersized wire or poor connections that need immediate correction.

Install your LED fixtures and align their contact pins with the track’s electrical channels, then twist clockwise until they lock securely. Position fixtures every 3-4 feet for general lighting or concentrate them over specific work areas. Adjust beam angles to eliminate shadows and hot spots that create uneven illumination patterns (proper positioning prevents 60% of common lighting complaints).
Even with careful installation, you may encounter unexpected challenges that require specific solutions and troubleshooting techniques.
What Installation Problems Will You Face
Uneven ceilings create the biggest headache during recessed linear track installation, with 70% of DIY projects encountering this issue according to electrical contractor data. Older homes often have ceiling variations of 1/4 to 1/2 inch across a 10-foot span, which causes track sections to appear crooked even when you align them properly.

Use adjustable mounting clips that compensate for up to 3/8 inch of ceiling variation, or install furring strips to create a level mounting surface before you cut your openings. When you hit unexpected obstacles like cross-bracing or HVAC ducts, relocate your track position rather than cut through structural elements (most building codes prohibit modifications to load-bearing members without permits).
Electrical Connection Failures
Loose wire connections cause 85% of track lighting malfunctions within the first year of installation. Strip wire ends exactly 3/4 inch and twist connections clockwise before you apply wire nuts rated for your specific wire gauge. Test each connection with gentle tugging – properly secured joints won’t separate under normal handling. Voltage drops that exceed 3% indicate undersized wiring or poor connections that create flickering and premature LED failure. Use a digital multimeter to measure voltage at the track’s end point compared to your electrical panel reading.
Track Alignment Problems
Misaligned track sections create visible gaps and prevent proper fixture installation, with professional electricians reporting this issue in 40% of rushed installations. Install the longest track section first to establish your baseline, then work outward to maintain consistent alignment. Track connectors must engage fully with audible clicks – partial connections cause intermittent power loss and overheating. Check alignment every 4 feet with a laser level, as even small deviations become obvious when you install and energize fixtures (proper alignment prevents costly reinstallation work).
Final Thoughts
Professional installation costs $300-800 but eliminates 90% of common mistakes that plague DIY projects. Licensed electricians complete recessed linear track lighting installations in 3-4 hours versus 8-12 hours for homeowners, with warranty protection that covers both labor and materials. However, experienced DIYers save $200-500 by handling the work themselves while gaining valuable skills.
Clean your track sections monthly with a dry microfiber cloth to maintain optimal light output, as dust accumulation reduces brightness by up to 30% over two years. Replace LED fixtures every 15-20 years or when light output drops below 70% of original levels. Check electrical connections annually for signs of corrosion or looseness that could create safety hazards.
Consider upgrades when your current system fails to meet changing needs or when energy costs become excessive. Modern LED track systems consume 75% less electricity than older halogen installations while providing superior light quality and control options. PacLights offers advanced lighting solutions with daylight sensors and motion controls that optimize energy use automatically (making upgrades financially attractive for both residential and commercial applications).
Disclaimer: PacLights is not responsible for any actions taken based on the suggestions and information provided in this article, and readers should consult local building and electrical codes for proper guidance.