

Emergency lighting systems save lives, but only when they’re properly maintained. At PacLights, we know that most facility managers struggle to keep track of testing schedules and compliance requirements.
This emergency lighting maintenance checklist breaks down exactly what you need to do, when to do it, and how to document everything for inspections.
What to Check During Monthly and Annual Tests
Examine Battery Condition First
Start your inspection by examining battery condition before you test anything else. Open each emergency light fixture and look for visible swelling, leakage, or corrosion on the battery terminals. Swollen batteries fail without warning-replace them immediately rather than waiting for scheduled replacements. Check the battery charge level using a multimeter set to DC voltage. Most emergency light batteries should read between 6.5 and 7.5 volts when fully charged; anything below 6 volts signals a weak battery that needs replacement. Many facilities discover dead batteries only during annual tests, which is too late to prevent safety gaps.
Verify Automatic Power Transfer and Runtime
Test the automatic transfer from main power to battery backup by cutting power to the fixture for 10 seconds and confirming the light activates immediately. NFPA 101 requires this transfer to occur within 10 seconds, so anything slower indicates a circuit problem. During monthly tests, keep the light on for at least 30 seconds to verify the lamp illuminates properly. During your annual test, run the fixture for the full 90-minute duration required by NFPA 101 to confirm battery capacity hasn’t degraded. Record the exact time the light activates, brightness level, and how long it runs before dimming.
Assess Physical Condition and Optics
Inspect the physical condition of each fixture before and after testing. Look for cracked lenses, corrosion around the housing, loose mounting brackets, or damaged wiring. Dust buildup on lenses reduces brightness significantly-clean optics with a soft cloth quarterly to prevent 20 to 30 percent brightness loss over time. Check that exit sign lettering remains legible and that internal illumination is even across the entire sign face. Verify floor proximity markings installed within 18 inches of the floor are secure and visible; these must comply with ANSI/UL 1994 standards.
Measure Illumination Levels and Document Results
Measure illumination levels at walking surfaces using a calibrated light meter. Stairs should read approximately 108 lux, general floors around 10.8 lux, and assembly areas about 2.2 lux according to NFPA 101. If any area falls below minimum levels, reposition fixtures or add additional units.

Document the location, date, meter reading, and any corrective action taken in your maintenance log. Keep these records for at least three years to demonstrate compliance during fire code inspections. This documentation becomes your evidence that you’ve maintained the system properly and caught problems before they endangered occupants.
Building Your Maintenance Documentation System
Assign Unique Identifiers and Create a Centralized Log
Start your documentation system by assigning a unique identification number to every emergency light fixture in your facility. Record the location, model number, and installation date for each fixture in a centralized log. NFPA 101 Life Safety Code requires that you document all inspections, tests, and repairs, and you must keep these records for at least three years. This documentation becomes your proof that the system works when inspectors arrive and your protection if something goes wrong.
Record Monthly and Annual Test Results
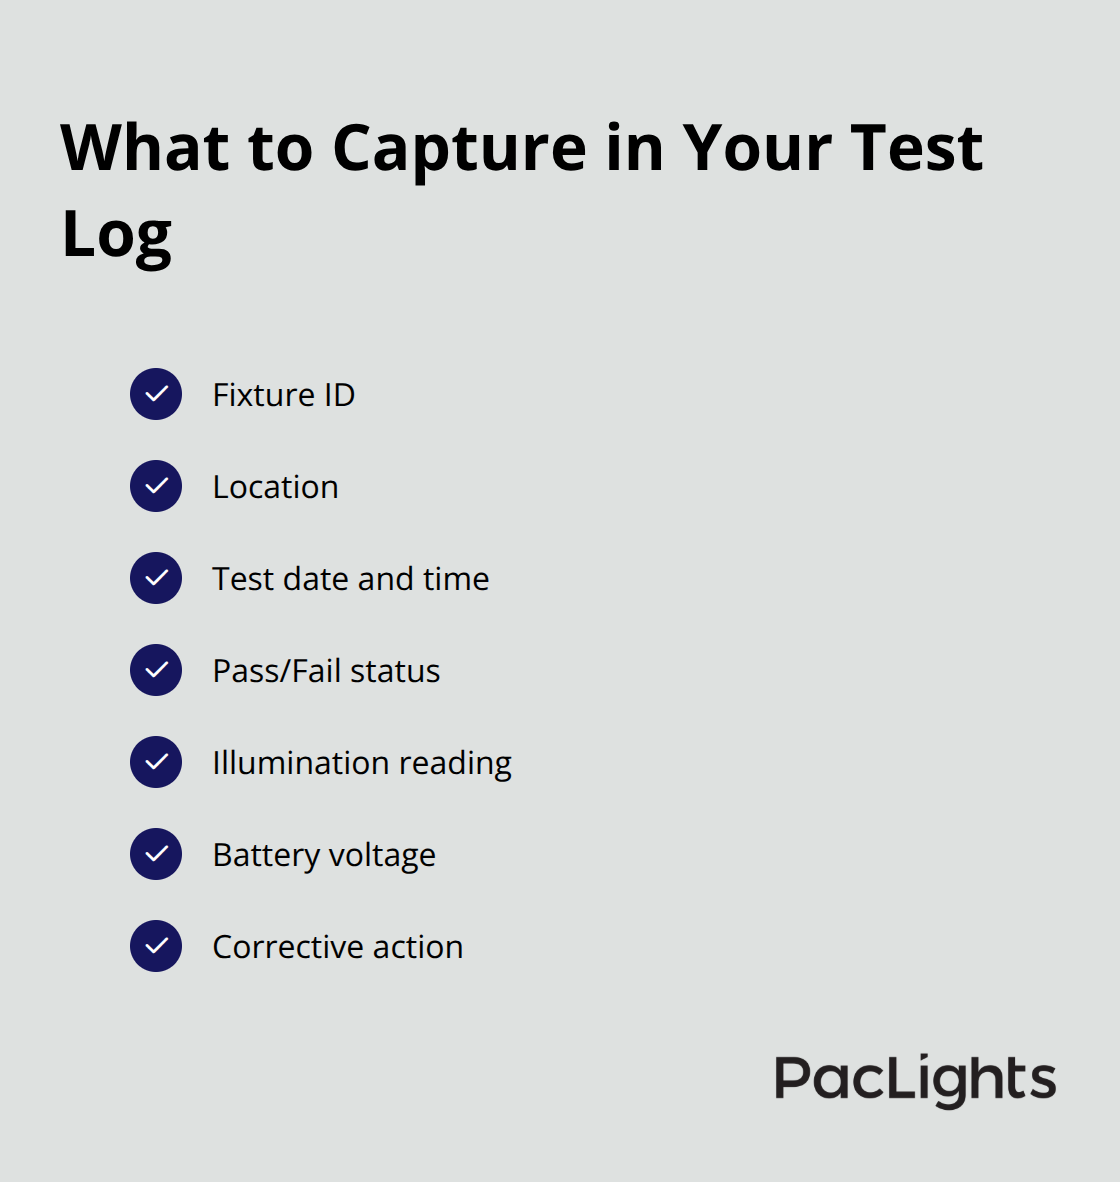
During each monthly 30-second functional test, record the date, time, which fixtures were tested, whether they activated properly, and the brightness level you observed. For your annual 90-minute test, document the exact time power was cut, when the light activated, its brightness at the 45-minute mark and at 90 minutes, and any fixtures that failed to reach the required duration. Include battery voltage readings, illumination measurements from your light meter, and any corrective actions taken. A simple spreadsheet with columns for fixture ID, location, test date, pass/fail status, illumination reading, battery voltage, and corrective action provides the documentation fire inspectors expect to see.
Track Repairs and Identify Patterns
When you discover a faulty fixture, note the date it was reported, the date it was repaired or replaced, and who performed the work. This detailed record-keeping catches patterns-if batteries consistently fail after 18 months, you replace them preventatively instead of discovering dead batteries during an emergency. Your records demonstrate that you identified problems and took corrective action promptly. This response matters far more than a single failure when code officials evaluate your facility’s safety culture.
Verify Compliance with Local Code Requirements
Your documentation must also verify compliance with applicable codes in your jurisdiction. NFPA 101 sets the baseline requirements for emergency lighting and exit signs nationwide, but your local fire marshal may enforce additional standards specific to your building type or region.

Some jurisdictions like New York City layer their own requirements on top of NFPA standards, including specific brightness levels, sign dimensions, and testing frequencies. Contact your local fire department or building department to confirm which codes apply to your facility, then annotate your maintenance log to show which code requirement each test addresses.
Schedule Tests at Consistent Intervals
Schedule your monthly tests at least three to five weeks apart to maintain consistent intervals, and conduct annual 90-minute tests during low-occupancy periods to minimize disruption. If you discover non-compliant fixtures or dead batteries during inspections, your records demonstrate that you identified the problem and took corrective action promptly. With this documentation system in place, you’re ready to address the specific issues that most commonly cause emergency lighting failures-and knowing how to troubleshoot these problems keeps your facility safe between inspections.
What Causes Emergency Lighting to Fail
Battery Degradation and Replacement Timing
Battery failure remains the single most common reason emergency lights stop working, and most failures happen silently between inspections. Batteries in emergency lighting fixtures typically last three to five years before capacity degrades enough to prevent the required 90-minute runtime. The problem is that a battery can appear fully charged on a multimeter and still fail to power a fixture for the full duration during an actual outage. Test battery voltage monthly and replace any battery reading below 6 volts immediately, rather than waiting for scheduled replacements. When you discover a dead or dying battery during routine testing, replace it within 24 hours and document the replacement date in your maintenance log. Many facilities make the mistake of replacing batteries only when they fail an annual test, which means occupants face a safety gap from the failure date until the replacement. If your facility has multiple fixtures with batteries installed in the same year or batch, replace them all preventatively rather than one at a time.
Corrosion and Terminal Maintenance
Corrosion on battery terminals prevents proper charging and must be cleaned with a dry cloth or replaced entirely if corrosion is heavy. Inspect terminals during every monthly test and address corrosion immediately to maintain reliable power transfer. Heavy corrosion signals that moisture has entered the fixture housing, which may require professional service to prevent future failures.
Wiring and Connection Problems
Faulty wiring or loose connections cause roughly 15 to 20 percent of emergency lighting failures and are often missed during visual inspections. Check that all wire connections are tight and that no wires show signs of damage, fraying, or improper gauge for the circuit load. A loose connection at the battery terminal prevents charging even though the fixture appears normal. Verify the circuit breaker controlling emergency lighting is in the ON position and hasn’t tripped due to an overload or ground fault. Test the automatic transfer switch by cutting main power and confirming the light activates within 10 seconds as required by NFPA 101. If transfer takes longer than 10 seconds, a licensed electrician must repair the circuit before the system can pass inspection.
Dim or Non-Functional Fixtures
Dim or non-functional lights often result from dirty lenses that block 20 to 30 percent of brightness, burned-out lamps, or faulty LED drivers. Clean all optics quarterly with a soft lint-free cloth to maintain brightness levels. Replace burned-out lamps immediately, and verify you’re using the correct lamp type and wattage specified by the manufacturer. LED fixtures with dimmed output usually indicate a failing driver or ballast, which requires replacement rather than repair. If a fixture fails to activate during testing, confirm power reaches the fixture by checking voltage at the outlet with a multimeter set to AC voltage. If voltage reads normal but the light won’t activate, the internal circuitry or battery connection needs professional service.
Final Thoughts
Emergency lighting maintenance comes down to three core actions: test your fixtures monthly for 30 seconds, run a full 90-minute annual test, and document everything. Battery voltage readings, illumination measurements, and repair dates form the evidence that your system works when inspectors arrive and when occupants need it most. Most facilities fail inspections because they skip documentation or discover dead batteries too late to prevent safety gaps. Your emergency lighting maintenance checklist should include monthly battery inspections, quarterly lens cleaning, and annual full-duration tests.
Consistency separates facilities that catch problems before they become safety risks from those that face emergencies unprepared. You’ll replace batteries preventatively instead of discovering dead ones during outages, identify wiring problems before they cause widespread failures, and maintain illumination levels that actually guide occupants to safety. Start by assigning unique identifiers to every fixture and creating a centralized log, then schedule your monthly tests at least three to five weeks apart. Use a simple spreadsheet to track fixture ID, location, test date, pass or fail status, battery voltage, illumination readings, and corrective actions taken.
If you’re upgrading your facility’s lighting systems or need guidance on emergency lighting design, we at PacLights offer free lighting layout designs and ROI assessments to help you make informed decisions. Your maintenance program protects lives and keeps your facility compliant with fire codes.
Disclaimer: PacLights is not responsible for any actions taken based on the suggestions and information provided in this article, and readers should consult local building and electrical codes for proper guidance.