

Wafer downlights are transforming how commercial facilities manage energy costs and lighting quality. At PacLights, we’ve seen firsthand how retrofitting outdated fixtures cuts electricity consumption by 50–75% while improving light distribution.
The challenge isn’t the technology-it’s minimizing disruption during installation. This guide walks you through planning, executing, and optimizing your retrofit project without grinding operations to a halt.
Why Wafer Downlights Beat Traditional Fixtures
The Design Advantage That Changes Installation
Wafer downlights operate fundamentally differently from the recessed cans and metal halide fixtures dominating most commercial ceilings. Traditional recessed cans require 4–6 inches of ceiling clearance and demand separate electrical boxes, making retrofits labor-intensive and expensive. Wafer lights sit flush against the ceiling, needing less than 1 inch of clearance, and connect directly to existing wiring without additional boxes. This design matters because it means you can retrofit tight ceilings where can lights simply won’t fit, and installation takes hours instead of days.
Energy and Maintenance Savings That Compound
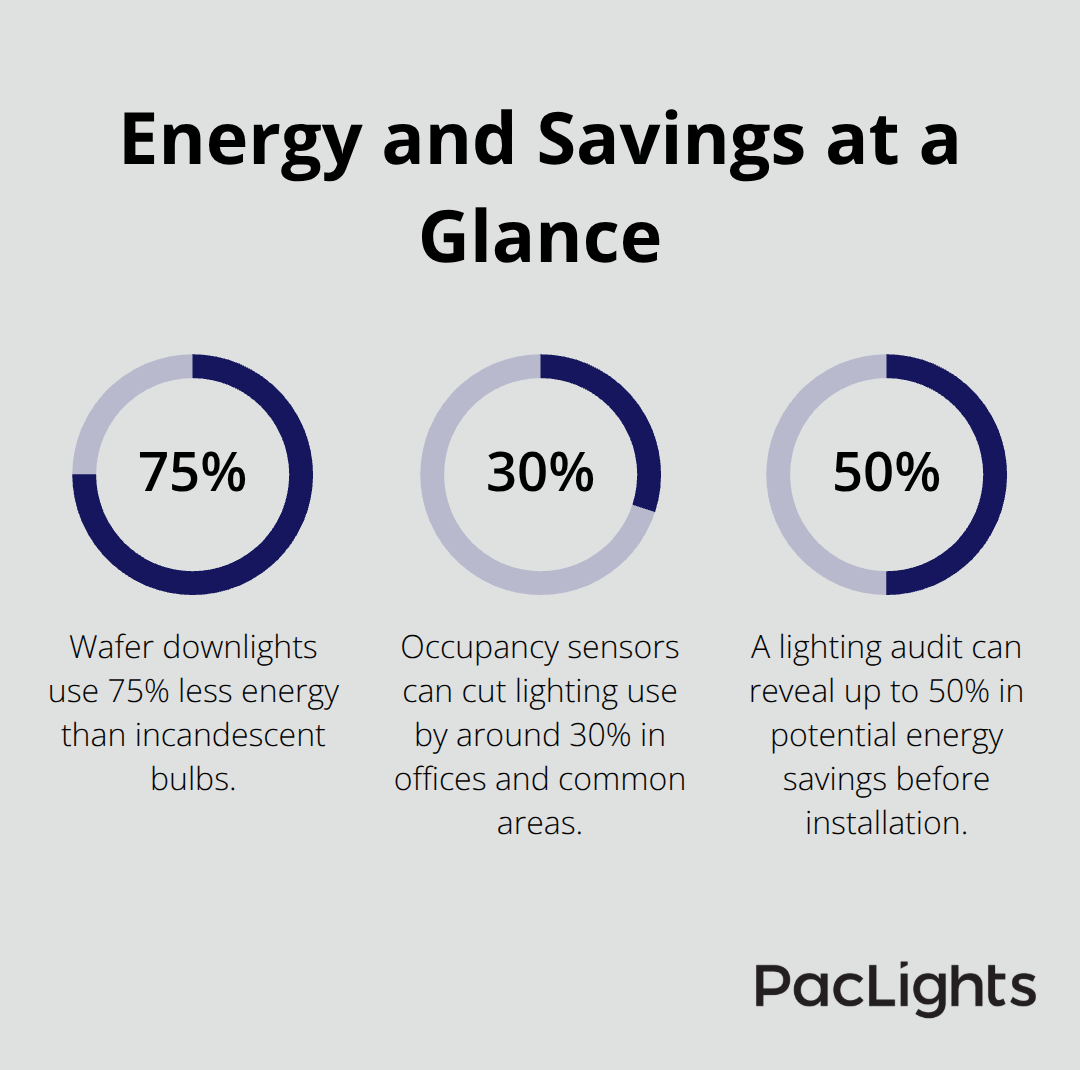
The U.S. Department of Energy reports that wafer downlights use approximately 75% less energy than incandescent bulbs. In practical terms, switching 20 fixtures from 400W metal halide to 150W LED wafers at standard electricity rates of $0.125 per kilowatt-hour and 12 operating hours daily saves roughly $2,737.50 annually in energy costs alone. Maintenance savings stack on top of that: LED wafers reach about 50,000 hours of life, while metal halide lamps last 6,000–15,000 hours, meaning maintaining traditional fixtures across 20 units could cost around $13,000 over the LED lifespan.
The Payback Timeline That Justifies Investment
The payback math is aggressive. If your net investment after rebates is approximately $2,875, a 20-fixture retrofit pays for itself in under nine months, delivering first-year ROI over 135%. Utility rebates typically reduce net investment by 30–50% per fixture, so checking your local utility’s rebate finder before purchasing is non-negotiable.
Where Retrofits Deliver the Fastest Returns
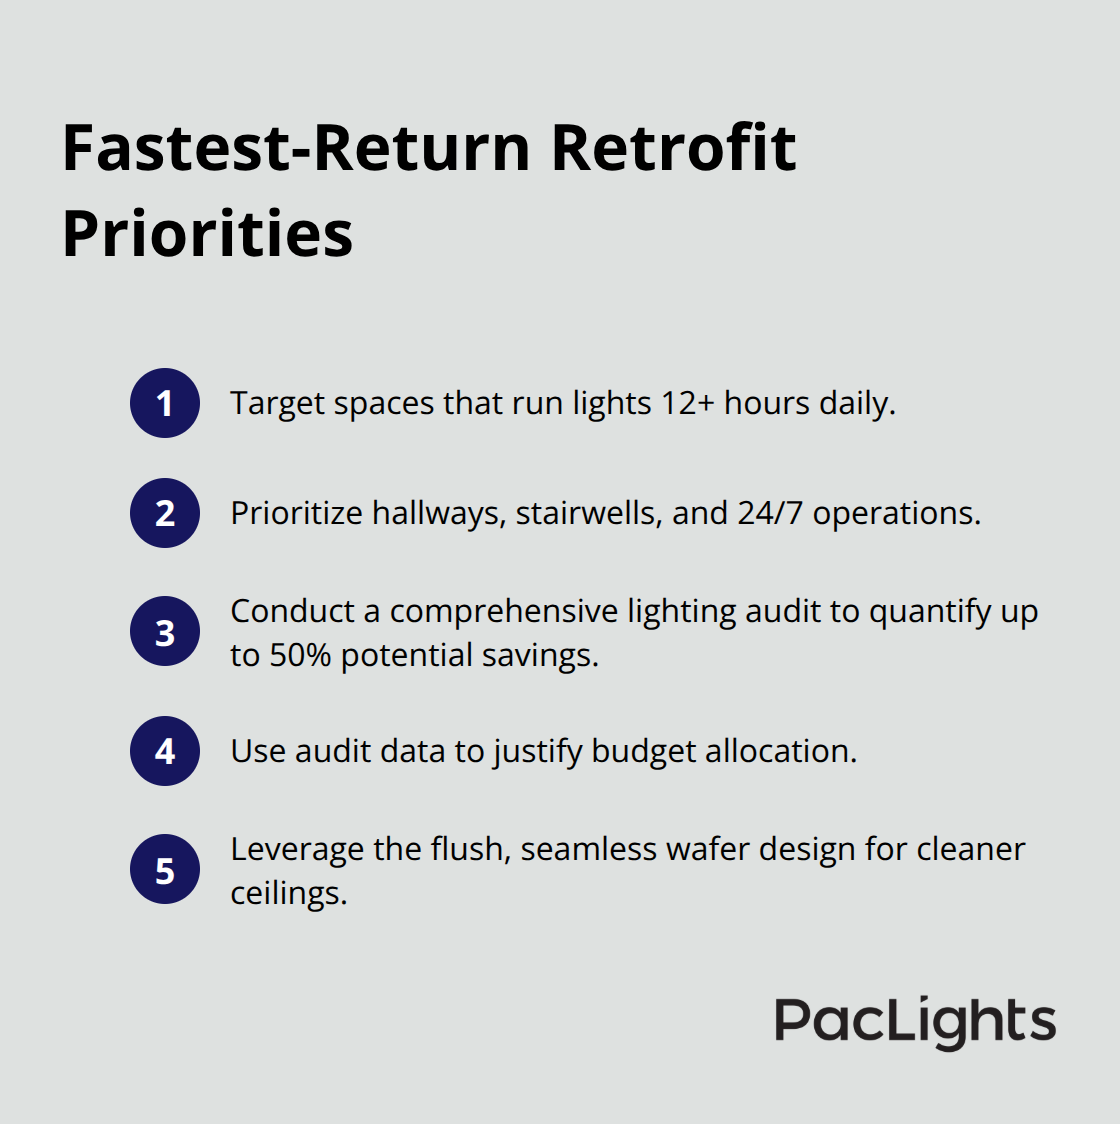
Retrofitting matters most for facilities running lights 12+ hours daily or in high-usage zones like hallways, stairwells, and 24/7 operations. These spaces generate immediate payback because energy savings compound faster. A comprehensive lighting audit reveals up to 50% in potential savings before any installation begins, giving you concrete numbers to justify budget allocation. Commercial facilities benefit from the cleaner ceiling appearance wafer lights provide-the flush, seamless design keeps ceilings looking modern and keeps focus on merchandise or workspace rather than visible fixtures.
Strategic Planning and Hidden Benefits
Phased upgrades work best: prioritize high-usage zones first to maximize early payback, then roll out remaining fixtures as budget allows. Bulk orders unlock additional discounts (5% off with a shipping account, 2% off for check payments), so planning your full retrofit scope upfront reduces per-fixture costs. The broader facility benefits include reduced HVAC load due to lower heat output from LEDs, plus improved occupant comfort and productivity from better lighting quality. These indirect savings often exceed energy reductions alone, though they’re harder to quantify without a detailed operational audit. With the financial case established, the next step is assessing your current system and selecting the right retrofit products for your specific facility needs.
Planning Your Retrofit Project Without Operational Disruption
Document Your Current System Before You Order
You must assess your current system as the foundation of a smooth retrofit. Start by documenting every fixture: measure housing diameter (commonly 4, 5, or 6 inches), verify voltage (usually 120V or 277V), and check whether housings are IC-rated or non-IC-rated. Cross-reference these specifications with your electrical panel to confirm compatibility before you purchase retrofit kits. This step prevents on-site delays and ensures you order the correct products. A comprehensive lighting audit at this stage reveals up to 50% in potential energy savings and gives you concrete baseline data to measure against post-retrofit. Photograph your current layout and note operating hours per zone, as high-usage spaces like hallways and 24/7 areas generate faster payback and should be prioritized in your installation sequence.
Select Retrofit Products That Match Your Facility Constraints
The right retrofit products depend on your facility’s specific constraints. If you have tight ceiling clearance or structural obstacles like studs, wafer retrofit modules work best because they require less than 1 inch of clearance and connect directly to existing wiring without additional electrical boxes. Verify ventilation around retrofit kits and select modules rated for enclosed or insulated housings to prevent thermal stress. Color temperature matters more than most facilities realize: 2700K creates warmer ambiance suitable for retail or hospitality, while 4000K delivers cooler light better for offices and task-focused work. Dimmable retrofit kits add flexibility, but confirm your existing dimmers are LED-compatible, as older magnetic dimmers can cause flicker or hum.
Integrate Smart Controls to Amplify Savings
Smart controls amplify savings significantly. Occupancy sensors cut lighting use by 30% or more in offices and common areas according to ENERGY STAR data, while daylight harvesting further reduces consumption by automatically adjusting brightness based on natural light. Networked controls enable granular management and demand response, allowing you to optimize lighting across your entire facility from a single interface. PacLights offers LED retrofit solutions with optional daylight and motion control, plus advanced lighting controls to further optimize energy use. We also provide free lighting layout designs and ROI assessments to help you select the right products and control systems tailored to your facility.
Schedule Installations to Minimize Disruption
A phased installation schedule minimizes operational disruption. Prioritize high-usage zones first to accelerate ROI and demonstrate value to leadership before you scale across the facility. Plan installations during low-occupancy periods or after business hours so a typical retrofit can cover a full floor overnight with trained technicians. Bulk orders unlock additional discounts (5% off with a shipping account, 2% off for check payments), so you should plan your full retrofit scope upfront to reduce per-fixture costs even if you install in phases. Document everything post-installation: record the date, retrofit kit model, and warranty details for future maintenance. Quality retrofit kits typically carry 5–10 year warranties, protecting against premature component failure. After installation, test dimmer compatibility, confirm target light levels, and verify even illumination across each space. Address any flicker or hum immediately by upgrading to electronic dimmers if needed. The reduced HVAC load from lower LED heat output often delivers unexpected facility-wide benefits that extend beyond energy savings alone. With your retrofit products selected and your installation schedule locked in, the next step is executing the installation itself while maintaining system performance and occupant comfort.
Installation and Optimization Strategies
Execute the Retrofit with Power Safely Disconnected
Power down the circuit serving your retrofit zone before you touch any wiring or cut holes-this is non-negotiable for safety. Verify the circuit is dead using a voltage tester on existing fixtures, then lock out the breaker to prevent accidental reconnection. Start by cutting 6-3/8 inch holes at each fixture location using a hole saw at low speed with a side handle for control when working overhead; a Dust Bowl catches debris and minimizes cleanup. If you tap into existing wiring from a nearby fixture or circuit, run 14/3 Romex between ceiling holes using fish tape-open floor trusses make this faster, but solid joists require you to create access holes at each joist location to thread wire through without damage.
For each junction box, remove a knockout and install push-in connectors to protect wires and simplify connections. Connect wires to color-coded terminals (hot to brass, neutral to silver, ground to green), cap the box, and secure it in the ceiling. Attach each LED wafer light using the provided wiring pigtail, then clamp it into the opening with built-in clips. Wire a new wall switch to control the lights by connecting the switch output to the switched conductor and power input to the hot conductor. Plan installations during off-hours so trained technicians retrofit a full floor overnight, keeping disruption minimal. After you wire everything, restore power and flip the wall switch to confirm all lights operate before closing the ceiling.
Integrate Daylight and Motion Controls for Maximum Savings
Occupancy sensors cut lighting use by 30% or more in offices and common areas according to ENERGY STAR, while daylight harvesting further reduces consumption by automatically adjusting brightness based on available natural light. Networked controls enable you to manage lighting across your entire facility from a single interface, optimizing usage patterns and responding to demand shifts in real time. Install motion sensors in hallways, stairwells, and storage areas where lights often run unnecessarily when spaces sit unoccupied; these sensors pay for themselves through energy savings within months in high-traffic facilities.
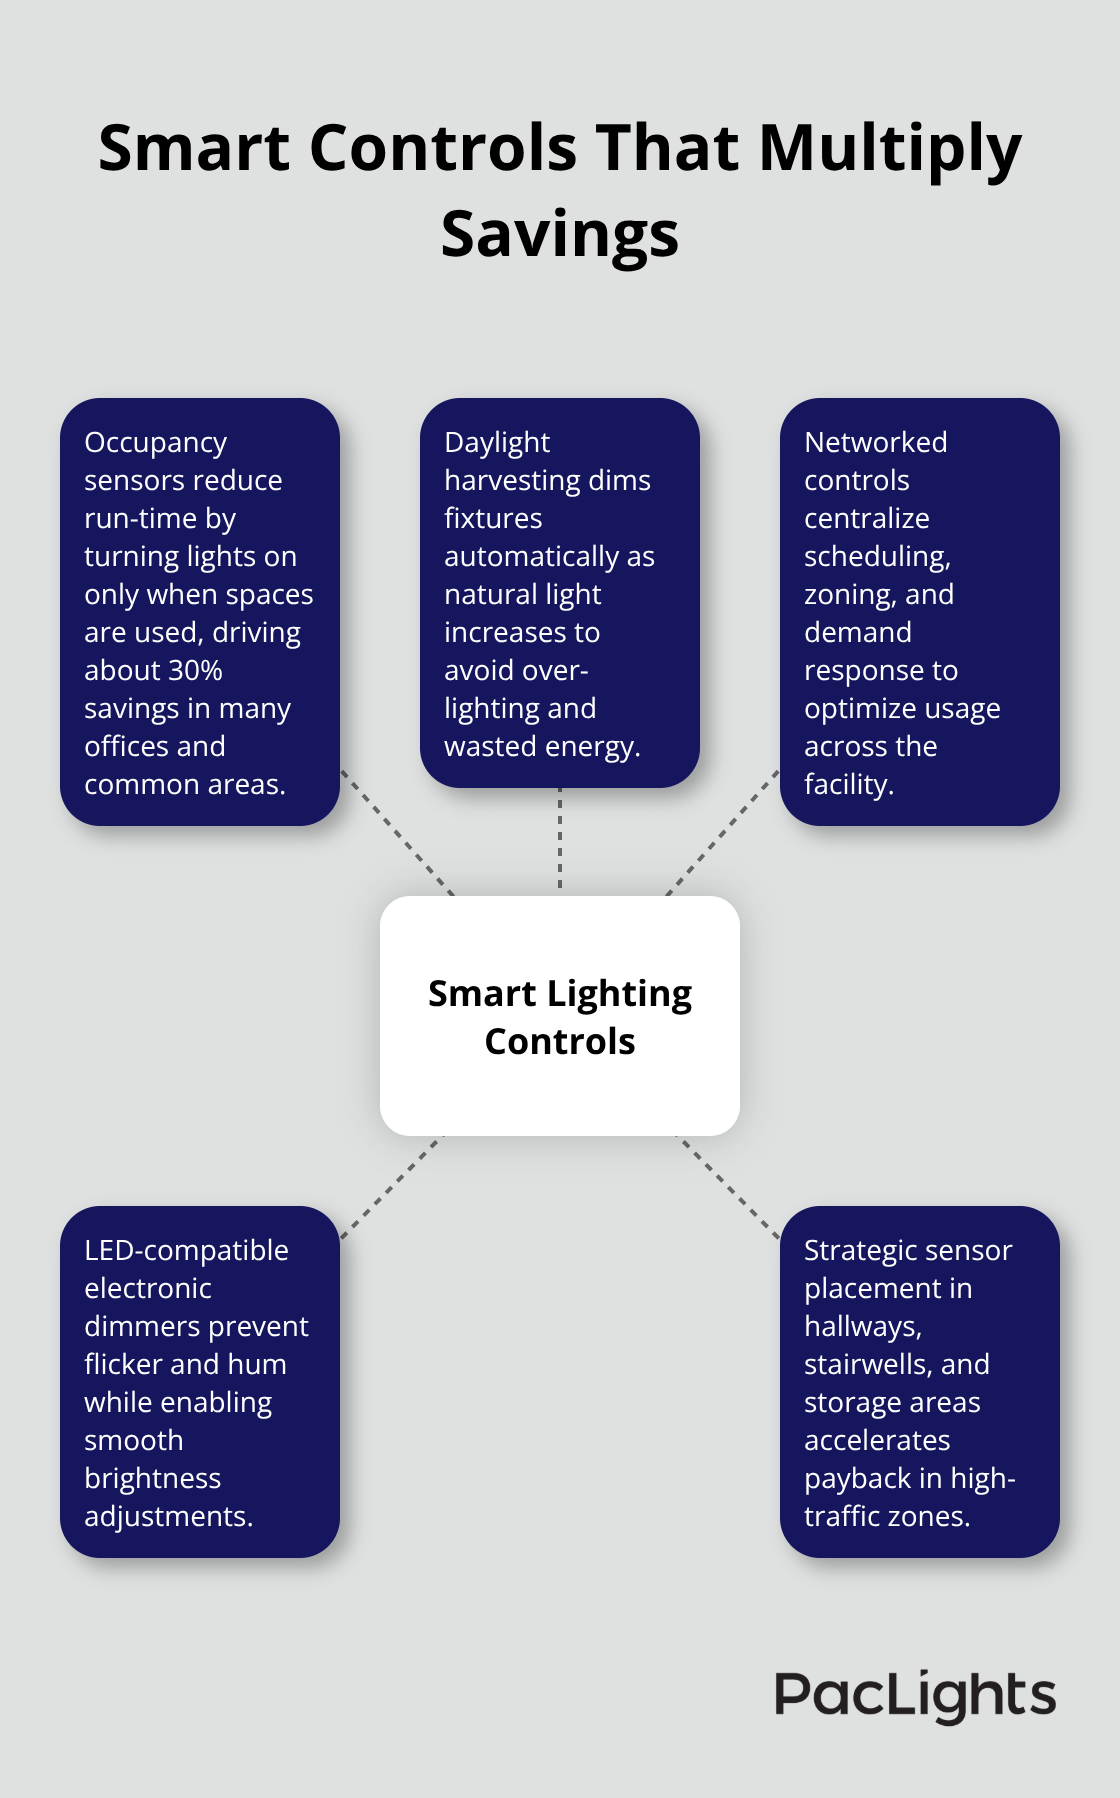
Daylight harvesting works best in spaces with significant window exposure-position sensors near windows and set dimming thresholds so artificial light reduces as natural light increases. Electronic dimmers compatible with LED circuits prevent the flicker and hum that plague older magnetic dimmers, so confirm your existing dimmer infrastructure supports LED loads before you finalize your control strategy. PacLights LED retrofit solutions include optional daylight and motion control, plus advanced networked lighting controls designed specifically for commercial retrofits.
Commission Your System and Verify Performance
Test dimmer compatibility immediately after installation by running lights through full brightness ranges and confirming smooth operation without flicker or audible hum. Measure light levels across your retrofit zone using a lumen meter and compare against your pre-retrofit baseline to verify you’ve achieved target brightness without over-lighting, which wastes energy and creates discomfort. Walk through each space during different times of day to observe how daylight integration performs and adjust sensor thresholds if natural light integration feels uneven.
Check that motion sensors respond appropriately-they should activate lights instantly when occupants enter and hold them on for your configured timeout period (typically 5–15 minutes depending on space type). Run your HVAC system during testing to confirm the reduced heat load from LEDs doesn’t create unexpected temperature swings; most facilities see measurable HVAC efficiency gains within weeks. Pull energy consumption data from your building management system or utility account after two weeks of normal operation and compare against the same period last year to verify actual savings match your pre-retrofit projections.
If actual consumption exceeds projections by more than 10%, investigate whether sensor settings are too aggressive or whether occupancy patterns differ from your assumptions. Document everything-baseline consumption, post-retrofit consumption, sensor settings, dimmer configurations-so you have concrete data for future optimization and warranty claims if issues arise.
Final Thoughts
A 20-fixture retrofit from metal halide to LED wafers delivers under nine months of payback, with first-year ROI exceeding 135% when utility rebates reduce your net investment. LED wafers reach approximately 50,000 hours of life compared to 6,000–15,000 hours for metal halide, so your maintenance costs drop dramatically while energy consumption falls by 50–75%. Occupancy sensors and daylight harvesting push total reductions toward 30–50% when layered with your retrofit, turning a solid investment into an exceptional one.
Your next step depends on where you stand in the retrofit process. If you haven’t conducted a comprehensive lighting audit, start there-a professional assessment reveals up to 50% in potential savings specific to your facility and gives you concrete baseline data to measure against post-retrofit results. If you’ve already audited your system and selected products, lock in your phased installation schedule and prioritize high-usage zones first to accelerate payback and demonstrate value to leadership.
We at PacLights support your retrofit journey with free lighting layout designs and ROI assessments tailored to your facility. Our LED retrofit solutions include optional daylight and motion control, plus advanced networked lighting controls designed specifically for commercial upgrades. Contact us to discuss your wafer downlight retrofit guide, confirm product compatibility, and finalize your installation timeline.
Disclaimer: PacLights is not responsible for any actions taken based on the suggestions and information provided in this article, and readers should consult local building and electrical codes for proper guidance.