

Proper installation makes the difference between wrap lights that perform flawlessly and ones that disappoint. At PacLights, we’ve seen countless projects succeed or struggle based on how carefully the mounting was done.
This wrap lights installation guide walks you through every step, from preparing your space to testing your final setup. Whether you’re outfitting a warehouse, retail space, or industrial facility, following these techniques will save you time and prevent costly mistakes.
What Wrap Lights Are and Where They Work Best
Understanding Wrap Light Design and Function
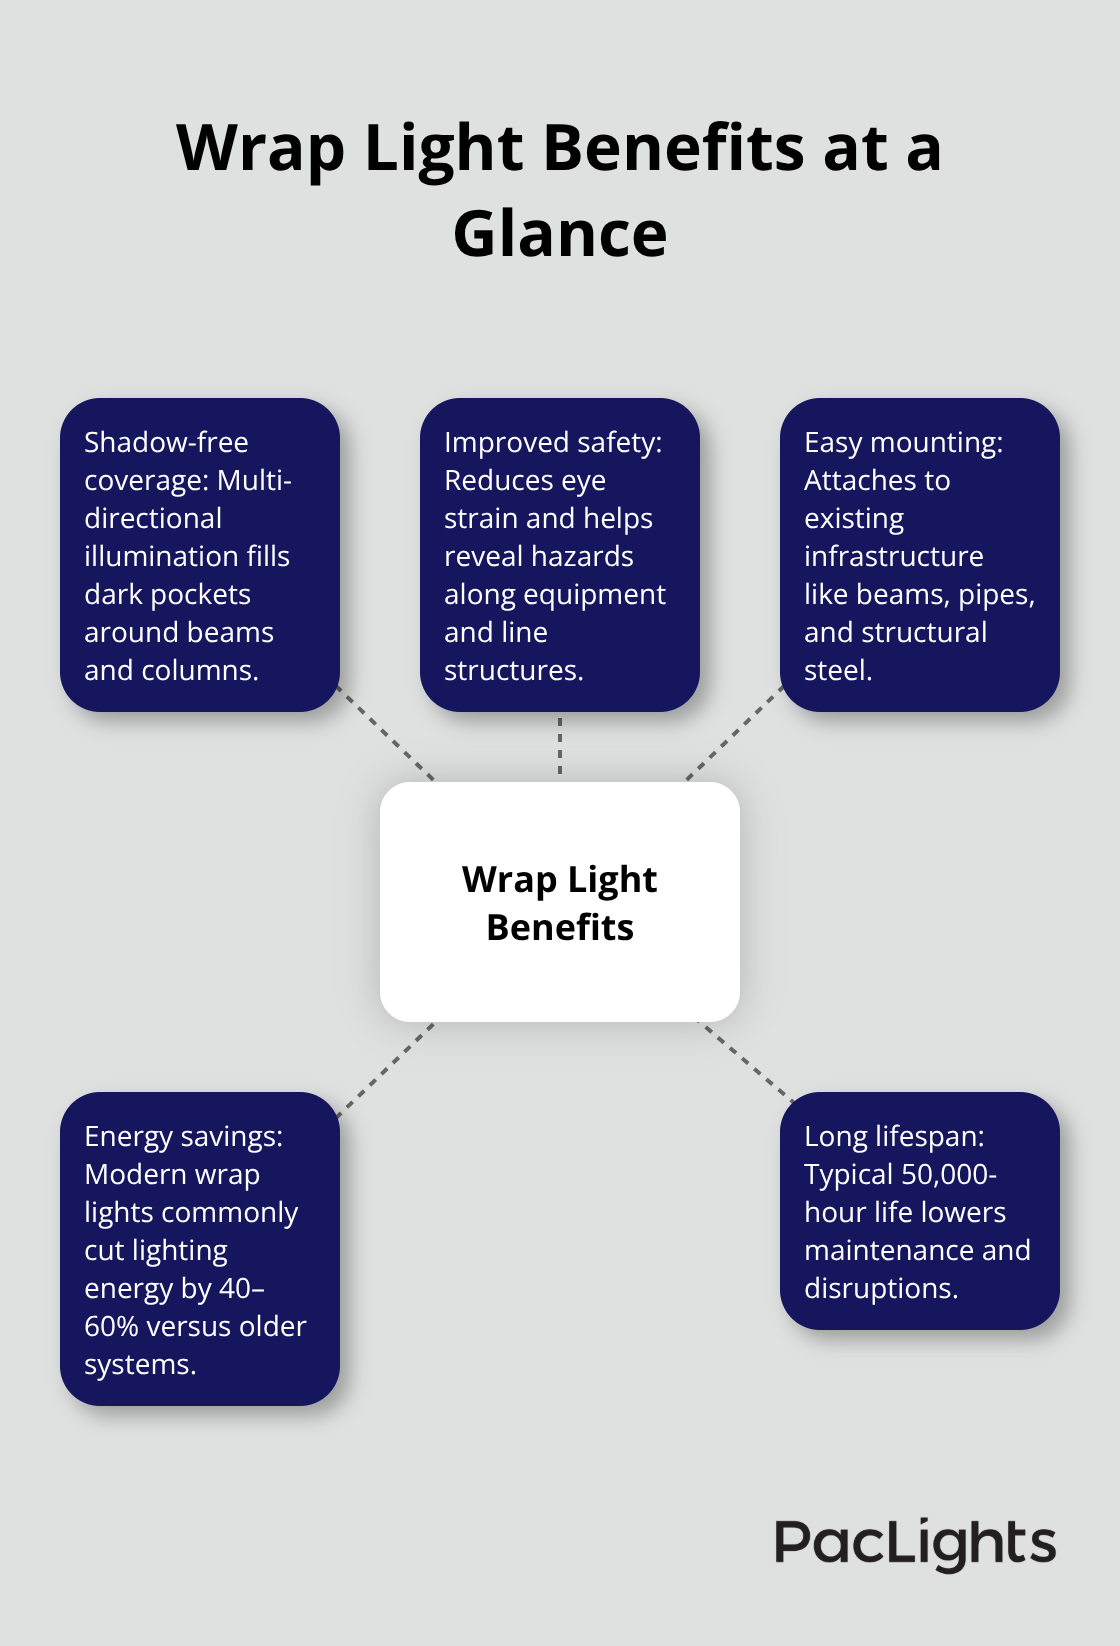
Wrap lights are linear LED fixtures that mount around structural elements like beams, columns, and pipes in commercial and industrial spaces. Unlike traditional recessed or pendant fixtures that point downward, wrap lights emit illumination in multiple directions, wrapping around whatever they’re mounted to. This design eliminates shadows in areas where conventional lighting leaves dark pockets.
Energy Efficiency and Cost Savings
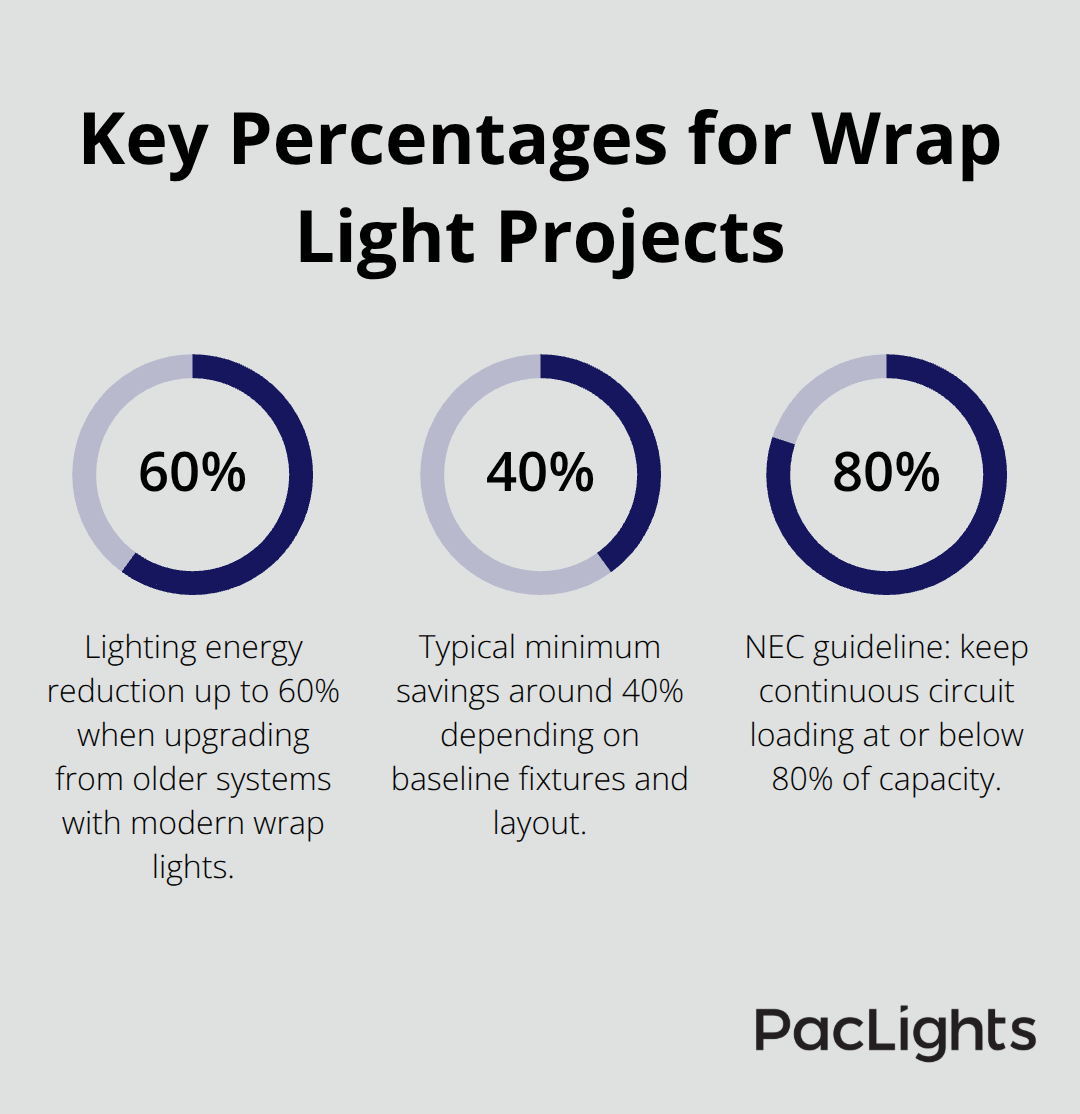
The real advantage of wrap lights appears in your energy bills and maintenance schedules. Traditional high bay fixtures in warehouses typically consume 150-400 watts per unit, while modern wrap lights operate at 30-100 watts for comparable light output, according to energy efficiency data from the Department of Energy. This translates to facilities reducing their lighting energy consumption by 40-60% when upgrading from older systems.
Applications in Retail Environments
Retail spaces benefit from wrap lights around support beams because customers see merchandise clearly from every angle. Retailers report that this improved visibility increases perceived product quality and boosts purchase intent. The 360-degree light distribution eliminates the visual dead zones that traditional overhead fixtures create beneath structural columns.
Industrial and Manufacturing Benefits
Manufacturing facilities use wrap lights on equipment frames and assembly line structures because the multi-directional illumination reduces eye strain and improves worker safety. The lights eliminate the shadows where hazards hide, making work areas safer and more productive. Industrial settings with exposed ductwork, piping, or structural steel find wrap lights particularly practical since they mount directly to existing infrastructure without requiring additional support structures.
Long-Term Performance and Durability
Wrap lights have typical lifespans of 50,000 hours or more, meaning facilities might go five to ten years between replacements compared to the two to three years common with older fluorescent systems. This extended lifespan reduces both replacement costs and operational disruption. With these performance advantages established, the next step involves preparing your space and gathering the right tools for a successful installation.
Pre-Installation Preparation and Safety
Calculating Electrical Load and Capacity
Before you mount a single fixture, you need to understand what your space demands electrically and physically. Start by measuring the total linear footage where wrap lights will mount, then calculate your power requirements based on the wattage of your chosen fixtures. Most commercial wrap lights draw between 30-100 watts per unit, so a 200-foot installation using 50-watt fixtures requires approximately 10,000 watts of capacity on your circuit. Contact a licensed electrician to verify your existing electrical panel can handle this load without exceeding 80% of circuit capacity, which is the standard safety threshold according to the National Electrical Code. Don’t guess at this step-undersizing your electrical infrastructure means tripped breakers and failed installations, while oversizing wastes money on upgrades you don’t need.
Assembling the Right Tools
Gather your tools before you start, and be specific about what you need. You’ll require a tape measure accurate to at least 1/8 inch, a laser level rather than a bubble level because wrap lights demand precision across long distances, a voltage tester to confirm power is off before working, and wire strippers rated for the gauge you’re using.
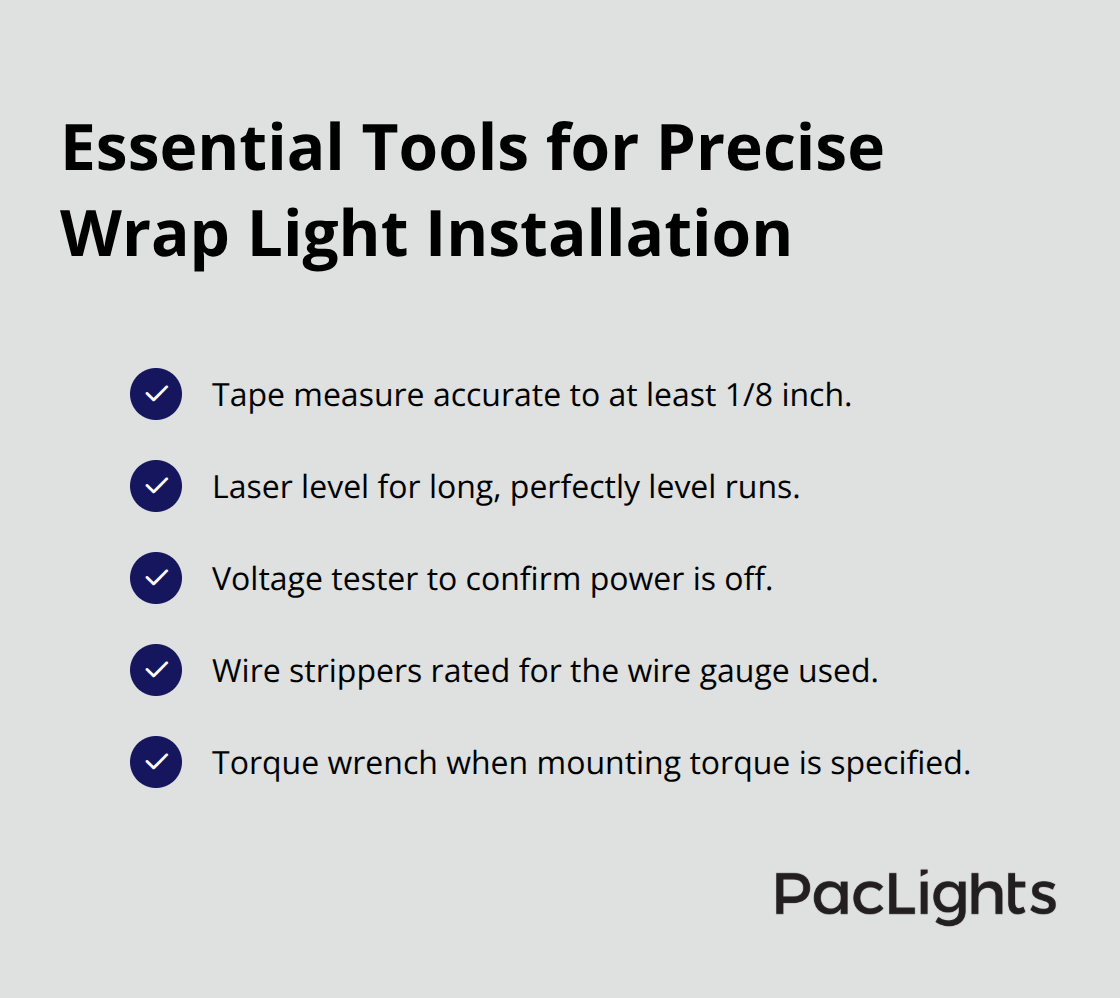
Many facilities skip the laser level and regret it immediately-wrap lights mounted even slightly off-level create visual inconsistency that customers and workers notice. If your fixtures specify mounting torque values, add a torque wrench to your kit.
Inspecting Mounting Surfaces
Inspect your mounting surfaces for corrosion, loose paint, or structural damage before installation begins; compromised surfaces reduce fixture security and increase failure risk. Run your hand across beams, columns, and pipes to identify rough spots or deterioration. Clean the mounting area thoroughly to remove dust and debris that could interfere with secure attachment. This preparation step takes minutes but prevents installation problems that would cost hours to fix later.
Meeting Code and Compliance Requirements
For safety compliance, confirm your installation meets local electrical codes and OSHA requirements for your specific facility type. Industrial environments often have stricter standards than retail spaces, and some jurisdictions require licensed electricians to perform all electrical connections. Check with your local authority having jurisdiction before work starts rather than discovering code violations after completion. These regulatory requirements exist to protect your workers and your facility’s long-term operational safety.
With your space assessed, tools gathered, and compliance confirmed, you’re ready to move into the actual installation process where precision in measuring and marking determines your final results.
Installation Process and Mounting Techniques
Establishing Your Baseline and Marking Points
Accuracy in measuring and marking determines whether your wrap lights sit perfectly level or create visual inconsistency that undermines your entire installation. Start by establishing a baseline reference line using your laser level, not a bubble level, since wrap lights often span 50-100 feet or more where bubble levels accumulate error. Mark this baseline with chalk at multiple points along your mounting path, spacing marks every 10 feet so you maintain consistency across the full run. Use a tape measure to identify the exact center of each mounting location on your beams or columns, then mark these points with a permanent marker. This methodical approach prevents the common mistake of eyeballing distances and discovering mid-installation that your fixtures don’t align properly. For wrap lights mounting on pipes or round surfaces, use a pipe marking tool or wrap-around measuring guide to maintain consistent heights all the way around. Verify your marked points against your electrical plan before drilling any holes, confirming that no wiring, ductwork, or structural reinforcement conflicts with your chosen locations.
Securing Fixtures With Proper Torque and Fastening
Securing your fixtures demands attention to torque specifications and wire gauging that most installers underestimate. If your wrap lights specify mounting torque values between 20-40 foot-pounds, use a torque wrench rather than tightening by hand or with standard wrenches, since over-tightening strips threads and under-tightening allows vibration-induced loosening over time. This precision prevents costly failures months after installation completes. For electrical connections, match your wire gauge to your circuit amperage using the National Electrical Code standards (typically 12-gauge wire for 20-amp circuits and 10-gauge for 30-amp circuits). Strip approximately 3/8 inch of insulation from each wire end and twist strands together before inserting into terminal blocks, ensuring no bare copper remains exposed outside the connector. Connect your ground wire first, then neutral, then hot conductors in that order, reducing the risk of accidental contact with live wires.
Verifying Connections and Testing Output
After securing all connections, your voltage tester should read zero across the circuit before you consider the installation complete. Switch on your circuits one at a time and observe the light output across the entire run, noting any dark spots, uneven brightness, or flickering that indicates connection problems. Walk the full length of your installation from multiple angles to assess coverage, checking that shadows no longer exist in areas that previously showed dark zones. If brightness appears uneven, verify that all mounting fasteners remain tight and that no connections have partially loosened during installation. Document your final results with photographs taken under normal operating conditions, creating a baseline for future maintenance comparisons.
Wrapping Up Your Installation
Your wrap lights installation guide is now complete, and the precision you applied during measuring, marking, and securing fixtures directly determines whether your facility enjoys years of reliable performance or faces recurring maintenance headaches. Long-term success requires regular maintenance that takes minimal effort-every three months, inspect your fixtures for loose fasteners and tighten any that have vibrated loose using your torque wrench to maintain proper specifications. Clean the light surfaces quarterly to remove dust and debris that reduce brightness output, using a soft cloth and mild cleaning solution appropriate for your fixture materials.
Check your electrical connections annually, looking for corrosion or discoloration around terminal blocks that might indicate developing problems, and document these maintenance activities in a simple log so you track when work was completed. Your wrap light investment pays dividends through reduced energy consumption and improved worker safety, but only if the installation remains secure and connections stay tight. The 40-60% energy savings you achieve compared to older systems justify the installation effort, and the extended 50,000-hour lifespan means fewer disruptions to your operations.
We at PacLights offer wrap lights and comprehensive lighting solutions tailored to your facility’s specific needs, including free lighting layout designs and ROI assessments to help you make informed decisions. Visit our website to explore how our energy-efficient fixtures can transform your space while reducing your operational costs.
Disclaimer: PacLights is not responsible for any actions taken based on the suggestions and information provided in this article, and readers should consult local building and electrical codes for proper guidance.