

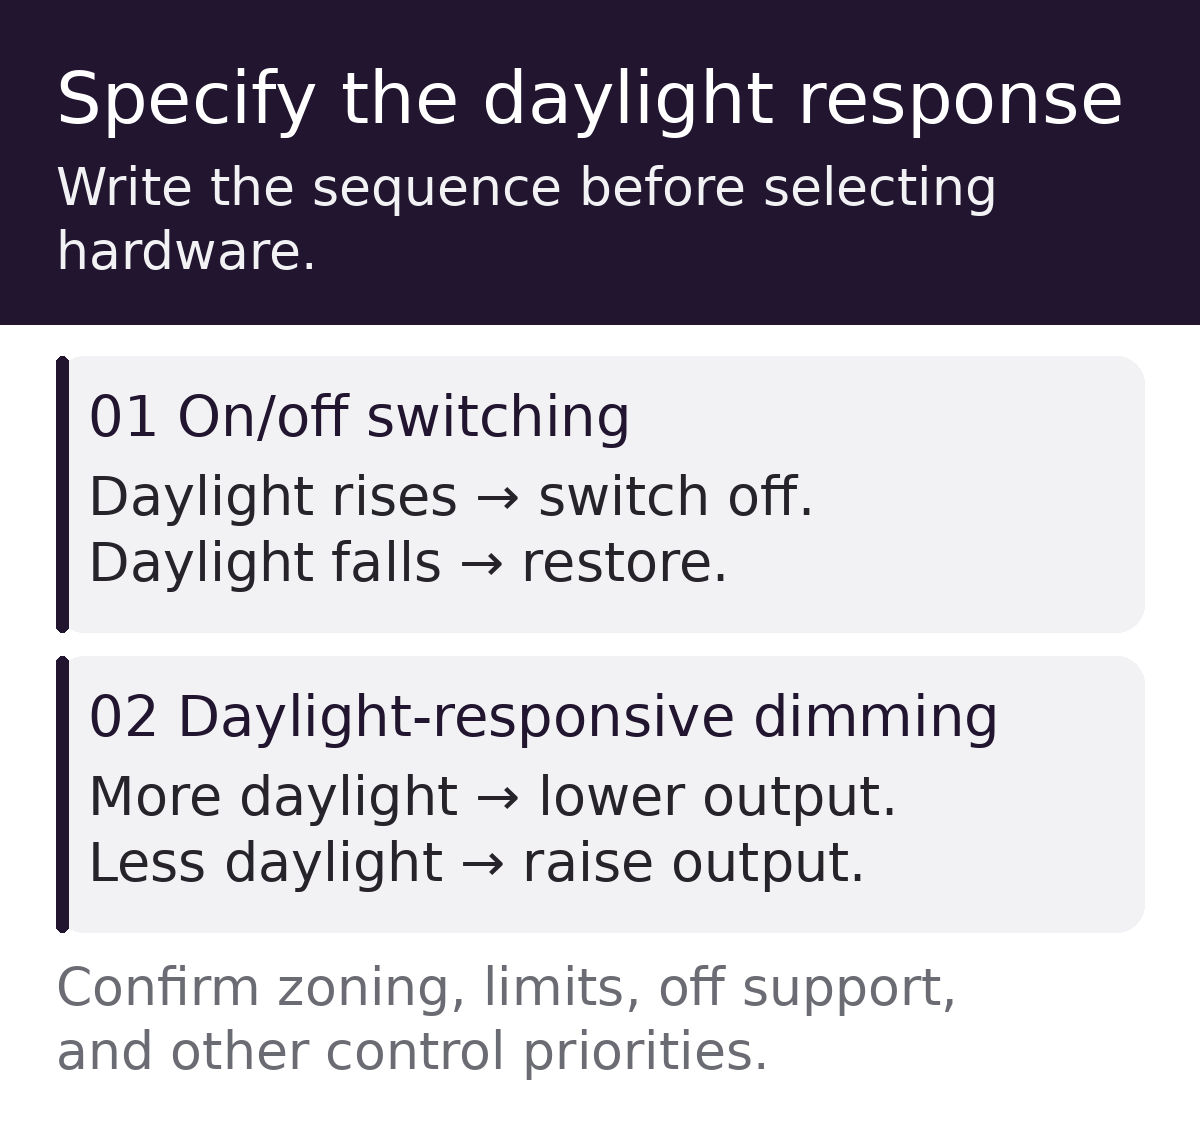
Daylight harvesting can use on/off switching or dimming; the specification must say which response the project requires. Confirm the operating limits, restoration behavior, and interaction with other controls for each zone. Treat dim-to-off as a separate capability to verify.
In a perimeter office, the intended response may be a gradual reduction in light output while people continue working. At an outdoor parking area, the requirement may be to switch lighting off in daylight and restore it as conditions darken. Both use light sensing, but they call for different operating sequences.
A clear operating sequence gives the contractor an installation brief and the commissioning team something meaningful to test. Check that the fixture, driver, sensor, and control support that sequence before ordering.
Start with what the terms mean
Daylight harvesting describes using available daylight to reduce electric lighting. It can involve switching, stepped dimming, or continuous dimming. The term alone does not establish which response a product provides.
For this comparison, daylight on/off means switching electric lighting according to defined daylight conditions. Daylight-responsive dimming means adjusting electric light output as the daylight contribution changes. Product literature may describe that dimming function as daylight harvesting.
| Design question | Daylight on/off | Daylight-responsive dimming |
|---|---|---|
| What changes? | The controlled lighting switches between operating states. | The controlled lighting changes output within its supported range. |
| What must be defined? | Switch-off and restoration conditions, delays, and interaction with other controls. | Target response, dimming limits, transition behavior, and whether an off state is supported and intended. |
| What should be checked? | The lights switch and restore under the specified conditions. | Light output responds appropriately, including at the minimum level and during recovery. |
A dimming system may also switch off. Equally, a driver’s minimum dimming level may leave the fixture illuminated. Confirm the complete sequence rather than treating “dimmable” as a promise of dim-to-off operation.
Choose the response for the space
Begin with the activity and the way daylight reaches the occupied area. Continuous dimming is a useful option to evaluate where people work through changing daylight and a smooth transition matters. Switching is an option where daylight can adequately serve the controlled area and the change between states is acceptable.
Consider an illustrative office with windows along one wall and desks extending into the interior. The window-side fixtures and the interior fixtures may need separate control zones. A sensor responding to strong daylight near the glazing does not establish that the deeper workstations have enough light.
For an outdoor site, start with the required operating hours and nighttime lighting function. Establish how the daylight control interacts with a schedule, occupancy response, or an authorized override. A fixture that turns on successfully during one demonstration has not yet proved that the whole sequence works.
Write a short sequence for every zone
Before selecting a control option, record five decisions. A plain-language zone schedule is often more useful than a collection of feature names.
- Area and task: identify the controlled fixtures, the activity being served, and the locations where lighting will be assessed.
- Daylight response: state whether the fixtures switch, dim in steps, or dim continuously as daylight changes.
- Operating limits: record the intended minimum and maximum response and whether the lights may turn off.
- Control priorities: explain how occupancy, schedules, manual commands, and daylight sensing interact, including what restores normal operation.
- Acceptance checks: describe the conditions the commissioning team must demonstrate and the settings it must record.
Include any available delay or threshold-separation settings needed to avoid repeated switching around a changeover point. Confirm what the chosen controller actually offers; adjustable delays and separate switching thresholds are not universal features.
If the sequence is difficult to explain, resolve it before ordering. Ambiguous requirements tend to reappear as commissioning questions, when the equipment is already installed.
Turn the brief into a testable example
For the illustrative perimeter office, a draft sequence could read:
During scheduled occupied hours, the perimeter fixtures adjust output in response to daylight, within the commissioned operating range. The interior fixtures belong to a separate zone. Occupancy and manual commands follow the approved priority schedule. If daylight-off operation is specified and supported, the perimeter fixtures may turn off only after the defined condition and delay are satisfied. When daylight falls, they restore the electric-light contribution according to the documented restart behavior.
This is a design example, not a factory setting or a universal requirement. The project still needs its assessment locations, lighting targets, supported operating limits, delays, and control priorities filled in. The value of the paragraph is that it exposes questions early: can this combination turn off, what brings it back, and which command takes precedence?
Describe power restoration and temporary overrides too. The facility team should know what happens after an interruption and how to return from an override to the normal schedule. A clear sequence lets the designer, installer, and operator discuss the same behavior.
Match the control option to the complete fixture
PacLights’ SE-TLP electronic photocontrol family illustrates why the function needs to be stated explicitly. Its published options distinguish on/off control, daylight-harvesting dimming, and daylight harvesting with midnight dimming. These functions should not be assumed interchangeable within an ordering description.
For FALC series LED area lights, the FALC/3 specification identifies separate daylight-control options and corresponding receptacle requirements. Check the current specification for the exact configuration being supplied, including its driver and control interface.
A matching connector or a general statement that a fixture accepts controls is only part of that review. Confirm the intended control function, supply requirements, driver response, supported dimming range, and any accessories required for configuration. Record the selected combination in the submittal so purchasing and field teams are working from the same information.
Give the sensor a representative view
Sensor placement and control zoning deserve the same attention as fixture selection. An open-loop photosensor responds to a representative daylight condition; a closed-loop sensor responds to a combination of daylight and electric light. The selected sensor’s instructions determine its intended application and positioning.
Calibrate the installed arrangement with the space in a representative finished condition. Blinds, furnishings, partitions, and reflective surfaces can change what the sensor sees. A sensor reading at its mounting position should not automatically be treated as a measurement of illumination at a desk, floor, or other task surface.
For projects using networked grouping, the zone-planning steps in PacLights’ wireless lighting controls guide provide useful background. Establish which fixtures should respond together before fine-tuning their settings.
Commission the transitions, including the return
Use a test sheet that records the zone, sensor and fixture identities, current settings, environmental conditions, and observed response. Follow the manufacturer’s procedure for testing or simulating daylight changes; simply covering a sensor may not reproduce its normal operating behavior.
For on/off control, demonstrate the switch-off condition and the restoration condition. Observe the relevant delays and check whether a schedule or occupancy state changes the result. Where repeated cycling occurs, investigate the sensor’s view and the available control settings before accepting the installation.
For dimming, check operation toward both ends of the supported range. Observe the transition as daylight increases and the recovery as it falls. Verify the intended low-level or off state, then demonstrate how normal lighting resumes.
Test the combined sequence as well: occupied and unoccupied conditions, scheduled operation, and any permitted manual override. Measure at the assessment locations defined in the design brief. Keep required emergency-lighting functions within the separately approved project design.
Use unexpected results to narrow the investigation. A zone that remains bright in strong daylight calls for a check of its enabled function and assignment. A zone that fails to restore calls for a review of restart conditions and other active commands. Uneven task illumination calls for a review of assessment points and zoning. Record the observation before changing settings so the next test has a useful baseline.
Leave a usable record for the facility team
Handover should include a zone plan, the selected fixture and control options, final settings, test observations, and instructions for authorized adjustment. Explain which changes the facility team can make and which require technical support or recommissioning.
Make future changes traceable. If a tenant moves partitions or a maintenance team replaces a control, the original record should help them identify what needs to be checked again.
For broader planning context, PacLights’ guide to energy-efficient lighting controls discusses how daylight response fits alongside occupancy sensing and scheduling.
For a review of fixture and control compatibility with PacLights, prepare the zone plan, fixture schedule, intended daylight response, and proposed control priorities. Include any required low-level or off behavior so the discussion covers the complete operating sequence.
Disclaimer: PacLights is not responsible for any actions taken based on the suggestions and information provided in this article, and readers should consult local building and electrical codes for proper guidance.