

A 0–10V dimming label does not, by itself, establish that a lighting system will turn off through its control input. Before acceptance, verify three separate behaviors on the exact installed combination: the required minimum light level, the intended off state, and the return to normal operation. Record the command, starting conditions, expected response, and observed result for each test.
This distinction matters when a project expects fixtures to extinguish after an unoccupied period or when daylight is sufficient. A fixture that reaches its documented minimum may be working correctly even though it remains illuminated. Conversely, a fixture that goes dark once has not yet demonstrated dependable restoration or the correct response to another active control.
Write the required behavior before testing
Begin with the approved sequence of operation. Does the zone need a low standby level, a fully extinguished normal-lighting state, or both at different times? Identify when each state applies and which command restores lighting. An acceptance test cannot resolve a design brief that uses “minimum,” “zero,” and “off” interchangeably.
Define what the percentage refers to. A percentage displayed in a controller is a command or setting; it is not automatically the same percentage of measured light output or input power. Do not infer an energy-saving result from a dimming slider. If the project requires measurements, the designer should specify the quantities, locations, equipment, and acceptance criteria.
Keep normal-lighting control tests within the approved project design. Emergency and egress functions need their own applicable requirements and procedures. An instruction to turn off a normal zone is not permission to disable a required lighting function during testing or operation.
Match the documentation to the supplied equipment
Collect the fixture model and generation, installed driver information, selected control option, and controller documentation. Record the revision of each document used. A familiar family name or matching control connector is not enough to establish the response of every available configuration.
For example, the current PacLights FDLA commercial downlights page describes 0–10V dimming to 1% and off. The page also separates current FDLA/2 documentation from previous-generation documents. Confirm the exact supplied model and its current instructions before using a family-level description as the acceptance basis. Do not apply that capability to a different fixture or driver without evidence.
Ask two separate questions: how does the selected driver respond at the bottom of its supported control range, and how does the complete system achieve the specified off state? Where separate switching is part of the approved arrangement, document its role. Do not assume that every driver treats the lowest available control signal identically or that a controller’s “off” command uses the same mechanism.
Record any configurable minimum, maximum, fade, delay, or restart settings that the selected equipment actually supports. Leave unsupported features marked as unavailable rather than inventing a factory default. Resolve conflicting or incomplete documentation with the supplier before signing off the affected test.
Use an acceptance matrix that follows the transitions
A useful test sheet has one row for each required transition. Start with normal operation, move to the required low level, test the intended off command where supported, then restore normal operation. Add the occupied, unoccupied, daylight, scheduled, and manual states that actually apply to that zone.
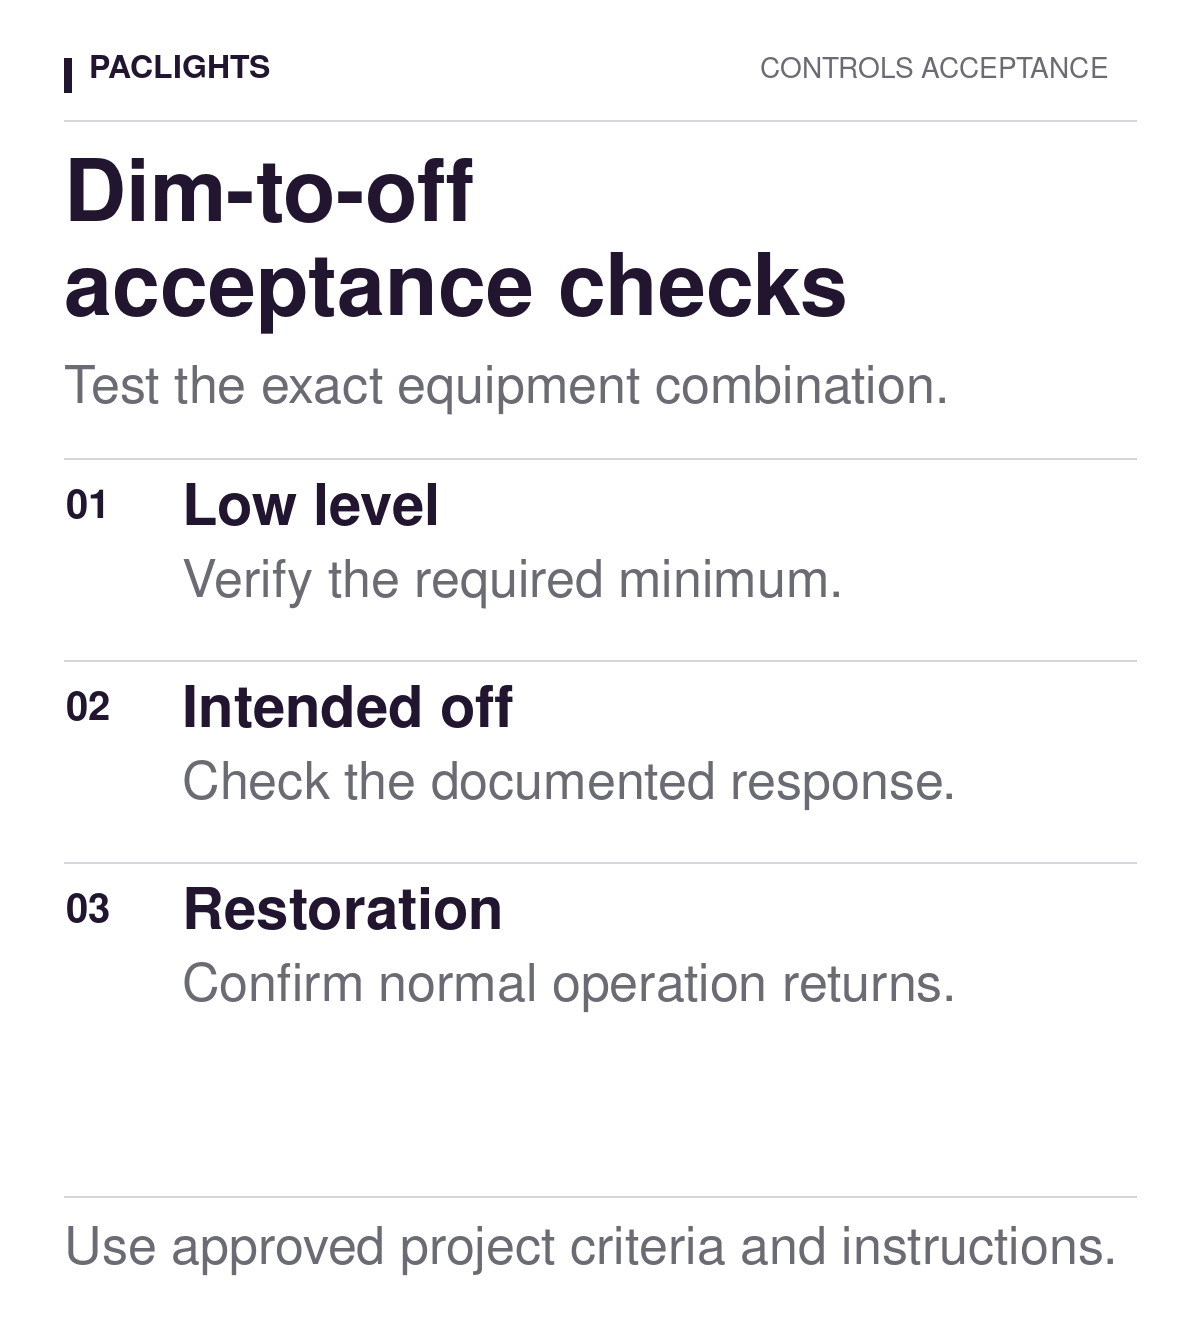
For every row, capture the zone and fixture IDs, starting state, command source, expected response, observed response, and result. Include the active settings and conditions that could influence the outcome. A short written observation is more useful than a check mark when a transition hesitates, behaves differently across fixtures, or depends on an override.
As an illustrative office example, the sequence might call for a low occupied dimming level during a daylight test, a separate unoccupied off state, and restoration when occupancy returns. Those are three tests with different starting conditions. This example supplies no universal minimum, delay, or lighting target; the project team must provide them.
Distinguish low output from an accepted off state
Observe the actual fixtures, not just the controller interface. Record whether the light source remains illuminated, whether all intended fixtures respond together, and whether the result matches the specified state. Account for daylight and adjacent lighting when judging the zone; a bright room does not prove that the tested fixtures remained on.
If a source appears faintly illuminated after an off command, describe that observation without immediately assigning a cause. Check the exact model, its documented behavior, current settings, group membership, and other commands before treating the result as either normal or defective. A photograph may support the record, but exposure settings make it an unreliable substitute for the project’s measurement procedure.
Likewise, “no visible light” is a lighting observation, not evidence of zero electrical consumption or safe electrical isolation. Any electrical investigation belongs to qualified personnel following the equipment instructions and project procedures. The acceptance sheet should separate what was seen from what was measured and what remains unverified.
Check what brings the lights back
Restoration deserves its own test. From the intended off state, apply the approved return condition and observe the response. Confirm which fixtures return, the required operating level, and any documented delay or transition. Then check that the zone resumes its normal sequence rather than remaining in a temporary test or override mode.
Where the project calls for it, include recovery after an authorized interruption and after a permitted manual override ends. These checks should follow the manufacturer’s instructions and the approved test procedure. Avoid improvising repeated power cycling or changing wiring to produce a result.
A zone may pass a manual command test yet fail its automatic sequence because a schedule, occupancy state, daylight input, or priority rule changes the result. PacLights’ guide to daylight harvesting and daylight on/off sequences explains why the intended response and restoration conditions need to be specified together.
Test the combined sequence without losing the baseline
Establish a documented starting condition before each test. Note which schedule is active, whether the zone is occupied, the relevant daylight condition, and any authorized overrides. If a test mode temporarily suppresses an input, record that limitation and perform the required combined check afterward.
Change one relevant setting at a time during investigation. Save the previous value, reason for adjustment, and repeat-test result. Changing several delays and minimum levels together may produce an acceptable demonstration while leaving the team unable to explain which change mattered. Keep fixture and group assignments traceable as well.
The broader warehouse lighting controls overview describes occupancy, daylight, and dimming strategies. For acceptance, translate the project’s chosen strategies into specific commands and responses; broad feature descriptions and savings estimates do not replace equipment-specific test results.
Close the record with clear exceptions
Use distinct results such as pass, fail, and not tested. “Not tested” is appropriate when the required condition could not be established; it should not be converted into a pass because a neighboring zone worked. Identify who owns the follow-up and what evidence will close it.
Keep the final fixture and controller identities, document revisions, approved sequence, settings, observations, and exception log together. Retain the earlier baseline when a correction changes the outcome. A replacement driver, revised control group, or later settings change should trigger a review of the relevant tests rather than inheriting an old signoff automatically.
For a PacLights compatibility review, prepare the exact fixture and control schedule, relevant driver documentation, and the required minimum, off, and restoration behaviors. Include the completed test matrix or the unresolved rows. That gives the review a concrete equipment combination and a defined response to investigate.
Disclaimer: PacLights is not responsible for any actions taken based on the suggestions and information provided in this article, and readers should consult local building and electrical codes for proper guidance.