

Most people install flush mount downlights without thinking about beam angles. This single decision determines whether your space gets proper light coverage or dark spots that waste energy.
At PacLights, we’ve seen countless installations fail because the wrong beam angle was chosen. The good news is that understanding flush mount beam angles takes just a few minutes, and it transforms how your lighting performs.
Understanding Beam Angles and Coverage Patterns
What Exactly Is Beam Angle and Why It Matters
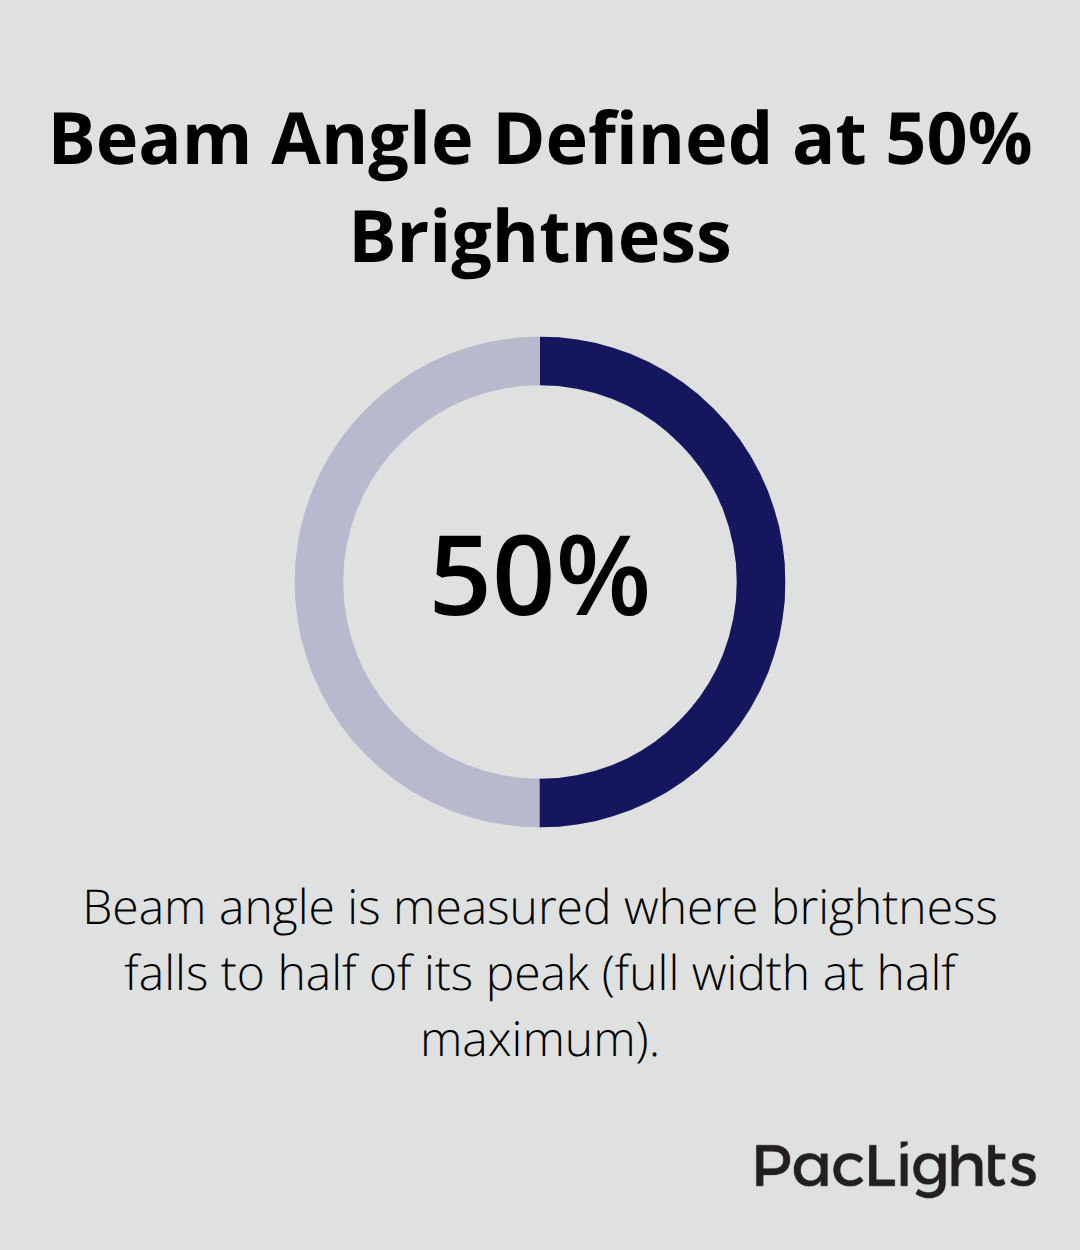
Beam angle defines the cone of light that exits your downlight, measured at the point where brightness drops to 50% of its peak. Think of it as the width of the light pool on your floor or work surface. A 36-degree beam angle creates a tighter, brighter spot than a 60-degree angle, which spreads light across a wider area with less intensity. The distinction matters because it directly determines whether you get even coverage or dark gaps between fixtures.
Ceiling height amplifies this effect: a fixture mounted 8 feet high with a 36-degree beam creates a much smaller lit area than the same fixture with a 60-degree beam. This is why installers who ignore ceiling height end up with either wasted dark corners or overlapping bright spots that look unprofessional.
How Spacing and Beam Angle Work Together
The spacing criterion, or SC value, tells you the maximum distance between downlights for even illumination. Multiply the SC value by your ceiling height, and you get the maximum spacing. For example, a fixture with an SC of 1.2 and an 8-foot ceiling means you should space lights no more than 9.6 feet apart. Push beyond this spacing, and you create visible gaps with noticeable darker patches. Narrow beam angles like 24 degrees have lower SC values, so you need more fixtures closer together. Wide beams around 75 degrees have higher SC values, allowing greater spacing. This trade-off matters: narrow beams deliver brightness and reach but require denser fixture placement, while wide beams reduce fixture count but sacrifice intensity. For a kitchen counter that serves as your main work surface, a 36-degree beam works better than a 60-degree beam because it concentrates light where you actually work. For general living room lighting, the 60-degree beam avoids creating spotty coverage.
Comparing Beam Angles in Real Scenarios
A 1.5-meter diameter table lit from 2 meters high with a 36-degree beam produces a light spot approximately 1.38 meters across, leaving the table edges darker. Drop to a 24-degree beam on the same table, and the bright center tightens significantly while the edges fall into shadow. This matters for dining and task areas where you need uniform brightness across the entire surface. Retail spaces and commercial galleries often use beams wider than 60 degrees to light entire aisles evenly, while accent lighting for artwork demands very narrow 10 to 15-degree beams that highlight detail without washing out surrounding areas. The practical takeaway: measure your work surfaces and room dimensions before selecting a beam angle. IES diagrams from fixture manufacturers show exactly how light distributes at different angles, so you can visualize performance before installation rather than discovering problems afterward. With this foundation in place, selecting the right beam angle for your specific space becomes straightforward.
Which Beam Angle Fits Your Room
Narrow Angles for Accent and Task Lighting
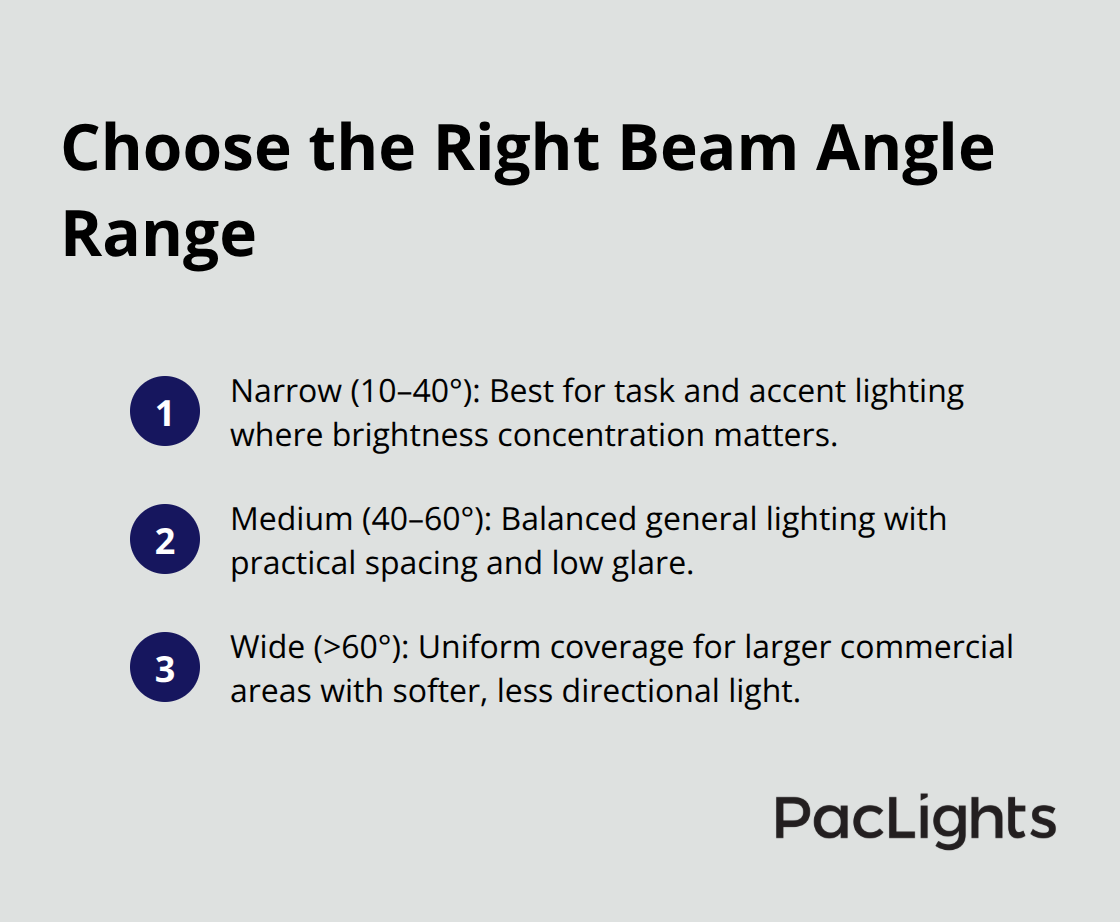
Narrow beam angles between 10 and 40 degrees concentrate light into tight pools, making them ideal for accent lighting and task-specific work. If you highlight artwork, display retail merchandise, or light a kitchen counter where precision matters, narrow angles deliver the brightness and reach you need. A 24-degree beam on a gallery wall creates dramatic focus without washing out surrounding areas, while a 36-degree beam over a kitchen island concentrates light exactly where you prep food. The trade-off is spacing: narrow beams require fixtures placed closer together to avoid dark gaps. For a 10-foot by 12-foot kitchen with an 8-foot ceiling, you need roughly 6 to 8 fixtures with 36-degree beams spaced around 5 to 6 feet apart, compared to perhaps 4 to 5 fixtures with wider angles. This density increases installation cost and electrical work, but the payoff is uniform brightness across your work surface and reduced eye strain during detailed tasks. Retail environments commonly adopt 15 to 24-degree beams for display cabinets and accent zones, accepting the higher fixture count because proper highlighting drives sales and enhances product visibility.
Medium Angles for Balanced General Lighting
Medium beam angles from 40 to 60 degrees handle general room lighting without creating obvious hot spots or requiring excessive fixture density. A 60-degree beam in an 8-foot ceiling room spaces fixtures roughly 9.6 feet apart using the spacing criterion, making it practical for most residential kitchens, living rooms, and hallways. This angle balances coverage and brightness effectively: you get even illumination across the room without the glare concerns that plague overly wide beams or the installation complexity of narrow angles. Commercial offices often standardize on 45 to 60-degree beams for overhead ambient lighting, then layer in narrower accent fixtures for desks and display areas.
Wide Angles for Large Spaces
Wide beam angles above 60 degrees spread light across large areas with lower intensity, suiting expansive commercial spaces like retail aisles, warehouses, and galleries where uniform coverage matters more than brightness concentration. A 90-degree flood beam in a 16-foot by 26-foot dining and kitchen area requires fewer fixtures overall but delivers softer, less directional light that some find less energizing for task work.
Layering Beam Angles for Multiple Functions
Start by identifying your primary function in each zone. Task areas demand narrow to medium angles; general circulation and ambient zones work well with medium to wide angles. Mixing beam angles in the same room is not just acceptable-it’s the standard practice among professional installers.
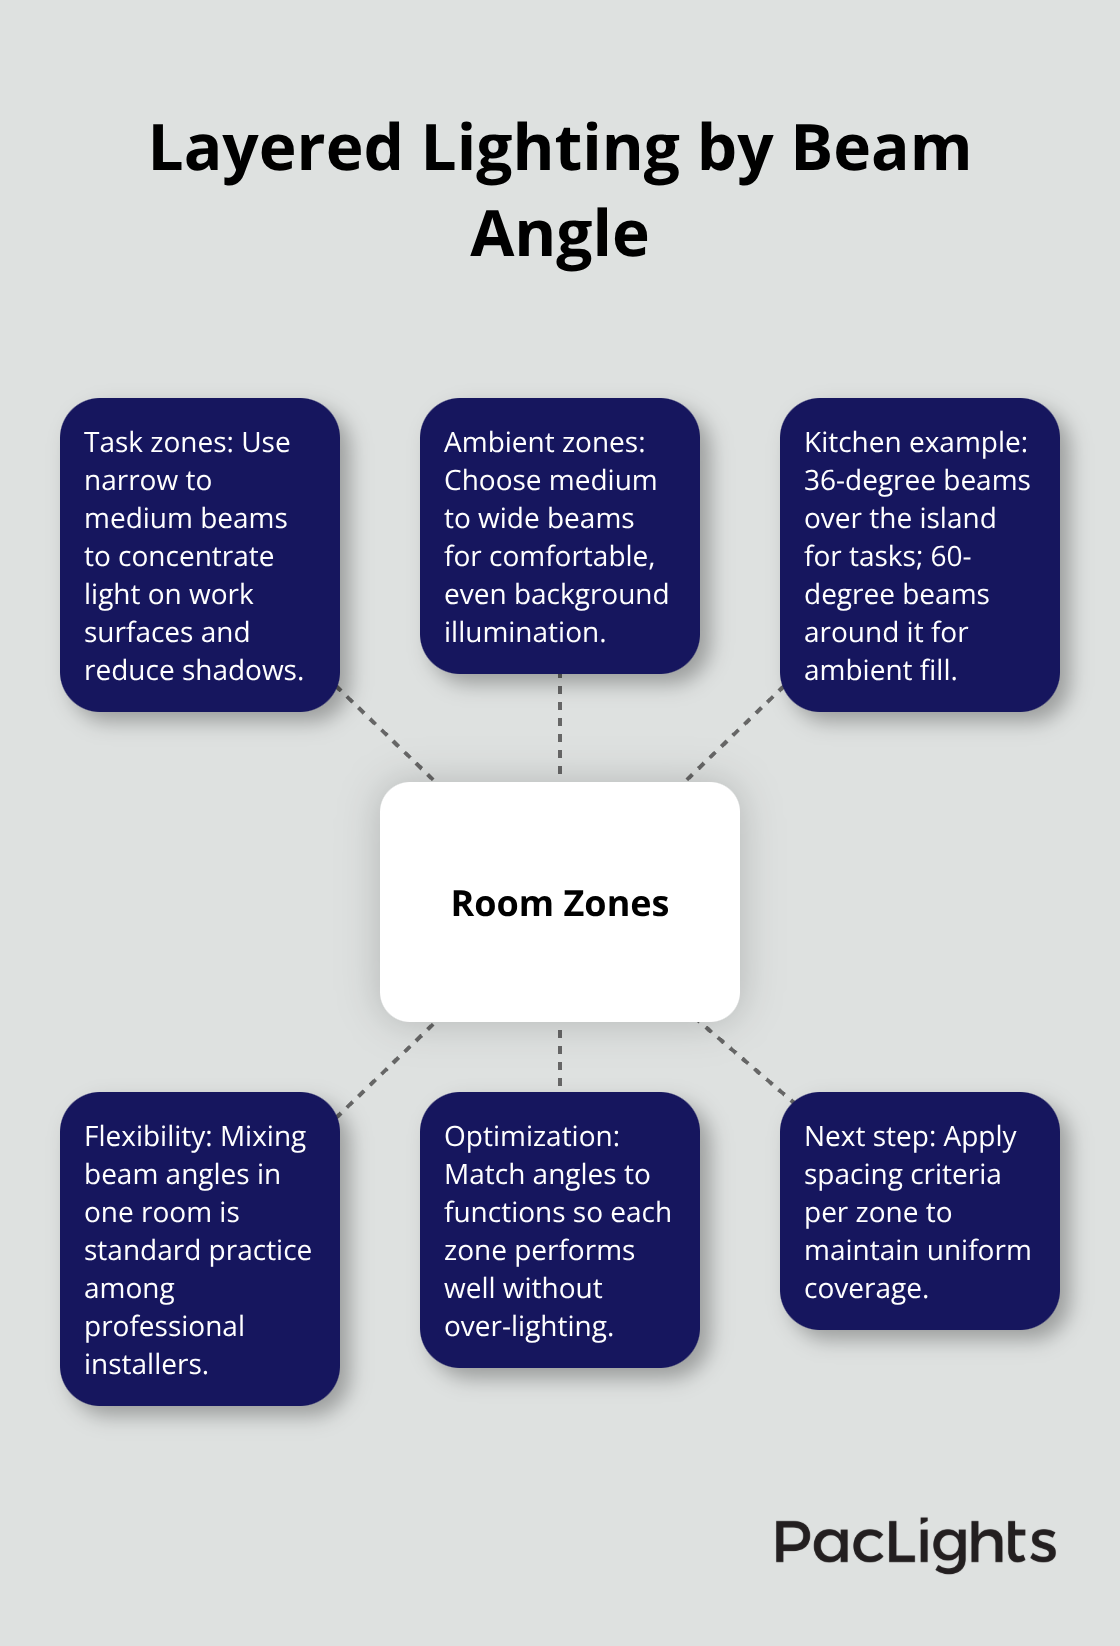
A kitchen island might use 36-degree task lighting while surrounding counter areas and dining space use 60-degree ambient fixtures, creating layered illumination that serves multiple purposes without redesign. This approach lets you optimize each zone independently rather than forcing a single beam angle to handle every lighting need. Once you understand how different angles perform in your specific room layout, the next step involves avoiding the mistakes that derail most installations.
Common Beam Angle Mistakes and How to Avoid Them
Showroom Choices Don’t Match Real Spaces
Most people select a beam angle based on what looks good in a showroom rather than measuring their actual space first. Someone visits a lighting supplier, sees a 36-degree beam sample, thinks it looks bright and focused, then installs six fixtures across a 20-foot kitchen and discovers half the counter sits in shadow. This happens because narrow angles concentrate light into a smaller footprint than most people intuitively expect. A 36-degree beam from an 8-foot ceiling covers roughly a 5-foot diameter circle on your work surface, leaving significant gaps if fixtures are spaced 7 or 8 feet apart.
Calculate your actual spacing requirement before purchasing anything. Multiply your fixture’s spacing criterion by your ceiling height, then verify this spacing works with your room dimensions. For a 12-foot by 14-foot bedroom with 9-foot ceilings and 36-degree fixtures rated SC 0.8, the maximum spacing is 7.2 feet. This means you need at least 4 fixtures arranged in a grid pattern, not 2 or 3. Many installers skip this math entirely and rely on rules of thumb like one fixture per 50 square feet, which fails spectacularly when beam angle and ceiling height vary.
Ceiling Height Transforms Beam Performance
Ceiling height fundamentally changes how beam angles perform. An 8-foot ceiling and a 12-foot ceiling transform the same 60-degree beam into completely different light patterns. At 8 feet, a 60-degree beam creates a lit circle roughly 9.3 feet in diameter on the floor. Push that same fixture to 12 feet high, and the diameter expands to 14 feet, spreading the same light output across nearly 2.25 times the area. This is why residential spaces with standard 8-foot ceilings often need narrower angles than commercial buildings with 10 to 12-foot ceilings.
Sloped or vaulted ceilings complicate matters further because fixture height varies across the room, making uniform coverage nearly impossible with a single beam angle. In these situations, install adjustable fixtures that let you tilt the beam to compensate for height variations, or accept that some areas will require supplemental accent lighting.
Reflective Surfaces Hide Planning Errors
Reflective surfaces amplify the problem when overlooked. A white ceiling bounces light effectively, creating secondary illumination that masks poor fixture spacing during the day but disappears once you dim the lights or when sunlight fades. Dark ceilings and walls absorb light aggressively, making spacing errors immediately visible because you lose the benefit of reflected light filling gaps.
Test your layout at night with dimmed lighting to see the actual coverage before committing to permanent installation. If dark spots appear between fixtures, you either need to add more fixtures, switch to wider beam angles, or reposition existing ones closer together. These corrections are far cheaper during planning than after drywall and trim are installed.
Final Thoughts
Selecting the right flush mount beam angles for your space requires three essential actions: match the angle to your room size and ceiling height, calculate proper fixture spacing using the spacing criterion, and test your layout before permanent installation. Narrow angles between 10 and 40 degrees work best for task lighting and accent work where brightness concentration matters, while medium angles from 40 to 60 degrees handle general room lighting without excessive fixture density or glare concerns. Wide angles above 60 degrees suit large commercial spaces where uniform coverage across expansive areas takes priority.
Proper beam angle selection reduces energy waste significantly. When fixtures are spaced correctly for their beam angle, light reaches your work surfaces and living areas instead of illuminating empty space or creating dark gaps that tempt you to add more fixtures than necessary. A well-planned layout with appropriate angles uses fewer fixtures overall while delivering better coverage, which means lower electricity consumption and reduced operating costs over time.
Measure your actual space and identify which zones serve which functions before making any purchases. Calculate the spacing criterion for your chosen fixtures, multiply by your ceiling height, and verify this spacing works with your room layout-then test your planned layout at night with dimmed lighting to confirm coverage before committing to permanent work. We at PacLights offer free lighting layout designs and ROI assessments that account for flush mount beam angles, spacing, and energy efficiency to help you make informed decisions before installation.
Disclaimer: PacLights is not responsible for any actions taken based on the suggestions and information provided in this article, and readers should consult local building and electrical codes for proper guidance.