

Flush mount downlights are one of the most practical lighting solutions for modern spaces, but choosing and installing them correctly makes all the difference. At PacLights, we’ve helped countless customers navigate this process, and we know where most people stumble.
This flush mount downlight guide walks you through everything you need to know, from selecting the right fixtures to getting them installed properly. Whether you’re upgrading a single room or an entire building, the right approach saves time and money.
What Flush Mount Downlights Actually Do
How Flush Mount Downlights Work
Flush mount downlights sit flat against your ceiling, delivering light straight down without the visual bulk of pendant fixtures or recessed cans that protrude into your space. Unlike traditional recessed downlights that require deep cavity space, flush mounts work with shallow ceiling plenums, making them ideal for buildings with 8-foot ceilings or lower where headroom matters. The fixture mounts directly to drywall or structural surfaces, and the trim ring sits flush with the ceiling plane, creating clean sightlines that won’t catch dust or debris.
Energy Savings That Add Up Fast
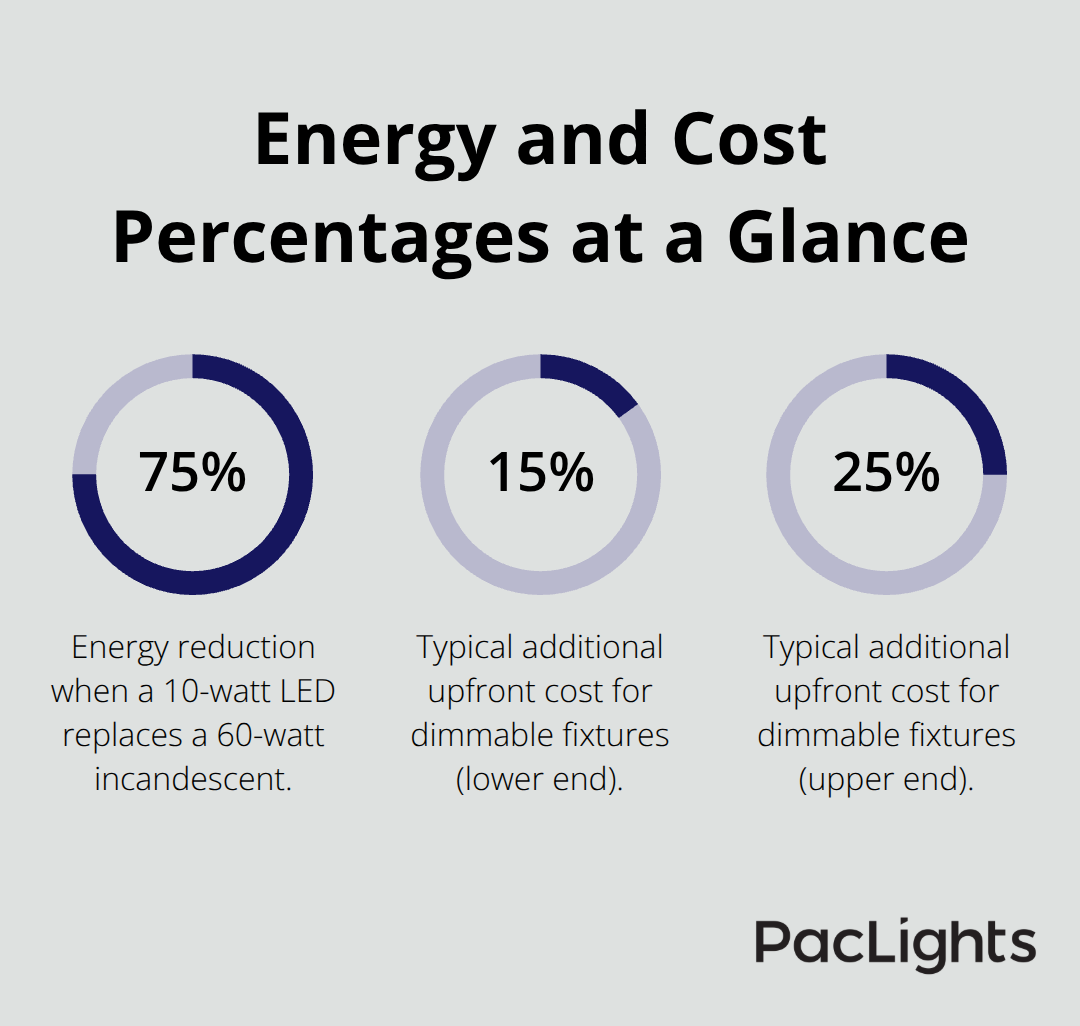
A 10-watt LED flush mount downlight typically produces around 800 lumens, matching the brightness of a 60-watt incandescent bulb while cutting energy consumption by roughly 75 percent. This efficiency isn’t theoretical-it translates directly to your operating costs. A 60-watt incandescent running 5 hours daily costs about 11 dollars per month in electricity; the same 10-watt LED version costs under 2 dollars monthly, saving roughly 9 dollars each month per fixture. Over a 25,000-hour lifespan, a single LED downlight saves approximately 2,700 dollars in energy costs versus incandescent, making the upfront investment pay for itself many times over through reduced electricity bills.
Where Flush Mounts Perform Best
Flush mounts perform best in kitchens, hallways, bathrooms, and commercial office spaces where even illumination matters more than decorative impact. Kitchens typically need 3,000 or more lumens total across all fixtures to handle food prep tasks safely; bathrooms require 500 to 800 lumens per fixture for grooming and cleaning. Hallways benefit from fixtures spaced 6 to 8 feet apart to prevent dark spots between lights. In commercial settings, flush mounts deliver uniform coverage while minimizing glare, critical for employee comfort and productivity.
Lifespan and Total Cost of Ownership
LED fixtures last 25,000 or more hours, which means significantly fewer replacements over the fixture’s lifespan and lower maintenance labor costs compared to incandescent alternatives. The total cost per fixture runs 35 dollars on average for materials, plus electrician labor at 75 to 150 dollars per hour depending on your location and whether you’re doing new construction or retrofit work. These upfront expenses pale against the long-term savings and reduced replacement frequency that LED technology delivers.
Understanding how flush mounts work and where they excel sets the foundation for making smart selections. The next step involves identifying which specifications matter most for your specific space and application.
Selecting the Right Flush Mount Downlight for Your Space
Start with Lumens, Not Wattage
Selecting the right flush mount downlight comes down to three concrete decisions: lumen output for your room’s function, color temperature for the mood and task you need, and confirmation that your existing electrical infrastructure can handle the retrofit. Start with lumens, not wattage.
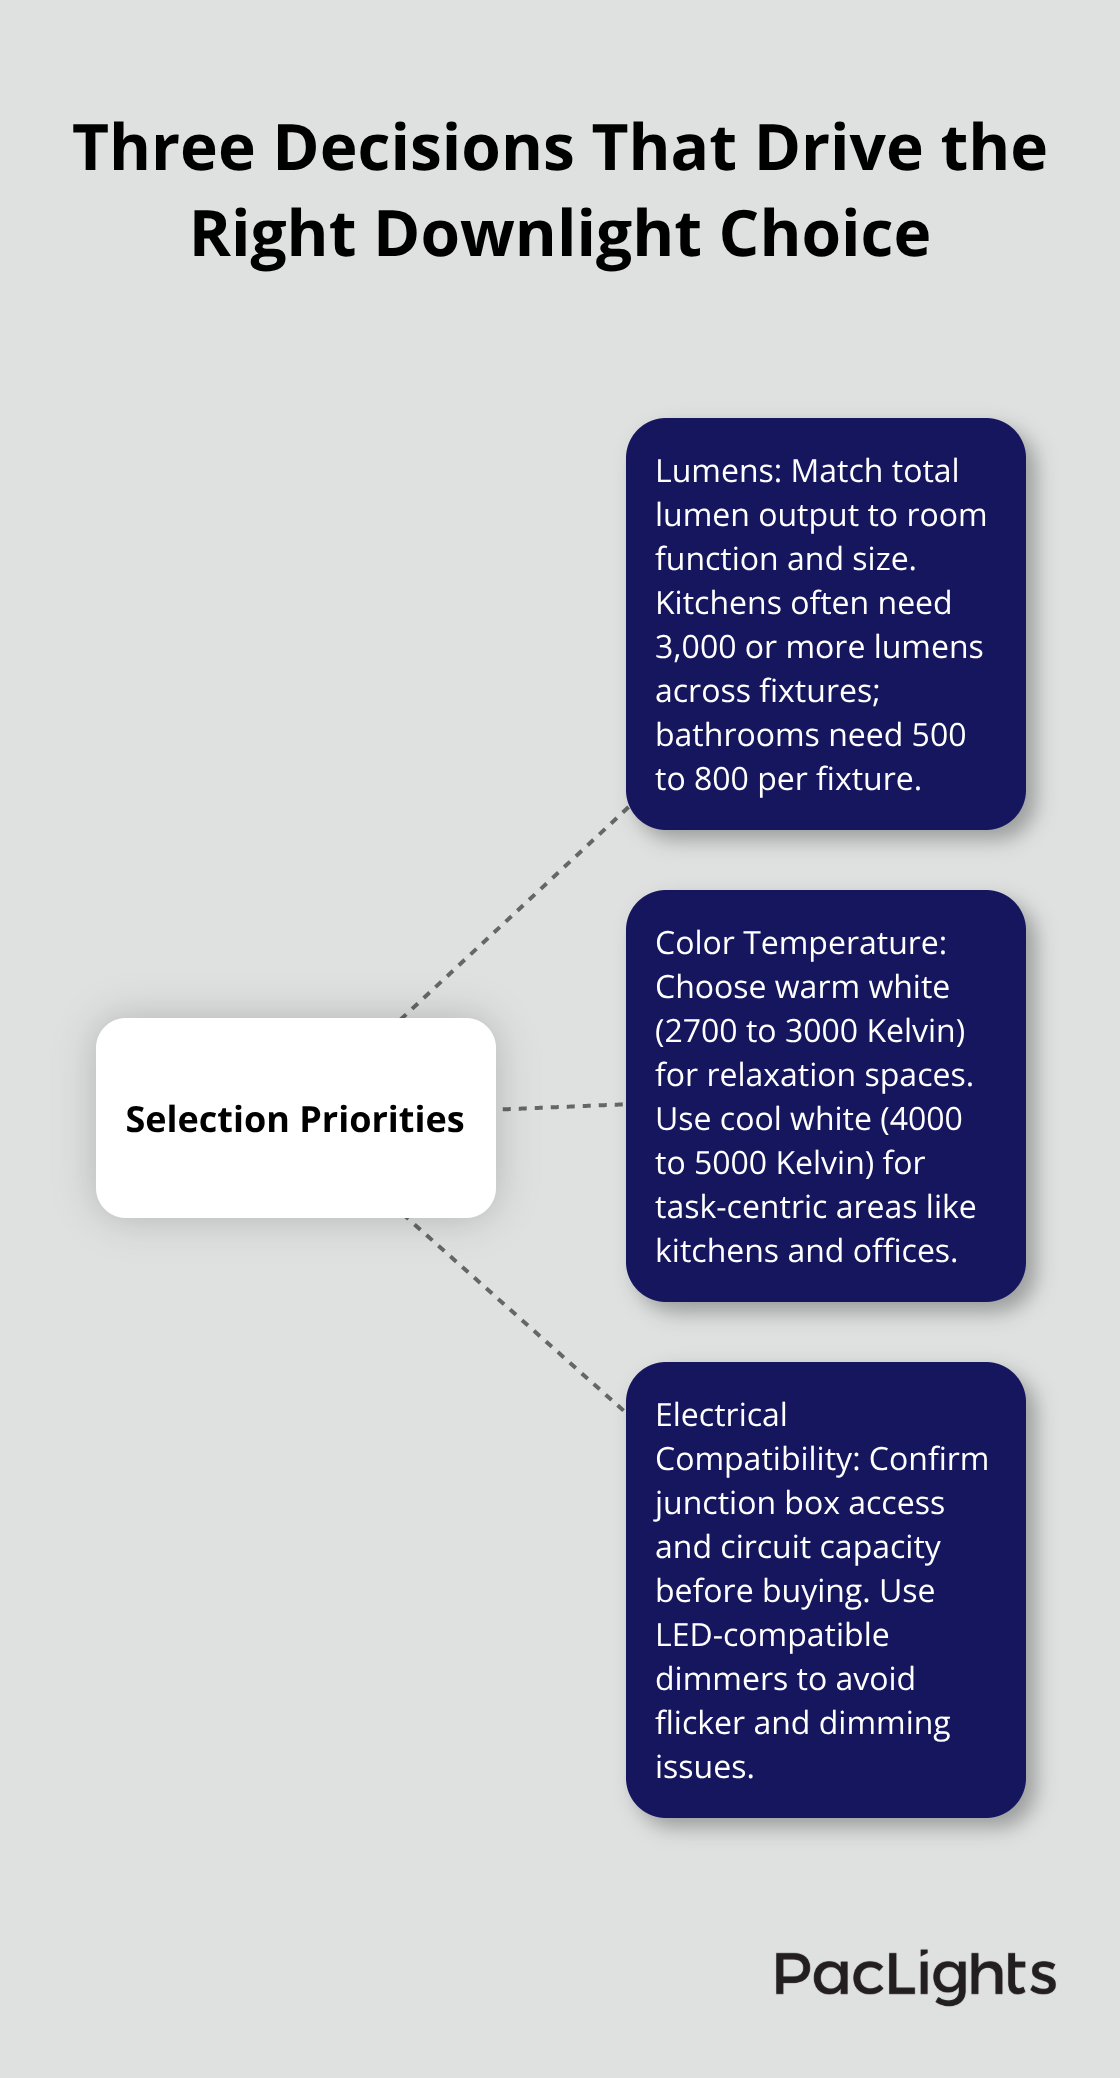
A kitchen demands 3,000 or more lumens across all fixtures to handle food preparation safely, while a bathroom needs 500 to 800 lumens per individual fixture for grooming tasks. Bedrooms and living rooms work fine with lower outputs around 400 to 600 lumens per fixture since the goal is ambient lighting, not task lighting. Measure your room dimensions and divide the total lumens needed by the number of fixtures you plan to install. For example, a 12-by-14-foot kitchen with six fixtures should deliver roughly 500 lumens per downlight to hit that 3,000-lumen target.
Account for Ceiling Height and Room Proportions
Ceiling height matters significantly when you select fixtures. Under 8 feet, stick with slim-profile fixtures that don’t protrude visually; above 10 feet, you have more flexibility with slightly deeper housings. The fixture diameter should be about one-third of your room width, so a 12-by-14-foot space suits 14 to 16-inch fixtures, while a 20-by-20-foot room works with 18 to 20-inch fixtures. This proportion prevents fixtures from appearing too small or overwhelming the space.
Choose the Right Color Temperature
Color temperature controls the entire feel of a space, and this is where most people make poor choices. Warm white at 2700 to 3000 Kelvin belongs in bedrooms and living spaces where you want relaxation and comfort. Cool white at 4000 to 5000 Kelvin belongs in kitchens and offices where clarity and task performance matter. A warm-toned kitchen feels dingy; a cool-toned bedroom feels clinical. Dimmable fixtures cost 15 to 25 percent more upfront but deliver immediate returns through flexible lighting control and energy savings during low-usage hours, making them worth the investment in spaces where you adjust brightness throughout the day.
Verify Your Electrical System Compatibility
Now check your electrical system. Retrofit installations into existing ceilings require access to your junction box and confirmation that your circuit can handle the load. An electrician typically charges 75 to 150 dollars per hour for retrofit work depending on location and complexity. If you’re upgrading from incandescent to LED, you must use an LED-compatible dimmer to prevent flicker or incomplete brightness-older incandescent dimmers won’t work properly with modern LED technology. New construction downlights offer cleaner aesthetics since they install before drywall, while retrofit downlights use spring-loaded clips and fit existing ceilings faster with less disruption.
Calculate Your Total Project Investment
Count your fixtures, multiply by the per-unit material cost of roughly 35 dollars, and add labor to get your total project cost. This straightforward calculation prevents budget surprises and helps you plan the scope of your upgrade. With your specifications locked in and your electrical system confirmed, you’re ready to move into the actual installation phase-where preparation and safety become your top priorities.
Installation Essentials: Safety, Wiring, and Proper Technique
Preparation and Safety Come First
Successful installation starts before you touch a single fixture. Turn off power at the circuit breaker and use a voltage tester to confirm the circuit is dead-this isn’t optional, it’s the difference between a safe job and a dangerous one. Gather your tools beforehand: a screwdriver set with both flat and Phillips heads, pliers, wire cutters and strippers, a voltage tester, and a stable ladder or step stool.
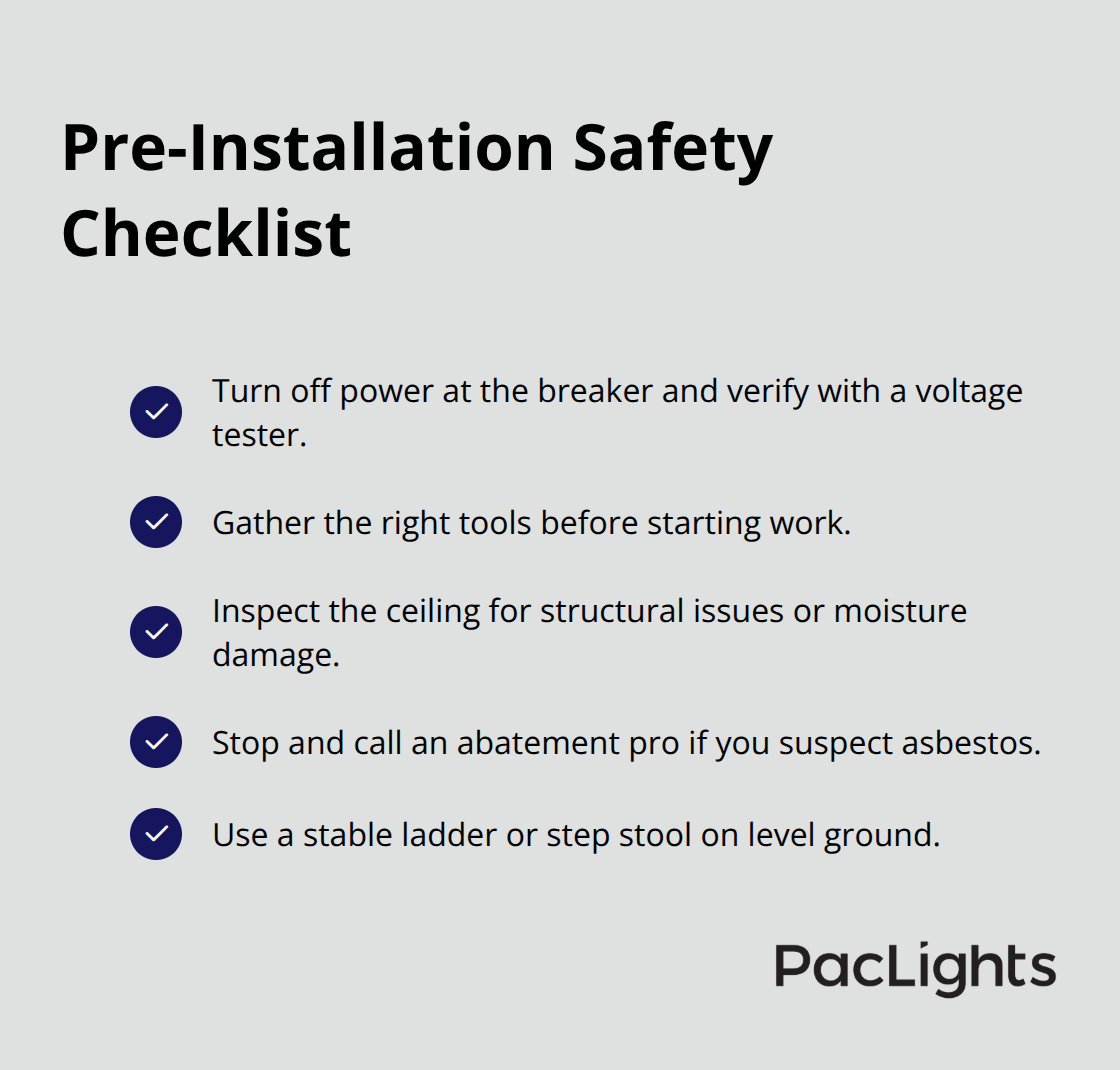
Inspect your ceiling for structural issues, moisture damage, or asbestos before you start; if you find asbestos, stop immediately and call a professional abatement contractor.
Access and Electrical Capacity Assessment
For retrofit installations, locate your junction box and confirm you have physical access-some older buildings hide boxes behind cabinets or in tight spaces that make wiring nearly impossible without relocating the box, which adds 150 to 300 dollars in labor. Check that your circuit breaker has capacity for the load; a 15-amp circuit handles roughly four to five LED downlights safely, while a 20-amp circuit supports six to eight. If you’re uncertain about your electrical capacity, hire an electrician for a 75 to 150 dollar assessment before you buy fixtures-this prevents costly mistakes and code violations.
Wiring Connections and Fixture Mounting
The actual wiring follows a simple sequence: connect black wire to black (hot), white to white (neutral), and green or bare copper to ground. Strip roughly half an inch of insulation from each wire, twist them together firmly, and secure with a wire connector rated for your wire gauge-undersized connectors create loose connections that overheat and fail. Mount the fixture housing to your ceiling with the provided brackets, ensuring it sits perfectly level using a bubble level; even a quarter-inch tilt creates uneven light distribution and looks unprofessional.
Spacing and Layout Precision
If you install multiple fixtures, mark their centerlines on the ceiling before cutting holes-spacing matters for even illumination, and fixtures that are too close together waste material while fixtures too far apart leave dark zones. Proper spacing prevents the common problem of uneven light coverage that frustrates users after installation completes.
Testing and Troubleshooting
After wiring is complete, restore power and test each fixture individually before installing trim rings or diffusers. If a fixture doesn’t light, turn the power back off immediately, check your connections, and verify that your dimmer is LED-compatible if you’re using one-incompatible dimmers cause dimming failures that people incorrectly blame on defective fixtures. Loose wire connections, skipped wire connectors, or electrical tape instead of proper connectors cause flickering, complete fixture failure, or fire risk within weeks.
Final Thoughts
Flush mount downlights deliver measurable returns when you select them correctly and install them properly. The process boils down to three decisions: matching lumens to your room’s function, choosing the right color temperature for the task at hand, and confirming your electrical system can handle the load. A kitchen needs 3,000 lumens minimum; a bathroom needs 500 to 800 lumens per fixture; a bedroom works fine with 400 to 600. Warm white at 2700 to 3000 Kelvin belongs in relaxation spaces, while cool white at 4000 to 5000 Kelvin supports clarity in work areas.
Installation requires you to turn off power, use a voltage tester, and connect wires correctly-black to black, white to white, ground to ground. Loose connections cause flickering and failure within weeks, so wire connectors matter more than most people realize. After installation, you maintain fixtures monthly with a microfiber cloth and avoid abrasive cleaners that scratch surfaces. Check mounting screws every six months to catch loosening before it becomes visible, and watch for aging signs around 20,000 hours such as burn marks, discoloration, or dimming that slows down.
Your long-term savings justify the upfront investment-a single LED downlight saves roughly 2,700 dollars in energy costs over its 25,000-hour lifespan compared to incandescent, plus you replace fixtures far less often. We at PacLights offer free lighting layout designs and ROI assessments to help you choose fixtures that match your space and budget while confirming your electrical system is ready for the upgrade. Contact us to start your flush mount downlight guide and transform your space with lighting that works as hard as you do.
Disclaimer: PacLights is not responsible for any actions taken based on the suggestions and information provided in this article, and readers should consult local building and electrical codes for proper guidance.