

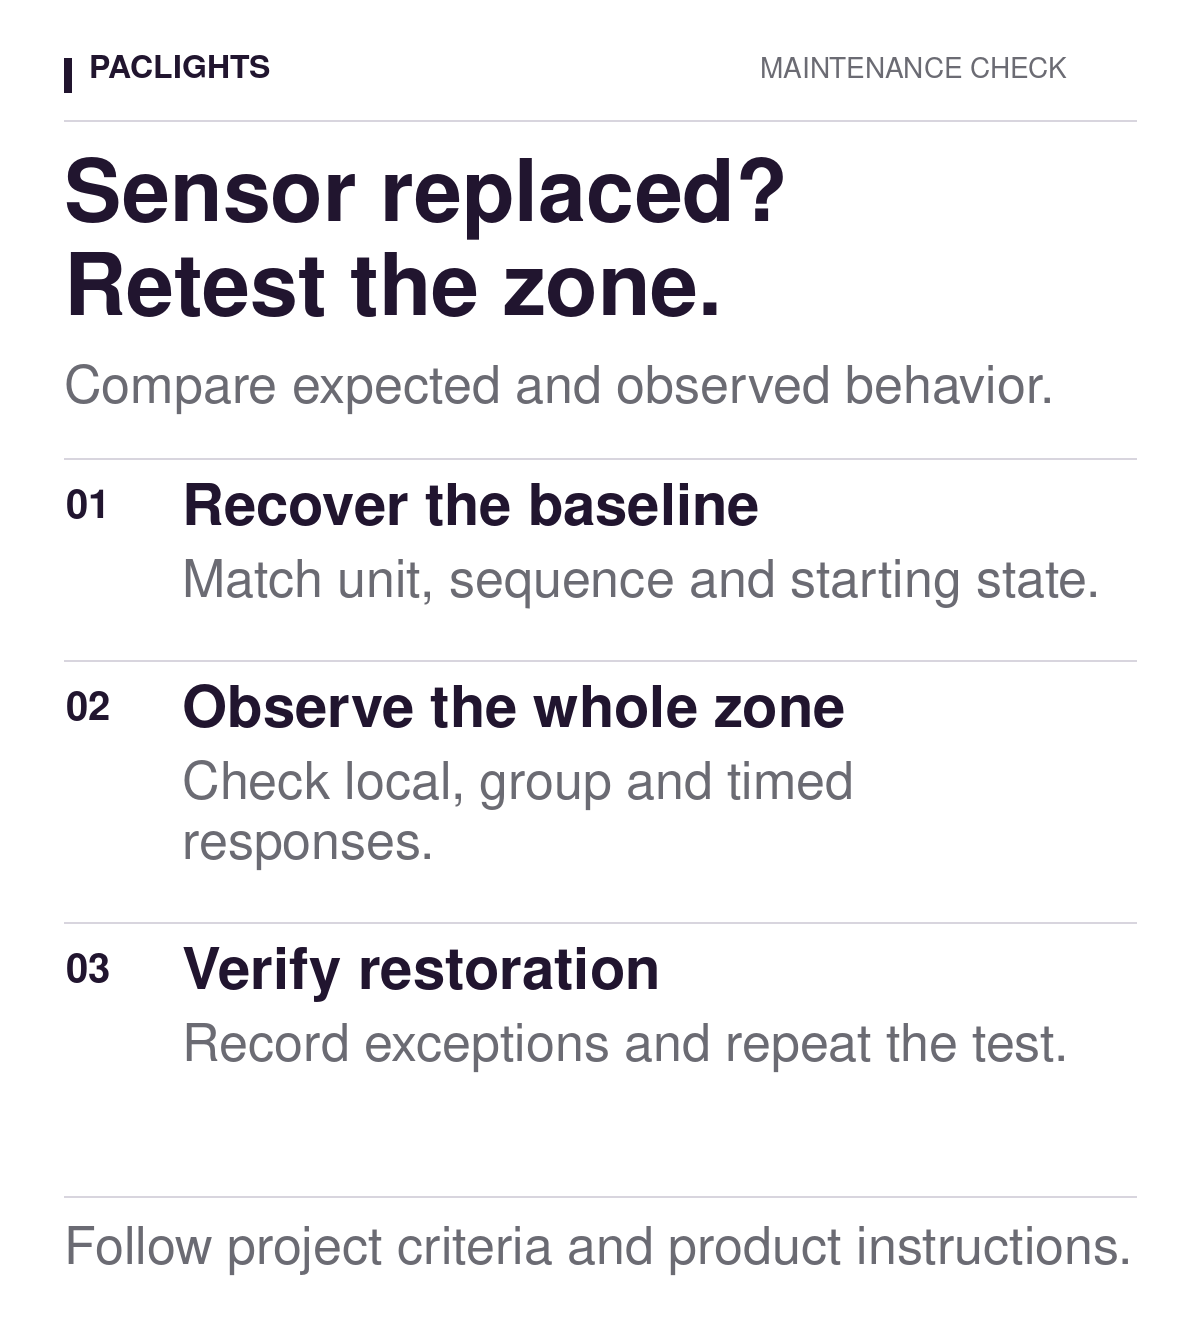
After a warehouse occupancy sensor is replaced, retest the affected lighting zone against its approved sequence of operation. Confirm the replacement identity, establish a known starting state, and observe local response, group response, timing, and restoration. Copying the previous settings or seeing one fixture brighten does not establish that the zone works as intended.
The useful question is specific: did the authorized maintenance restore the required behavior under documented conditions? A short, repeatable test can answer that question more clearly than a demonstration made while nearby activity keeps every light on.
Define what changed before testing
Begin with the maintenance record. Identify the fixture, sensor location, control zone, replacement model, and relevant document revisions. Distinguish a replacement of the same documented unit from an approved substitute. Similar appearance, a familiar connector, or a shared sensing technology does not establish compatibility.
Record whether the work also changed a lens, mounting orientation, firmware, group assignment, or configuration. If those details are unknown, leave them unresolved and obtain the equipment information. Avoid treating a replacement as a single-variable change when several parts of the control arrangement were altered.
For a warehouse using PacLights FLHE linear high bays, the current product information distinguishes optional occupancy, daylight-harvesting, and networked controls. The family name alone does not identify the installed sensor or sequence. Use the exact fixture/control combination and its instructions as the equipment reference.
Recover the expected sequence and a usable baseline
Read the approved sequence, current settings record, and previous acceptance observations together. Establish which fixtures should respond, the required occupied state, any standby state, the applicable delays, and the conditions for returning to normal operation. Include daylight, schedules, and manual overrides only where the installed system actually supports them.
Keep the design requirement separate from the previous observation. An old test record may describe a known defect; reproducing it is not automatically acceptance. Likewise, a settings list documents configuration, not proof that the configuration produced the intended response. Resolve conflicts with the responsible project reviewer before assigning a pass.
If there is no trustworthy baseline, document that gap. The team can establish an agreed test procedure from the approved design and current manufacturer information. It should not invent a universal sensitivity, hold time, or dimming level to replace missing project criteria.
Establish the starting condition
Allow the affected zone to reach its intended unoccupied condition before the first approach. Record whether fixtures are off, at standby, or held at another authorized level. Note active schedules, daylight conditions, overrides, and movement in linked areas. A person recording the test may themselves keep a sensor active.
Choose an observation position and route that the team can repeat without disrupting warehouse operations. Record rack loading, obstructions, and relevant traffic. An empty aisle and a working aisle can present different sensing conditions; identify what the test represents rather than claiming that one condition verifies every operating situation.
Use a manufacturer-supported test mode only within its documented purpose. If it shortens a delay, identify that on the record. It may help observe detection, but it does not verify the normal operating delay. Restore the intended settings and repeat the affected normal-sequence checks before closing the maintenance item.
Separate local detection from the group response
Approach along the agreed route and observe the fixture associated with the replacement sensor. Record where it responds and its resulting state. Then observe the other fixtures assigned to that sensor or zone. Where controls operate independently, record that arrangement instead of assuming a shared group should respond.
For a networked installation, a local response and a group response answer different questions. If the local fixture responds but an assigned neighbor does not, investigate the documented group, enabled functions, and command path. Do not label the sensor defective from that observation alone. If the local response is also missing, record the conditions before deciding what equipment needs investigation.
Test the relevant approach directions and zone boundaries defined in the procedure. The route-based sensor walk-test guide explains how to make starting conditions and response locations repeatable. Apply that method to actual warehouse routes; its garage examples are not a warehouse coverage specification.
Check daylight and override interactions deliberately
A successful occupancy test with other functions suppressed does not establish the combined operating sequence. Where daylight control is enabled, identify the daylight condition and the response the approved sequence requires. Record whether daylight should limit electric-light output, inhibit a particular response, or permit restoration under the tested condition.
Do not treat a number displayed by a control interface as a measured illuminance at a picking surface. If the project requires lighting measurements, use its defined locations, receiving planes, equipment, and criteria. Functional response testing and illumination verification are related activities with different evidence.
Where a manual override is supported, observe the specified override behavior and what happens when it ends. Identify any schedule or priority that remains active. If the needed daylight or operating condition cannot be established, mark that part not tested and arrange a follow-up; a successful occupancy-only check does not fill the gap.
Stay for the timeout, standby, and next approach
After the last relevant activity leaves, observe the full required sequence. Distinguish the occupied hold period from a later standby period and any intended off transition. Record the event used as the timing reference and other activity that could restart the sequence. A visual check made halfway through a delay cannot establish the final response.
Then repeat an approach from the resulting low or off state. Confirm that the intended fixtures return to the required operating state and that temporary modes have ended. Restoration is its own acceptance observation, not an assumption based on the first successful activation.
The 0–10V minimum, off, and restoration checklist explains why these transitions need separate definitions. Use only the behaviors documented for the installed combination. An interface percentage does not establish the same percentage of light output or electrical power.
Write observations that support a repeat test
Use one row per required transition. Keep the expected response, observation, result, and follow-up distinct. A compact record can use the following fields without prescribing project values:
- Identity: maintenance reference, date, fixture and zone IDs, replacement model, and document revisions.
- Starting condition: operating state, active settings, daylight, overrides, rack condition, and relevant activity.
- Test and expectation: route or command, fixtures involved, required state, and applicable timing criteria.
- Observation and disposition: what happened, pass/fail/not tested, exception owner, and repeat-test reference.
For an illustrative example, suppose the replaced unit activates its own fixture while two fixtures identified in the approved group remain at standby. Record those fixture IDs and the route, rather than writing “wireless problem.” The observation points to a group-response investigation but does not establish its cause. After an authorized correction, repeat the same route from the same documented starting state and record the new result alongside the original.
Keep investigation controlled: preserve the previous value and reason for each authorized adjustment, then repeat the relevant check. Several simultaneous changes can produce a satisfactory demonstration while leaving the team unable to explain what corrected the issue or what else may have changed.
Close the maintenance item with evidence
Return temporary test settings to the approved operating configuration and identify unresolved tests explicitly. Keep normal-lighting acceptance separate from emergency and egress requirements and from electrical isolation. This review covers operating behavior after authorized maintenance; equipment work follows the applicable manufacturer and project procedures.
Retain the replacement identity, final settings, marked route, observations, and exception disposition with the existing zone record. For a PacLights project review, bring the exact fixture/control schedule and the unresolved test rows. That gives the team a defined equipment combination, a required response, and repeatable evidence to investigate.
Disclaimer: PacLights is not responsible for any actions taken based on the suggestions and information provided in this article, and readers should consult local building and electrical codes for proper guidance.