

Flush mount downlights are only as good as their dimming curves. Get the curves wrong, and you’re stuck with flickering lights, wasted energy, and components that fail early.
At PacLights, we’ve seen countless installations suffer from poor dimming performance simply because the curves weren’t matched to the control system. This guide shows you exactly what dimming curves do and how to get them right.
What Dimming Curves Actually Control
A dimming curve is the mathematical relationship between your control signal and the actual light output from your LED driver. When you send a 50% dimming command to your fixture, the curve determines whether you get exactly 50% brightness, more, or less.
Linear curves deliver proportional output: a 20% signal produces 20% brightness. Logarithmic curves produce slower brightness changes at lower levels and faster changes at higher levels, creating what feels like natural dimming to the human eye. Square-law curves amplify the dimming effect at low light levels, giving you more aggressive control near complete darkness.
The difference matters because your eye doesn’t perceive brightness linearly. Human visual perception adapts across dimming ranges, meaning the same control step feels completely different depending on which curve you select. A 10% brightness drop at 90% output barely registers to your eye, but that same 10% drop at 20% output feels dramatic. This is why logarithmic curves are popular in commercial spaces: they align with how people actually experience light transitions.
How Your Control System Limits Your Options
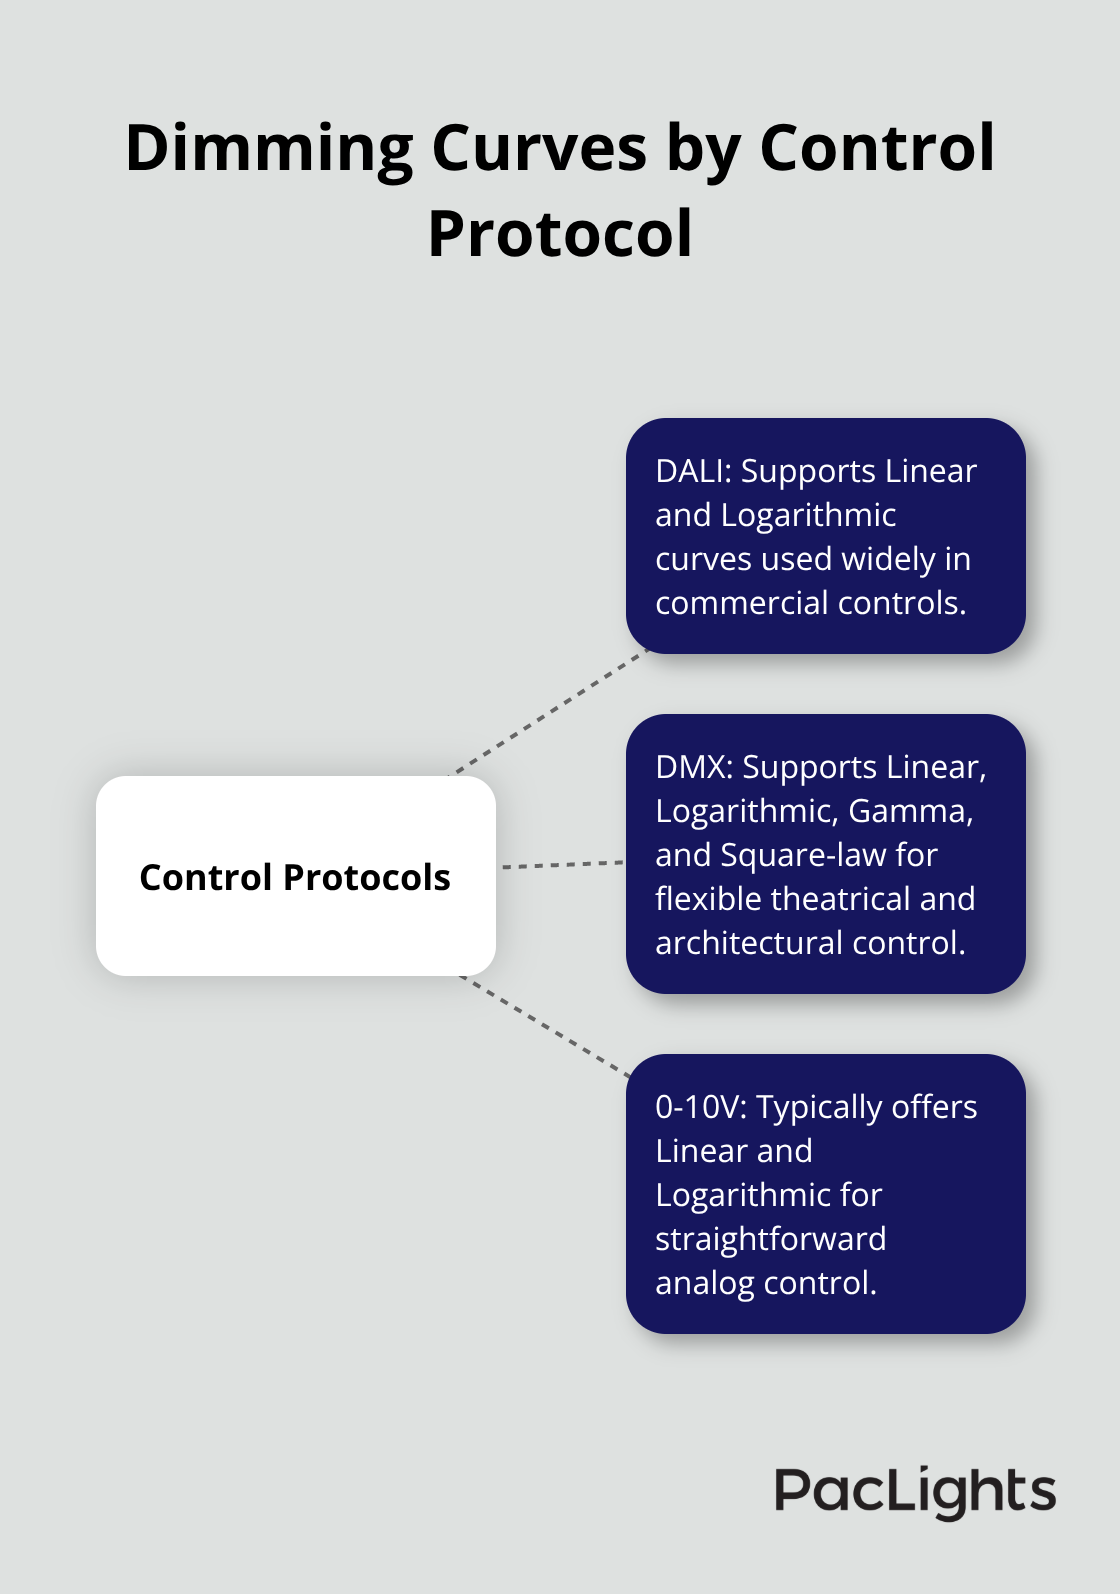
Your dimming interface determines which curves are available to you. DALI systems support Linear and Logarithmic curves. DMX supports Linear, Logarithmic, Gamma, and Square-law options. 0-10V analog control typically offers Linear and Logarithmic.
If you work with major dimmer brands like LUTRON, LEVITON, or HELVAR, you need to verify that your selected curve matches both the dimmer’s capabilities and your LED driver configuration. Mismatches between curve and hardware are the primary cause of flickering and uneven brightness across fixtures.
Why Flush Mount Downlights Demand Curve Precision
For flush mount downlights specifically, the curve must account for how these fixtures sit flush against the ceiling and distribute light downward. A curve that works perfectly for track lights or pendant fixtures may produce uneven illumination or color shifts when applied to downlights.
Testing with actual fixtures in your target space is non-negotiable. Set up sample downlights at different dimming levels and observe how brightness transitions feel and look. If you see flicker, banding, or uneven light distribution across multiple fixtures, the curve selection is almost certainly the problem.
The Cost of Skipping Validation
Many installers skip testing and discover issues only after the full installation is complete, when correcting the problem requires reconfiguring every fixture. This approach turns a minor adjustment into a major expense. The solution is straightforward: validate your curve selection before you commit to the full project, and you’ll avoid costly rework later.
What Happens When Dimming Curves Don’t Match Your Hardware
Flickering and Uneven Brightness Across Fixtures
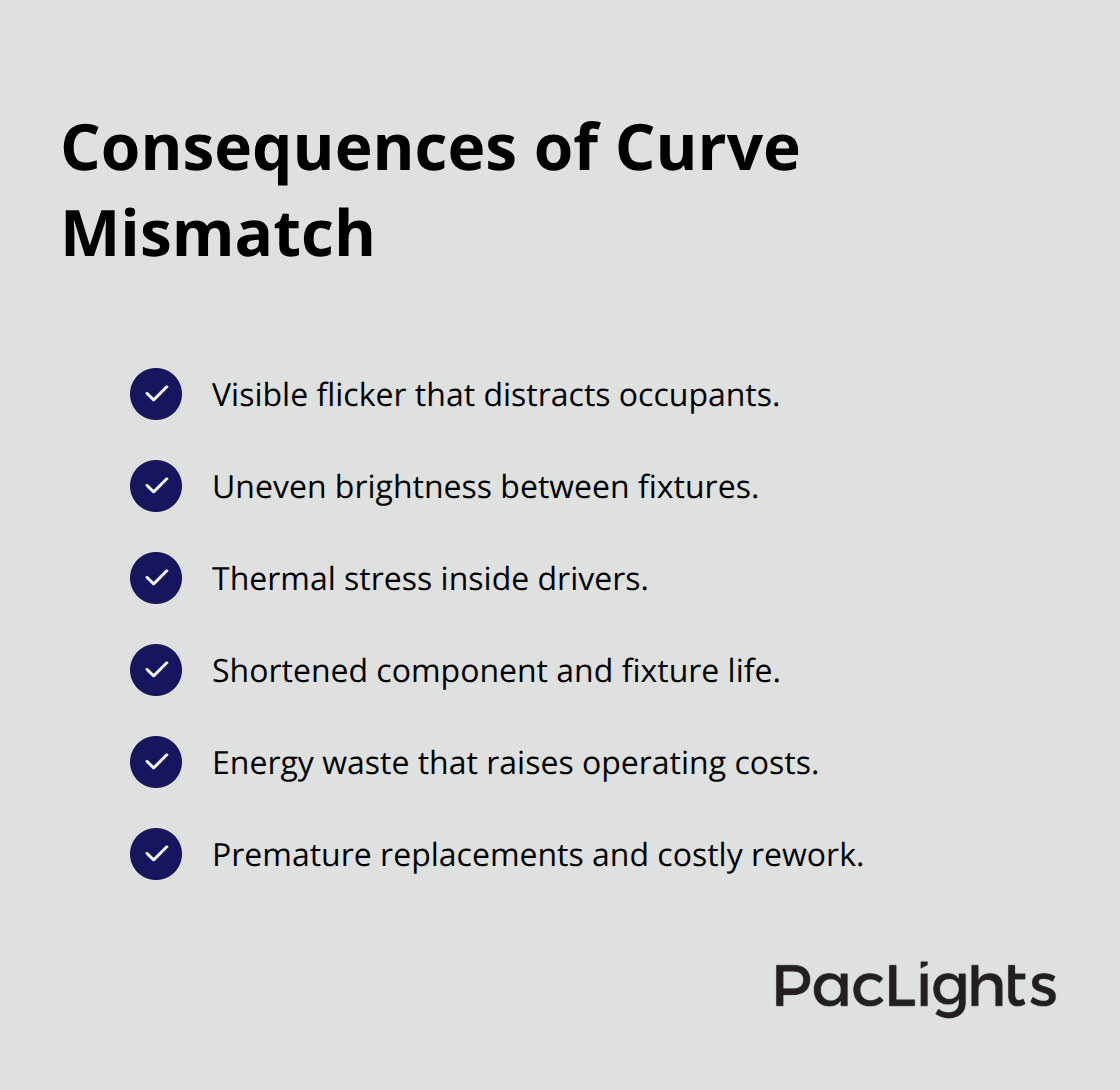
Flickering emerges as the most obvious symptom of a curve mismatch, but it signals deeper problems. When your dimming curve fails to align with your control system, the LED driver receives confusing signals about the brightness level you want. The driver then struggles to maintain stable current output, causing the light to pulse at frequencies your eye can detect. In commercial spaces, this flicker distracts occupants and tanks productivity. Studies on flicker sensitivity show that even imperceptible flicker at 100 Hz reduces visual comfort and cognitive performance, so visible flicker at lower frequencies becomes genuinely problematic.
Incompatible curves also create uneven brightness across multiple fixtures on the same circuit. Some downlights dim smoothly while others lag behind or jump to different brightness levels, producing a patchy, unprofessional appearance that signals installation failure to anyone looking up at the ceiling.
Thermal Stress and Shortened Component Life
The real damage occurs inside the fixture. Mismatched curves force LED drivers to work outside their designed operating range, generating excess heat and pushing components toward failure. An LED driver rated for 25,000 hours of operation can drop to 15,000 hours or less when curves force it into thermal stress. Heat accelerates capacitor degradation, solder joint fatigue, and semiconductor wear, so you lose far more than a few thousand hours-you potentially cut fixture lifespan in half.
Energy Waste That Compounds Over Time
Energy waste compounds the problem because drivers struggling with incorrect curves consume more power to maintain the same output. A 10-watt LED flush mount should cost roughly $9 per month to operate on a standard 5-hour daily schedule, but improper dimming can push that figure toward $12 to $14 monthly as the driver burns extra energy fighting the mismatch. Over a fixture’s lifespan, that amounts to several hundred dollars in wasted electricity per downlight.
The financial damage multiplies across a full installation. A 20-fixture kitchen renovation with curve problems wastes $2,000 to $3,000 in extra energy costs over the fixture life while simultaneously reducing reliability and forcing premature replacement. These hidden costs make curve validation not just a technical requirement but a financial imperative that protects your project budget and client satisfaction.
Matching Your Dimming Curve to Your Control System
Start with your dimmer hardware, not your LED driver. The dimmer is the constraint that determines which curves you can actually use. If you work with LUTRON, LEVITON, or HELVAR systems, each brand supports specific curve options through their control protocols. DALI dimmers typically offer Linear and Logarithmic curves only. DMX controllers give you access to Linear, Logarithmic, Gamma, and Square-law options. 0-10V analog systems usually max out at Linear and Logarithmic. Once you know what your dimmer supports, you then select an LED driver that matches those capabilities. Many installers reverse this sequence and end up with mismatched hardware that requires expensive reconfiguration. The correct order prevents wasted time and money.
Validate Your Curve Selection Before Full Installation
Your next step is physical validation in the actual space where the downlights will operate. Install two or three sample fixtures on your target dimmer using the curve you plan to deploy across the full project. Set them to multiple brightness levels: 100 percent, 75 percent, 50 percent, 25 percent, and 5 percent. Observe each level for at least 30 seconds.
The number 100% seems to be not appropriate for this chart. Please use a different chart type. Look for flicker, which appears as a subtle pulsing even if you don’t consciously detect it. Check whether brightness transitions feel smooth or stepped. Stand in different positions in the room and verify that all sample fixtures reach the same brightness at each level. If one fixture dims faster than another, your curve selection is already failing. Uneven dimming across fixtures signals that the driver and dimmer are not translating control signals consistently.
Do not proceed to full installation if you observe any of these problems. Correcting the curve after installation requires you to access every fixture again, turning a 15-minute pre-install test into a multi-hour remediation effort. PacLights offers free lighting layout designs and ROI assessments that include validation planning, helping you structure these critical tests before you commit to hardware purchases.
When Square-Law Curves Solve Low-Light Problems
Square-law curves deserve special attention because they solve a specific problem that linear and logarithmic curves cannot address. If your space requires aggressive low-light control where dimming near complete darkness happens frequently, square-law curves deliver faster brightness reduction at very low control values. A square-law curve amplifies the dimming effect at low light levels, meaning a 10 percent control signal might produce only 1 percent brightness instead of the 10 percent you’d get from a linear curve. This matters in theaters, retail displays, and hospitality spaces where fading to near-black must happen quickly without visible stepping.
However, square-law curves can overcompensate infrared loss in some driver designs, potentially creating color shifts or unexpected brightness behavior. Test square-law curves more rigorously than other options because their nonlinear response makes them harder to predict in unfamiliar hardware combinations.
Document Your Curve Settings for Future Reference
After validation confirms your curve works, document exactly which curve you selected and why. Note the dimmer brand, control protocol, LED driver model, and the specific curve setting in your project file. This documentation becomes invaluable when troubleshooting occurs weeks or months after installation. If a client reports dimming problems, your notes let you verify whether the curve was set correctly from day one or whether something changed. Many service calls stem from curve misconfigurations that occurred during initial setup but went undetected because validation testing was skipped.
Write down the curve settings in software configurations like Smartkey, which allows per-product curve selection for DALI, DMX, and 0-10V protocols. If your LED drivers support multiple curve options, Smartkey-enabled devices let you adjust curves on site without replacing hardware, providing flexibility if your initial selection underperforms.
Final Thoughts
Dimming curves directly determine whether your flush mount downlights perform reliably, maintain their rated lifespan, and deliver the energy savings you expect. A mismatched curve creates flickering, uneven brightness, thermal stress on components, and wasted electricity that compounds across your entire installation. The cost of getting curves wrong far exceeds the minimal effort required to validate them before full deployment.
Start by identifying which curves your dimmer hardware actually supports, then select an LED driver that matches those capabilities. Install sample fixtures in your target space and test them at multiple brightness levels before committing to the full project. Watch for flicker, uneven dimming across fixtures, and brightness transitions that feel stepped rather than smooth. Document your curve selection and the reasoning behind it so you have a reference point if issues arise later.
Proper flush mount dimming curves align control signals with actual light output, eliminate the thermal stress that shortens component life, and reduce energy waste. Your fixtures will dim smoothly, maintain consistent brightness across the space, and operate at their designed efficiency for their full 25,000-hour lifespan. We at PacLights understand that getting these details right matters-reach out to PacLights to confirm your approach before installation begins.
Disclaimer: PacLights is not responsible for any actions taken based on the suggestions and information provided in this article, and readers should consult local building and electrical codes for proper guidance.