

Recessed lighting transforms commercial spaces, but only when installed correctly. Poor placement and wiring mistakes waste energy and create uneven lighting that frustrates employees and customers alike.
We at PacLights have seen countless installations go wrong because business owners skip the planning phase. This guide walks you through commercial downlight installation tips that actually work, from spacing calculations to avoiding thermal issues.
Planning Your Commercial Downlight Installation
Start by measuring your ceiling height and material in at least three spots, since these two factors determine everything that follows. A concrete ceiling requires different tools and anchoring than a suspended drop ceiling, and ceiling height directly controls how many fixtures you need and what beam angles work best.
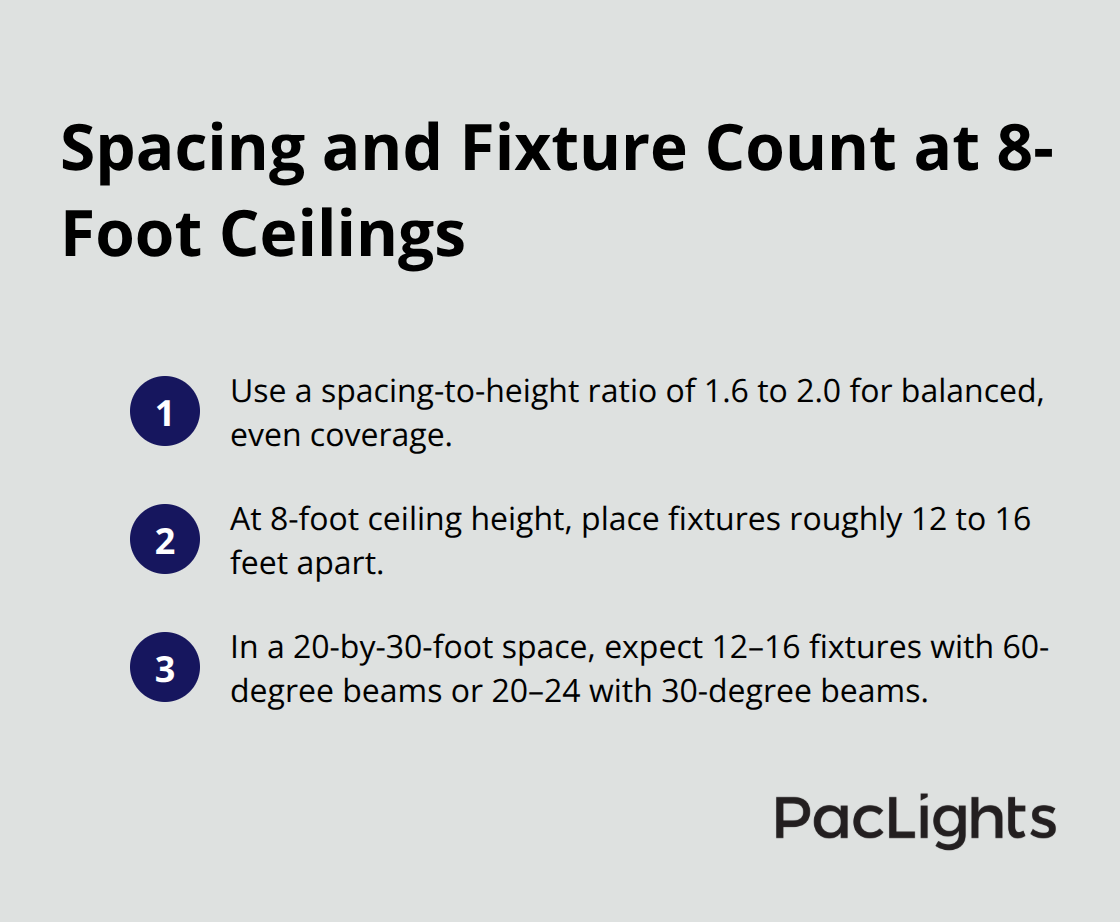
For an 8-foot ceiling, try a spacing-to-height ratio of 1.6 to 2.0, which means fixtures should sit roughly 12 to 16 feet apart. In a 20-by-30-foot warehouse with an 8-foot ceiling, expect 12 to 16 fixtures with 60-degree beams, or 20 to 24 fixtures if using narrower 30-degree beams.
Narrow beams concentrate light in smaller areas, while wide beams spread it across larger zones. Your choice depends on whether you need task lighting in specific spots or general ambient coverage. Office spaces typically need 2,000 to 3,000 lumens per fixture, with higher output in task-heavy areas like assembly lines or detailed workstations. A 4-inch fixture delivers roughly 1,230 lumens, while an 8-inch fixture produces around 1,500 lumens, so matching lumen output to your task requirements prevents both dark corners and wasted energy.
Selecting Fixtures That Match Your Environment
Color temperature shapes how people perceive your space and how accurately they complete work. For kitchens and high-task areas, choose 4,000 to 5,000 Kelvin, which improves task accuracy by 5 to 15 percent compared to warmer temperatures. Offices work well at 3,500 Kelvin, while warehouses benefit from 4,000 to 5,000 Kelvin. Wet locations like parking garages, canopies, and laundry spaces demand IP44 or IP65 rated fixtures, which cost 20 to 40 percent more but prevent corrosion and electrical failure.
IC-rated fixtures contact insulation directly and prevent fire risk in spaces where insulation sits above the drywall. Standard LED downlights run 10 to 18 watts and deliver 820 to 1,500 lumens (roughly 120 lumens per watt), making them far more efficient than older recessed lighting. With the right fixtures selected, you can now move forward with the actual installation process, starting with ceiling preparation and precise location marking.
Installing Fixtures in Your Commercial Space
Preparing the Ceiling and Cutting Openings
Isolate power at the breaker before touching anything electrical. Mark your mounting points using the fixture base plate as a stencil, ensuring the plate sits level on the ceiling. For drywall ceilings, a 4.25-inch hole saw cuts the opening cleanly-test your technique on scrap drywall first to dial in the right speed and pressure, then wear eye protection when drilling. Concrete ceilings require an impact drill with masonry bits and wall plugs, which takes longer but provides solid anchoring. Once your openings are cut, run Romex cable from your power source to the first fixture with enough slack to work with, then staple it to joists every 4.5 feet to keep it secure and code-compliant.
Running and Connecting Wiring
Strip about four inches of sheath from the Romex, then connect black-to-black, white-to-white, and ground-to-ground using 12 to 16 gauge wire. Twist wires 3 to 4 turns and secure them with wire nuts and electrical tape, or use push connectors if your LED fixtures include a quick-connect system-these newer systems seat firmly and speed installation significantly. Hand-tighten all connections and recheck them if a light doesn’t illuminate before troubleshooting further. Before final installation, restore power briefly to test that the lights illuminate and verify your color temperature options.
Mounting and Securing Fixtures
Insert the fixture into the hole, deploy the spring clips, and ensure the trim ring sits flush with the drywall; if it sits at an angle, re-seat it for a clean finish. Plan for 30 to 60 minutes per fixture initially; quick-connect designs speed subsequent installations considerably. Test dimming circuits before full deployment if you’ve added controls, since flicker often stems from dimmer incompatibility, voltage fluctuations, or loose wiring. A dedicated LED dimmer like a Lutron Diva prevents flicker common with older dimmers and gives you smooth brightness adjustment.
Maintenance and Long-Term Performance
Clean your wafer downlights every 3 to 4 months with a soft, dry cloth and inspect trim rings and housing for wear during these cleanings. LED wafers typically last around 25,000 hours or longer depending on the model, so verify lifespan and warranty coverage and keep your receipts. Damp or humid locations demand IP-rated fixtures to avoid failures. Consult a licensed electrician if you’re unsure about any electrical work or local code requirements, especially in spaces where moisture or thermal stress could compromise performance. With your fixtures installed and tested, attention now shifts to identifying and preventing the installation mistakes that undermine even well-planned projects.
Common Installation Mistakes to Avoid
Spacing Errors Create Dark Zones and Wasted Energy
Spacing mistakes create the most visible and expensive failures in commercial downlight projects. A 10-by-15-foot room needs four fixtures placed roughly at the corners to provide balanced illumination and avoid harsh wall shadows, yet many installers cluster fixtures near the center or space them unevenly based on ceiling joists rather than lighting performance. The spacing-to-height ratio of 1.6 to 2.0 exists for a reason: fixtures spaced too far apart leave dark zones where employees struggle to see detail work, while fixtures crammed too close together waste energy and create glare that drives people away from those areas. Keep fixtures at least 18 inches away from ceiling fan blades and at least 30 inches from adjacent walls to minimize shadows and interference.
Wiring Problems Cause Flickering and Fire Hazards
Wiring problems cause flickering, complete fixture failure, and fire hazards that show up immediately or months later. Loose connections at wire nuts create resistance that generates heat and eventually melts insulation, and hand-tight is not the same as secure. Strip about five millimeters of insulation and use connectors rated for your wire gauge, then test connections again after the fixture sits in place because vibration from installation can loosen what seemed solid. Flicker during dimming almost always traces back to dimmer incompatibility rather than a faulty fixture, so verify your dimmer matches your driver type before blaming the LED downlight itself.
Thermal Management Failures Shorten Fixture Lifespan
Thermal management failures shorten fixture lifespan dramatically and void warranties. IC-rated fixtures contact insulation and dissipate heat safely, but non-IC fixtures require at least half an inch of clearance from combustibles or they overheat and fail within months. The U.S. Department of Energy notes that recessed luminaires must have an air leakage rate not exceeding 2.0 cubic feet per minute at 75 Pascals to meet energy codes, and sealing the interface between fixture housing and ceiling with gasket or caulk prevents air leakage that reduces thermal comfort and increases HVAC load. Damp or humid locations demand IP-rated fixtures to avoid corrosion inside the housing, which degrades the driver and dims output gradually until occupants complain about darkness. Measure ceiling cavity depth in at least three spots before purchasing fixtures and confirm there is about two inches of clearance above the drywall for wafer downlights, since shallow cavities trap heat and cause premature failure.
Final Thoughts
Proper commercial downlight installation tips boil down to three essentials: measure twice before cutting, verify every electrical connection, and respect thermal limits. Skipping any of these steps costs money through wasted energy, repeated callbacks, or premature fixture failure. The spacing-to-height ratio, color temperature selection, and IC-rating requirements aren’t arbitrary rules-they’re the difference between a lighting system that performs for 25,000 hours and one that flickers or fails within months.
Professional planning saves time and money because it prevents the mistakes that compound over time. A warehouse that starts with correct spacing avoids the dark zones that force workers to add task lights, which then drives up energy bills and creates maintenance headaches. An office that selects the right color temperature and dimming controls sees productivity gains and lower cooling costs because employees work better under appropriate light and excess heat doesn’t strain HVAC systems.
We at PacLights offer free lighting layout designs and ROI assessments to help you plan installations that match your space and budget. Whether you’re upgrading an existing system or installing new fixtures, our team shows you exactly how many fixtures you need, where to place them, and what energy savings you’ll see. Request a free assessment to move forward with confidence and avoid the costly mistakes that plague rushed installations.
Disclaimer: PacLights is not responsible for any actions taken based on the suggestions and information provided in this article, and readers should consult local building and electrical codes for proper guidance.