

Wrap lights ceiling mounts transform how facilities handle overhead lighting. At PacLights, we’ve seen firsthand how proper installation makes the difference between a clean, professional setup and a messy one.
This guide walks you through everything you need to know, from assessing your ceiling to making final electrical connections. Whether you’re upgrading an existing space or starting fresh, clean installation practices save time and prevent costly mistakes.
What Wrap Lights Actually Do for Your Facility
How Wrap Lights Work
Wrap lights are low-profile ceiling fixtures that deliver broad, even illumination across large areas without the bulk of older lighting systems. Unlike traditional fluorescent tubes or separate ballast assemblies, wrap lights integrate LED boards directly into a slim housing, typically under 5 centimeters thick. This design preserves ceiling headroom in spaces with standard 2.4 to 3.6 meter ceilings while eliminating the visual clutter of multiple fixture types. A standard 4-foot wrap light produces roughly 5,600 to 8,000 lumens depending on the model, making it the market-dominant size for hallways, offices, warehouses, and retail environments.
The fixture itself uses a polycarbonate or acrylic diffuser to eliminate LED pixelation and glare, delivering a clean, finished appearance that reflects well on your facility’s professionalism. An LED wrap light rated for 50,000 hours of lifespan means you replace fixtures far less often than fluorescent alternatives, translating directly into lower maintenance labor costs.
Energy Savings That Add Up Fast
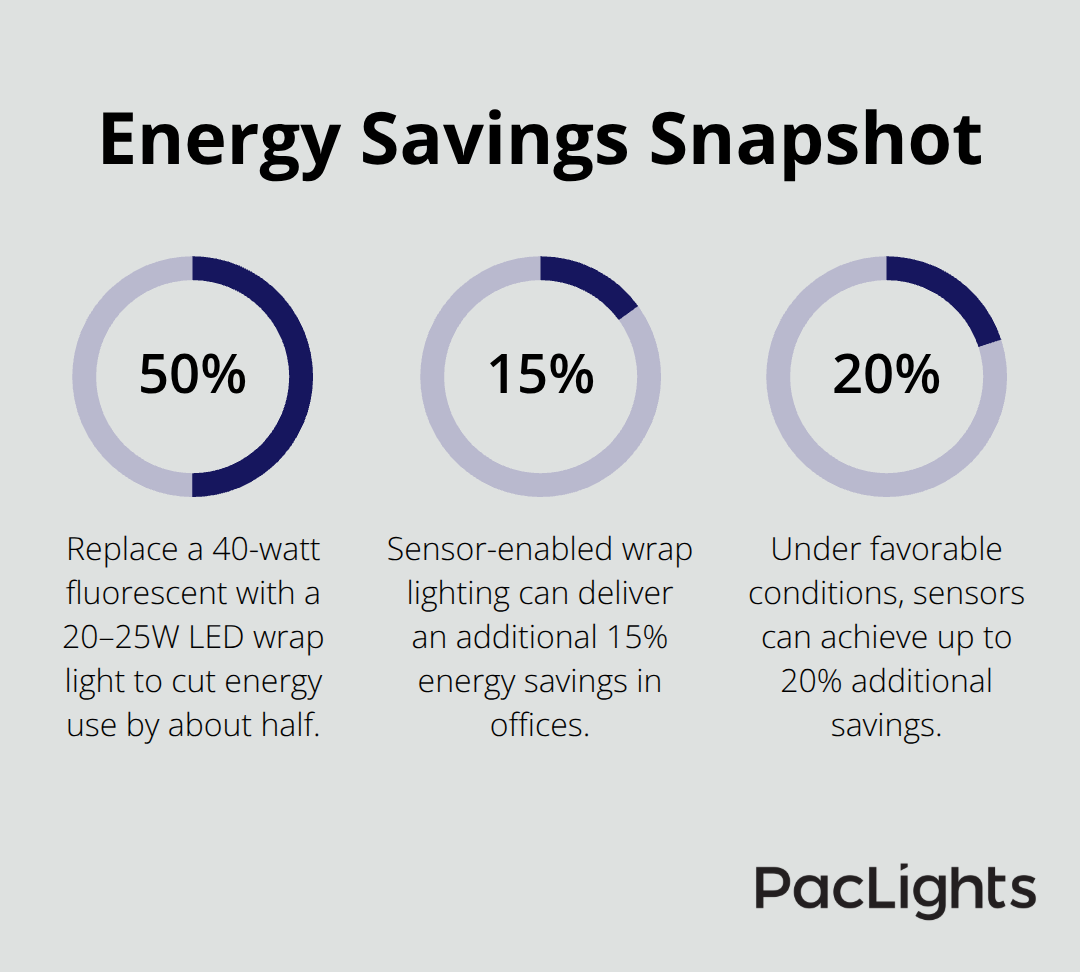
When you replace a 40-watt fluorescent fixture with a 20 to 25-watt LED wrap light, you cut energy consumption by approximately 50 percent and reduce heat load on HVAC systems simultaneously. Large stores switching from fluorescent to LED wrap lighting save roughly 8,000 to 12,000 kilowatt-hours per year for every 5,000 square feet, which compounds significantly across a facility.
Many modern wrap light models include built-in motion and daylight sensors for occupancy-based dimming, and offices using sensor-enabled wrap lighting achieve an additional 15 to 20 percent energy savings beyond the baseline LED advantage. The 0-10V dimming compatibility on most fixtures lets you fine-tune brightness without replacing anything, and end-to-end linkable connections allow long runs across corridors or aisles to operate on a single power cord, simplifying both installation and future reconfiguration.
Real-World Performance Across Different Spaces
Offices retrofitting from fluorescent to 4-foot wrap lights at 4000K color temperature report improved task visibility and reduced glare, while retail spaces using 3500K wrap lights create warmer product displays. Warehouses benefit from wrap lights delivering around 8,000 lumens with IP54 protection against dust and humidity, supporting picking and inventory tasks without performance degradation.
These performance gains mean your facility operates more efficiently while your team works in better lighting conditions. The next step involves assessing whether your current ceiling setup can accommodate wrap lights and determining exactly how many fixtures you need for optimal coverage.
Preparation and Planning for Installation
Before you order a single wrap light fixture, you need to know three things: what your ceiling can handle, how many fixtures you actually need, and what tools sit in your toolbox. Most facilities skip this step and end up with misaligned fixtures, insufficient coverage, or wasted materials.
Assess Your Ceiling Type and Structure
Start by examining your ceiling type and structure. Drywall ceilings with solid joists spaced 16 inches apart support wrap light installation without issue, but suspended tile ceilings present a different challenge. Wrap lights require secure mounting directly to the structural frame, not to the tile grid itself. If your facility has a suspended ceiling, you’ll need to locate and mount to the joists above, which often means removing tiles and working above the grid.
Steel or concrete ceilings demand appropriate fasteners-concrete requires expansion anchors rated for the fixture weight, typically 10 to 12 pounds per 4-foot wrap light. Measure your ceiling height while you assess structure. Ceilings between 2.4 and 3.6 meters work perfectly for standard wrap lights, but spaces above 6 meters may perform better with linear high bays due to longer light throw and higher lumen output.
Check for obstacles like HVAC ducts, electrical conduit, or plumbing that might interfere with your mounting layout. Photograph problem areas and note their exact locations so you don’t waste time during installation.
Calculate Spacing and Fixture Count
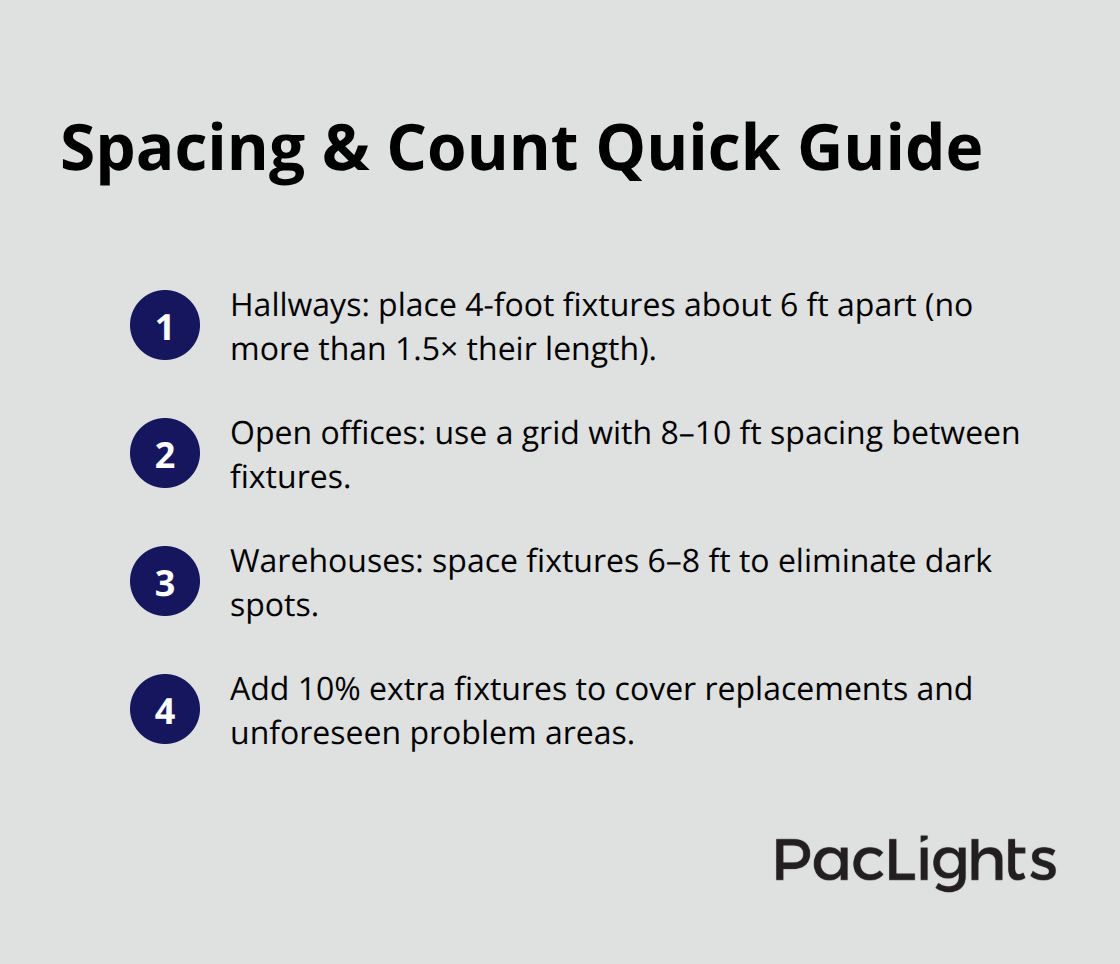
A 4-foot wrap light producing 5,600 to 8,000 lumens covers roughly 80 to 120 square feet depending on ceiling height and color temperature. For hallways and corridors, space fixtures no more than 1.5 times their length apart-so a 4-foot fixture should be placed roughly 6 feet from the next one.
For open office areas, use a grid pattern with fixtures spaced 8 to 10 feet apart. Warehouses handling inventory tasks benefit from fixtures spaced 6 to 8 feet apart to eliminate dark spots. Once you’ve mapped your layout, count the fixtures you need and add 10 percent to your order for future replacements or problem areas you discover during installation.
Gather Your Tools and Equipment
Inventory your tools now. You’ll need a drill with bits for your specific ceiling type, a stud finder to locate joists, a level to ensure straight mounting, wire strippers, a voltage tester for electrical safety, and a screwdriver set. If your facility has high ceilings, rent an articulating lift or scaffolding rather than balance on ladders-installation speed and safety improve dramatically.
A second person makes electrical connections faster and safer, so plan accordingly. Request a free lighting layout and ROI assessment from your supplier to confirm fixture count and verify compliance with local electrical codes before purchasing materials. This preparation phase determines whether your installation runs smoothly or encounters delays, so invest the time now to map everything accurately and gather what you need before work begins on your ceiling.
Installing Wrap Lights Without Alignment Headaches
Mark Your Mounting Points with Precision
Mounting hardware setup determines whether your wrap lights sit perfectly level or create visual misalignment that undermines your entire installation. Start by marking your mounting points using a chalk line and laser level-this takes 15 minutes and prevents the frustration of discovering misaligned fixtures halfway through the job. For drywall ceilings, locate joists with a stud finder and mark them clearly before drilling any holes. Concrete ceilings require expansion anchors rated for 12 to 15 pounds per fixture; standard fasteners fail under load and create safety hazards. Once hardware is installed, hang your first fixture using temporary support while you verify alignment.
Secure Fixtures Temporarily During Electrical Work
A common and effective method involves wrapping the fixture’s ground wire around the ceiling box ground screw to hold it temporarily, or threading a heavy stainless steel wire through the fixture’s mounting holes and looping it over the box. This keeps your hands free for electrical connections without needing a second person. Some fixtures arrive with built-in hooks on their box adapters-use these if present rather than improvising. Install the ground wire first before touching hot or neutral leads; this minimizes electrical risk while you work.
Connect Wires Safely and Verify Load Capacity
Connect neutral and hot wires using wire connectors rated for your wire gauge, then secure all connections inside the junction box. For facilities with multiple fixtures running on a single circuit, verify that your total load doesn’t exceed the breaker capacity-four 25-watt wrap lights consume 100 watts, well within standard 15-amp circuits. Test voltage at the box before and after each connection using a non-contact voltage tester; this confirms power is off when you’re working and on when fixtures should operate.
Mount Fixtures Permanently and Test Performance
Once electrical connections are complete, remove your temporary support and secure the fixture permanently with the provided mounting brackets and fasteners. Tighten all hardware firmly but avoid over-tightening, which cracks the fixture housing. After installation, power up each fixture individually and observe light output for 10 minutes-LED fixtures should reach full brightness instantly without flickering. If a fixture flickers or dims inconsistently, turn it off immediately and check all connections for loose wires or corroded contacts. Flickering almost always indicates a connection problem rather than a defective LED module.
Handle Linked Fixtures and Protect Against Power Surges
For end-to-end linkable fixtures, connect them in sequence following the manufacturer’s wiring diagram; reversed polarity on linked fixtures causes the entire run to fail. Test each connection point before moving to the next fixture. If your facility experiences occasional power surges from HVAC equipment or heavy machinery, install surge protection on the circuit feeding your wrap lights-this costs roughly 50 dollars and prevents expensive LED driver damage that renders fixtures unusable.
Wrapping Up
Your wrap lights ceiling mounts now operate at full capacity, and maintenance becomes straightforward from this point forward. Check your fixtures quarterly for dust accumulation on the diffuser and wipe them with a soft, dry cloth to restore light output. In dusty environments like warehouses or manufacturing spaces, increase cleaning frequency to monthly since dust buildup reduces light output by 10 to 15 percent and forces you to add fixtures later when simple cleaning would have solved the problem.
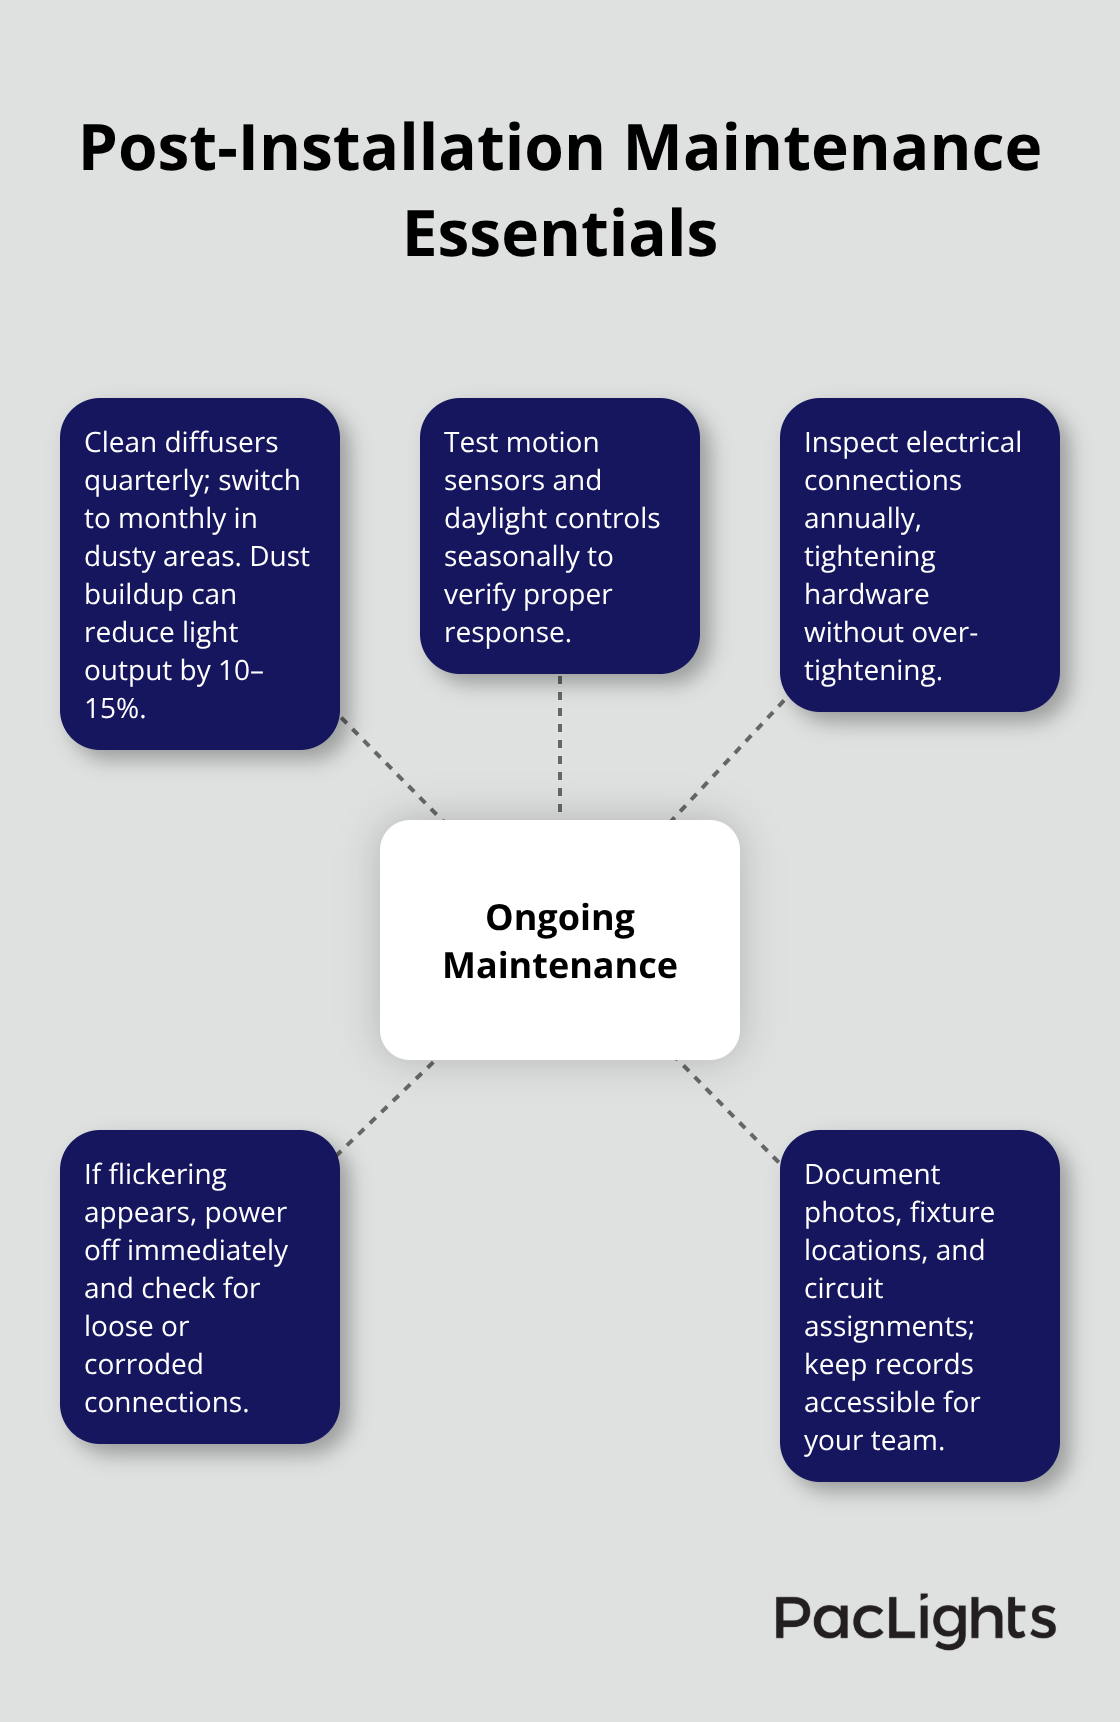
Test motion sensors and daylight controls seasonally to confirm they respond appropriately to occupancy and natural light levels. Inspect electrical connections annually, especially in humid environments like bathrooms or kitchens where moisture accelerates corrosion, and tighten any loose fasteners you find without over-tightening. If you notice flickering that wasn’t present during initial testing, turn the fixture off immediately and check connections for loose wires or corroded contacts.
Document your installation with photos and notes about fixture locations, circuit assignments, and any modifications you made, then store this information where your team can access it easily. We at PacLights offer free lighting layout designs and ROI assessments that help you identify additional energy savings opportunities and plan expansions with confidence.
Disclaimer: PacLights is not responsible for any actions taken based on the suggestions and information provided in this article, and readers should consult local building and electrical codes for proper guidance.