

Wrap lights installation doesn’t have to be intimidating. We at PacLights have helped thousands of customers transform their spaces with proper lighting setup, and we’re here to walk you through every step.
This guide covers everything from planning your layout to maintaining your fixtures long-term. You’ll learn exactly how to mount, wire, and test your wrap lights for optimal performance.
Planning Your Wrap Light Installation
Start by measuring your space accurately. Wrap lights for railings, edges, and curved surfaces demand precise dimensions before you purchase anything. Measure the linear footage of each area you plan to light, then add 10-15% extra for overlaps and connections. A 4-foot railing needs different fixtures than a 12-foot deck edge, and guessing costs money.
Identify Your Power Source and Circuit Capacity
Next, identify your power source location. Most wrap light installations require a transformer to step down voltage safely, and that transformer must sit within 50-100 feet of your fixtures depending on your wire gauge. If your nearest outlet sits 150 feet away, you’ll need heavier gauge wire, which increases material costs significantly.
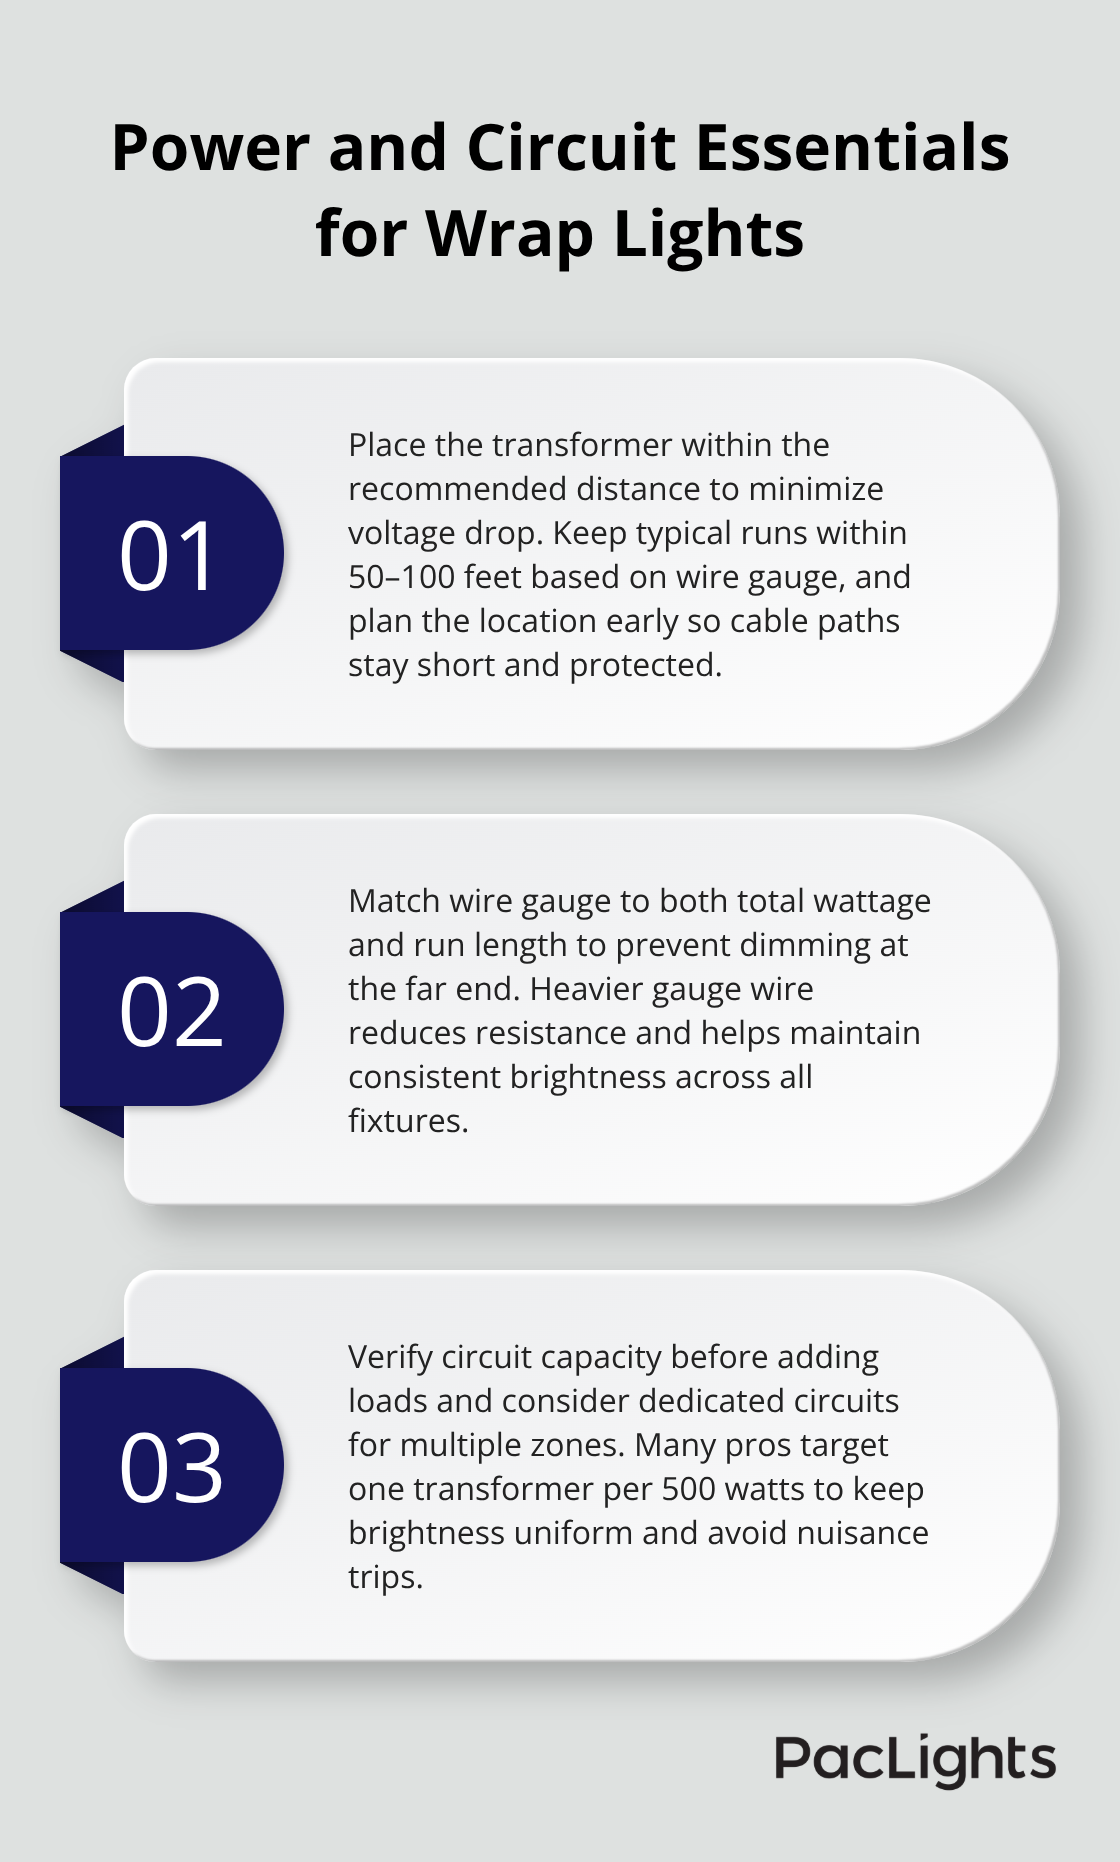
Check your circuit capacity too. A standard 15-amp circuit powers roughly 1,440 watts at full load, so if you run multiple wrap light zones simultaneously, you may need a dedicated circuit. Professional installers often recommend one transformer per 500 watts of lighting load to maintain consistent brightness across zones.
Plan Your Control Strategy
Assess whether you want integrated controls from day one. Motion sensors, daylight sensors, and dimming capabilities add 15-25% to upfront costs but reduce energy waste substantially. Studies on commercial lighting show that motion-activated systems cut energy consumption by 30-50% in spaces with variable occupancy.
Select the Right Fixtures
Wrap lights come in different configurations, and choosing wrong wastes money. LED wraparound fixtures in 2-foot, 4-foot, and 8-foot lengths dominate the market because they mount flush and eliminate shadows with their diffusion lenses. For decks and railings under 2.6 meters of ceiling height, 4-foot fixtures represent the sweet spot for coverage and installation simplicity.
Consider color temperature carefully. A 4000K fixture works best for task areas like deck stairs and walkways, while 3500K suits ambient lighting around seating areas. Higher efficacy models consume 20-25 watts compared to older 40-watt fluorescent equivalents, cutting energy bills significantly. IP54-rated fixtures handle dusty and humid outdoor environments without premature failure. Look for end-to-end linkability, which lets you connect multiple units with a single power cord rather than running separate circuits to each fixture.
Gather Your Materials and Tools
Create a complete materials checklist before ordering anything. You’ll need the wrap light fixtures themselves, a properly sized transformer, low-voltage wire in the correct gauge, outdoor-rated connectors, mounting hardware rated for your surface type, and conduit or wire covers for exposed runs. Don’t skimp on connectors and wire. Cheap connectors corrode outdoors and fail within months, forcing costly repairs. Professional-grade connectors cost slightly more but last through multiple seasons.
Calculate wire gauge based on your total wattage and run distance. A 100-foot run of 500 watts of lighting requires 10-gauge wire, not 12-gauge. Undersized wire causes voltage drop, making distant fixtures noticeably dimmer than closer ones. Gather tools early: a wire stripper, screwdriver or drill, voltage tester for safety, and a ladder rated for your ceiling height. Most installations finish in 30-60 minutes when materials sit ready beforehand. If your project involves retrofitting existing fluorescent systems, verify mounting hole locations match your new fixtures to minimize costs and avoid drilling unnecessary holes.
With your space assessed, fixtures selected, and materials assembled, you’re ready to move forward with the actual installation process.
Getting Fixtures Mounted and Wired
Mounting Fixtures Securely
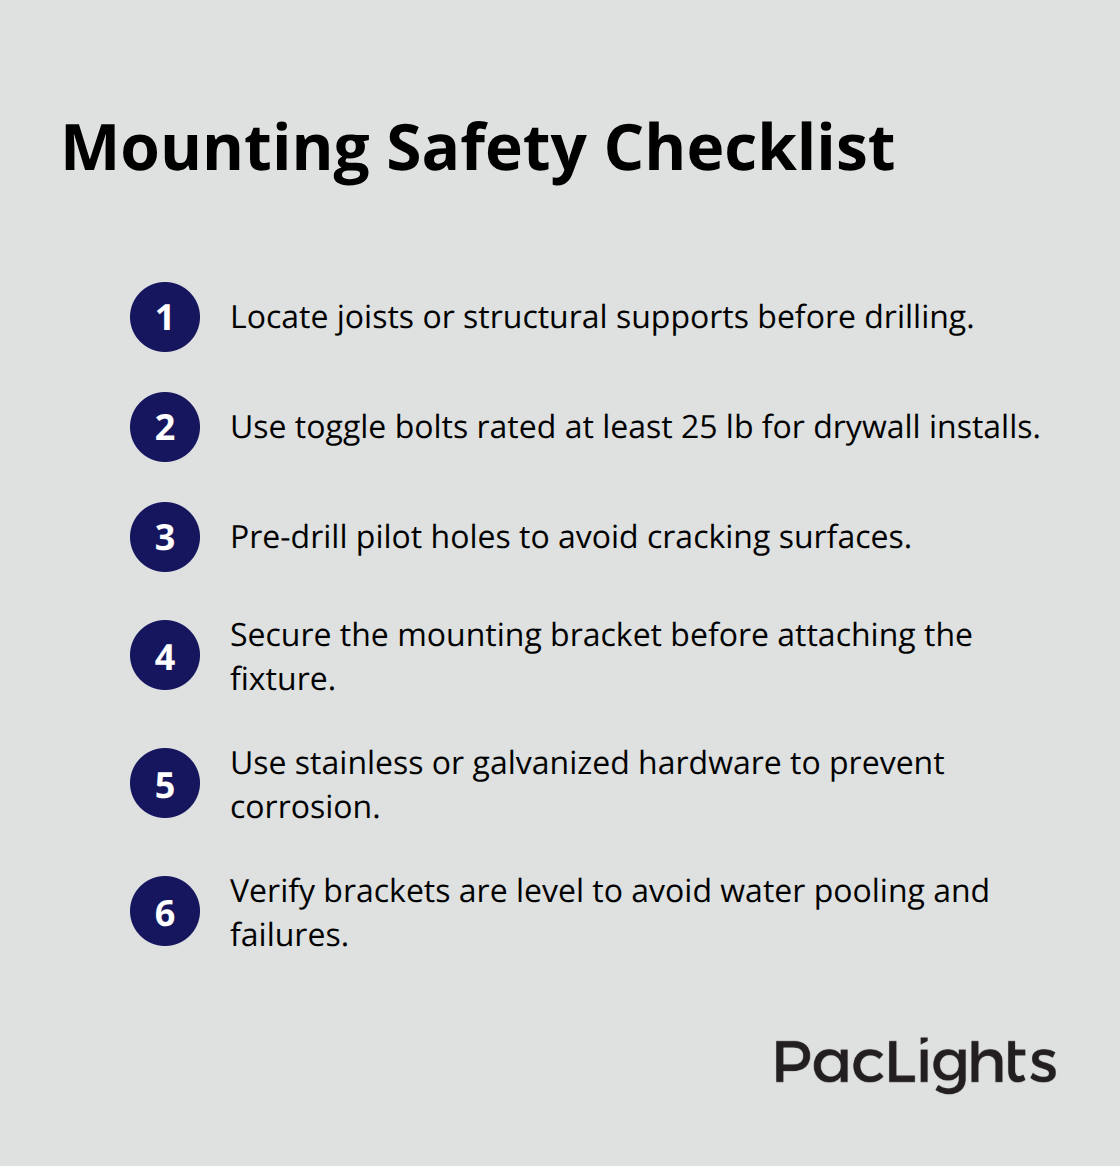
Locate your ceiling joists or structural supports before you drill any holes. A stud finder saves time and prevents drilling into empty spaces where anchors won’t hold. For flush-mount wraparound fixtures on drywall, use heavy-duty toggle bolts rated for at least 25 pounds per fixture to handle vibration and weight safely. Most 4-foot LED wraparounds weigh 3–5 pounds, but mounting hardware failure creates liability issues when fixtures fall.
Position mounting holes exactly as your fixture’s template indicates, then pre-drill pilot holes to prevent cracking drywall or wood. Install the mounting bracket first, securing it tightly to the structure before you attach the fixture itself. This two-step approach prevents strain on electrical connections during installation. For surface-mounted installations on metal beams or steel structures, use self-tapping fasteners designed for your material type.
Aluminum fixtures corrode when fastened directly to steel, so use stainless steel or galvanized hardware exclusively. Tighten all fasteners fully but avoid over-tightening, which cracks fixture housings and strips screw threads. Once brackets sit flush against the ceiling, verify they’re level using a torpedo level. Uneven mounting creates gaps where water pools on outdoor installations, leading to premature corrosion and electrical failures.
Preparing Wires and Connections
Wiring demands precision because mistakes damage fixtures and create fire hazards. Turn off power at the circuit breaker and verify it’s off using a voltage tester before you touch any wires. Strip approximately one-quarter inch of insulation from each wire to expose clean copper for connections. Connect all neutral white wires together using wire nuts, then connect all hot black wires together, twisting them tightly before you apply the nut.
Attach ground wires to the green grounding screw on your mounting bracket, ensuring no bare copper remains exposed. For multi-fixture installations, run low-voltage wire through conduit to protect it from physical damage and UV degradation. Outdoor wire exposed directly to sunlight fails within 2–3 years as insulation becomes brittle and cracks.
Securing Connections and Testing
After you complete all connections, tuck wiring gently into the ceiling box without forcing or kinking cables. Kinked wire insulation cracks internally, creating shock hazards and shorts months later. Restore power and test each fixture individually before you test them simultaneously. If a fixture doesn’t illuminate, recheck every wire nut connection and verify the transformer output matches your fixture specifications. Mismatched voltage causes dim or flickering performance even when connections appear correct.
With your fixtures mounted securely and wired properly, you’re prepared to move into testing and optimization, where you’ll confirm that all systems perform at peak efficiency before you finalize your installation.
Maintenance and Optimization for Peak Wrap Light Performance
Clean Lenses and Inspect Fixtures Regularly
Wrap light fixtures accumulate dust and debris within weeks of installation, reducing light output by 15-25% without any visible dimming to the naked eye. Inspect fixtures monthly and clean them quarterly, especially in dusty industrial environments or coastal areas where salt spray accelerates corrosion. Use a soft microfiber cloth with mild soap and water to clean diffusion lenses, avoiding abrasive materials that scratch the acrylic and scatter light unpredictably.
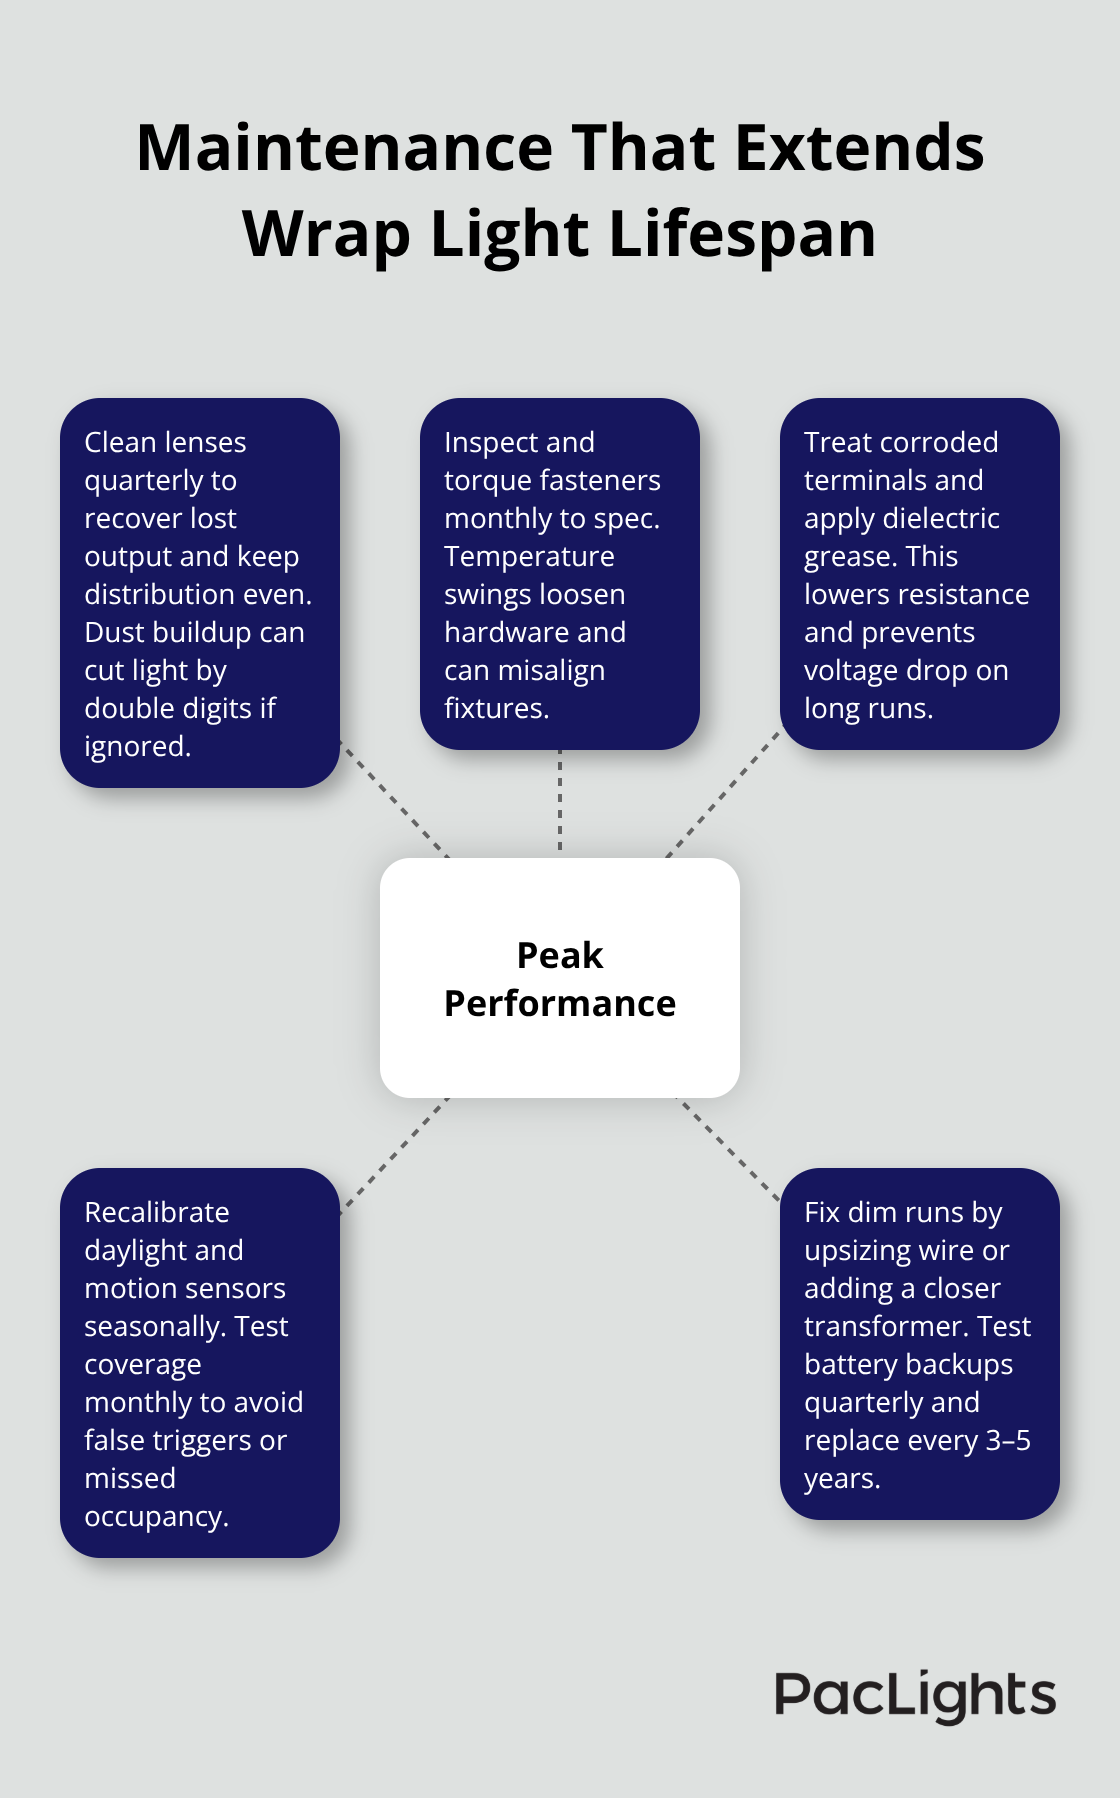
Check all fasteners and mounting brackets for corrosion or looseness during each inspection. Outdoor fixtures experience expansion and contraction through temperature swings, gradually loosening bolts over time. Tighten fasteners with a torque wrench set to manufacturer specifications rather than guessing, which prevents over-tightening that cracks housings and under-tightening that allows fixtures to shift.
Address Corrosion and Electrical Resistance
Inspect wire connections inside junction boxes for oxidation on terminals. Copper terminals develop green patina in humid environments, increasing electrical resistance and causing voltage drops that dim distant fixtures noticeably. Clean corroded terminals with a wire brush and apply a thin coat of dielectric grease to prevent future oxidation.
Check conduit and wire covers annually for cracks or separations where water infiltrates and damages insulation. Aluminum fixtures corrode when fastened directly to steel, so verify that stainless steel or galvanized hardware was used during initial installation (this prevents future corrosion problems).
Recalibrate Controls for Seasonal Changes
Dimming controls and motion sensors require configuration adjustments as seasons change and occupancy patterns shift. Winter daylight arrives later and departs earlier, so recalibrate daylight sensors in fall to prevent lights from activating too early and wasting energy. Motion sensors set too sensitively trigger false activations from wind-blown debris, while insensitive settings miss legitimate occupancy and leave spaces dark.
Start with manufacturer default settings, then adjust sensitivity incrementally over two weeks of operation to match your actual space usage. Test motion sensors monthly by walking through coverage areas at different speeds and distances to confirm they respond predictably.
Diagnose and Fix Dimness Issues
If a fixture remains dim despite proper wiring and power supply, measure output with a light meter and compare it against the fixture’s rated lumens. Voltage drop across long wire runs causes this problem frequently. A 100-foot run of undersized wire can reduce brightness by 20-30% at the far end. Upgrade to heavier gauge wire or install a second transformer closer to distant fixtures rather than accepting permanent dimness.
Battery backup systems on certain 4-foot fixtures deliver approximately 1,000 lumens for 90 minutes during power outages, so test backup functionality quarterly by simulating power loss. Replace backup batteries every 3-5 years regardless of apparent condition, as battery capacity degrades invisibly until failure occurs during an actual outage.
Final Thoughts
Wrap lights installation transforms spaces efficiently when you follow the planning, mounting, and maintenance steps outlined in this guide. You’ve learned to assess your space accurately, select fixtures matched to your environment, and mount them securely without shortcuts. The real payoff comes from consistent maintenance that keeps fixtures performing at peak brightness for years.
Energy consumption drops significantly compared to older fluorescent systems, with LED wraparounds using 20-25 watts instead of 40 watts per fixture. Motion sensors and daylight controls reduce energy waste by 30-50% in spaces with variable occupancy, cutting operational costs substantially. Fixtures rated IP54 or higher withstand dusty and humid environments without premature failure, protecting your investment long-term (and monthly inspections catch corrosion before it spreads).
If you’re planning a larger retrofit or need professional guidance on fixture selection and layout design, we at PacLights offer free lighting layout designs and ROI assessments to help you make informed decisions. Our team understands commercial and industrial lighting demands and can help you maximize energy efficiency while meeting your specific space requirements.
Disclaimer: PacLights is not responsible for any actions taken based on the suggestions and information provided in this article, and readers should consult local building and electrical codes for proper guidance.