

Outdated downlights waste energy and drive up your electricity bills every month. A flush mount downlight retrofit replaces these inefficient fixtures with modern LED alternatives that cut energy consumption significantly.
At PacLights, we’ve helped facilities across industries complete these upgrades in days, not weeks. The process is straightforward, the savings are real, and your lighting performance improves immediately.
Why You Should Retrofit Your Downlights Now
LED recessed lighting reduces energy consumption by 75-80% compared to incandescent bulbs, with a typical 65W incandescent replaced by just 10-12W of LED output. This means a facility with 20 downlights running 8 hours daily switches from consuming roughly 10.4 kWh per day to just 1.6 kWh, saving approximately 3,200 kWh annually. At an average commercial electricity rate of $0.12 per kWh, that translates to $384 in yearly savings from just 20 fixtures. Scale this across a larger facility with 50 or 100 downlights, and the numbers become substantial enough to fund the retrofit itself within 1-3 years.
Superior Light Quality Transforms Your Space
LED downlights deliver 800-1000 lumens per fixture with color rendering indices of 80 or higher, meaning colors appear more accurate and spaces feel brighter despite using far less power. The light quality improvement matters in retail environments where product visibility directly affects sales, or in offices where employee productivity correlates with better illumination. Traditional incandescent and fluorescent downlights typically last 1,000-2,000 hours, while LED fixtures operate for 25,000-50,000 hours, eliminating constant maintenance cycles and the labor costs of frequent replacements.
The Financial Impact of Delay
Every month you delay costs money. A single 65W incandescent downlight running 8 hours daily consumes roughly 156 kWh annually, costing $18.72 at commercial rates. Over five years without retrofit, that one fixture alone costs $93.60 in electricity alone, not counting replacement bulbs or labor. Multiply this across dozens of fixtures and the waste becomes undeniable.
Additional Benefits Beyond Energy Savings
LEDs emit significantly less heat than traditional bulbs, which also reduces cooling costs during warmer months-an often-overlooked secondary benefit. Fire safety improves too, as LEDs operate at lower temperatures, reducing fire risk in ceiling cavities compared to older technologies that generate substantial heat buildup. The retrofit process itself takes just 10-15 minutes per fixture when using retrofit kits designed for existing recessed cans, meaning minimal operational disruption.
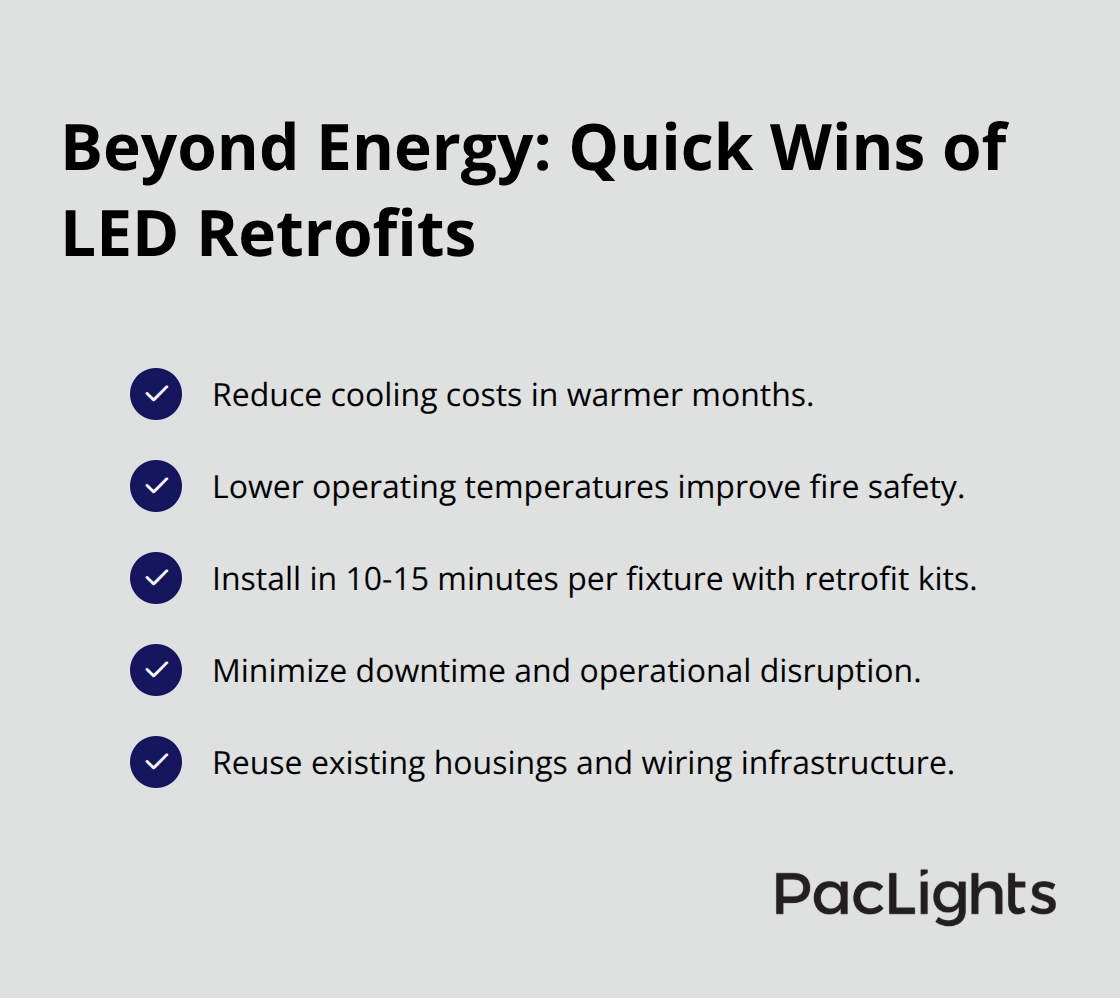
You avoid the complexity of removing old housings and can work with your current infrastructure, making this the fastest path to modernization for facilities in good working condition.
Now that you understand the benefits, the next step involves assessing your current lighting system to determine which retrofit approach works best for your facility.
Plan Your Retrofit Before You Start
Assessing your current setup determines which retrofit path saves you the most money and takes the least time to execute. Start by measuring your existing recessed can diameter-most facilities have 4-inch or 6-inch housings, and this single measurement eliminates confusion during purchasing. Next, identify whether your cans are IC-rated, meaning they contact insulation safely, or non-IC, which require clearance from insulation. Check your existing wiring and switch compatibility to confirm whether your current dimmer works with LED fixtures or needs replacement. A dimmable LED retrofit requires an LED-compatible dimmer; standard dimmers cause flicker and buzzing that wastes the performance gains you’re paying for.
Assess Your Housing Condition and Retrofit Path
Inspect the condition of your housing-if the can is structurally sound with no rust or damage, a retrofit kit that plugs into the existing housing takes 10-15 minutes per fixture and costs significantly less than removing and replacing entire housings. If housings show deterioration or you’re planning a complete renovation, canless LED fixtures offer a thinner profile and work better in insulated ceilings, though they require new wiring runs and longer installation times. Document your findings with photos and measurements because this assessment directly influences your retrofit quote and timeline.
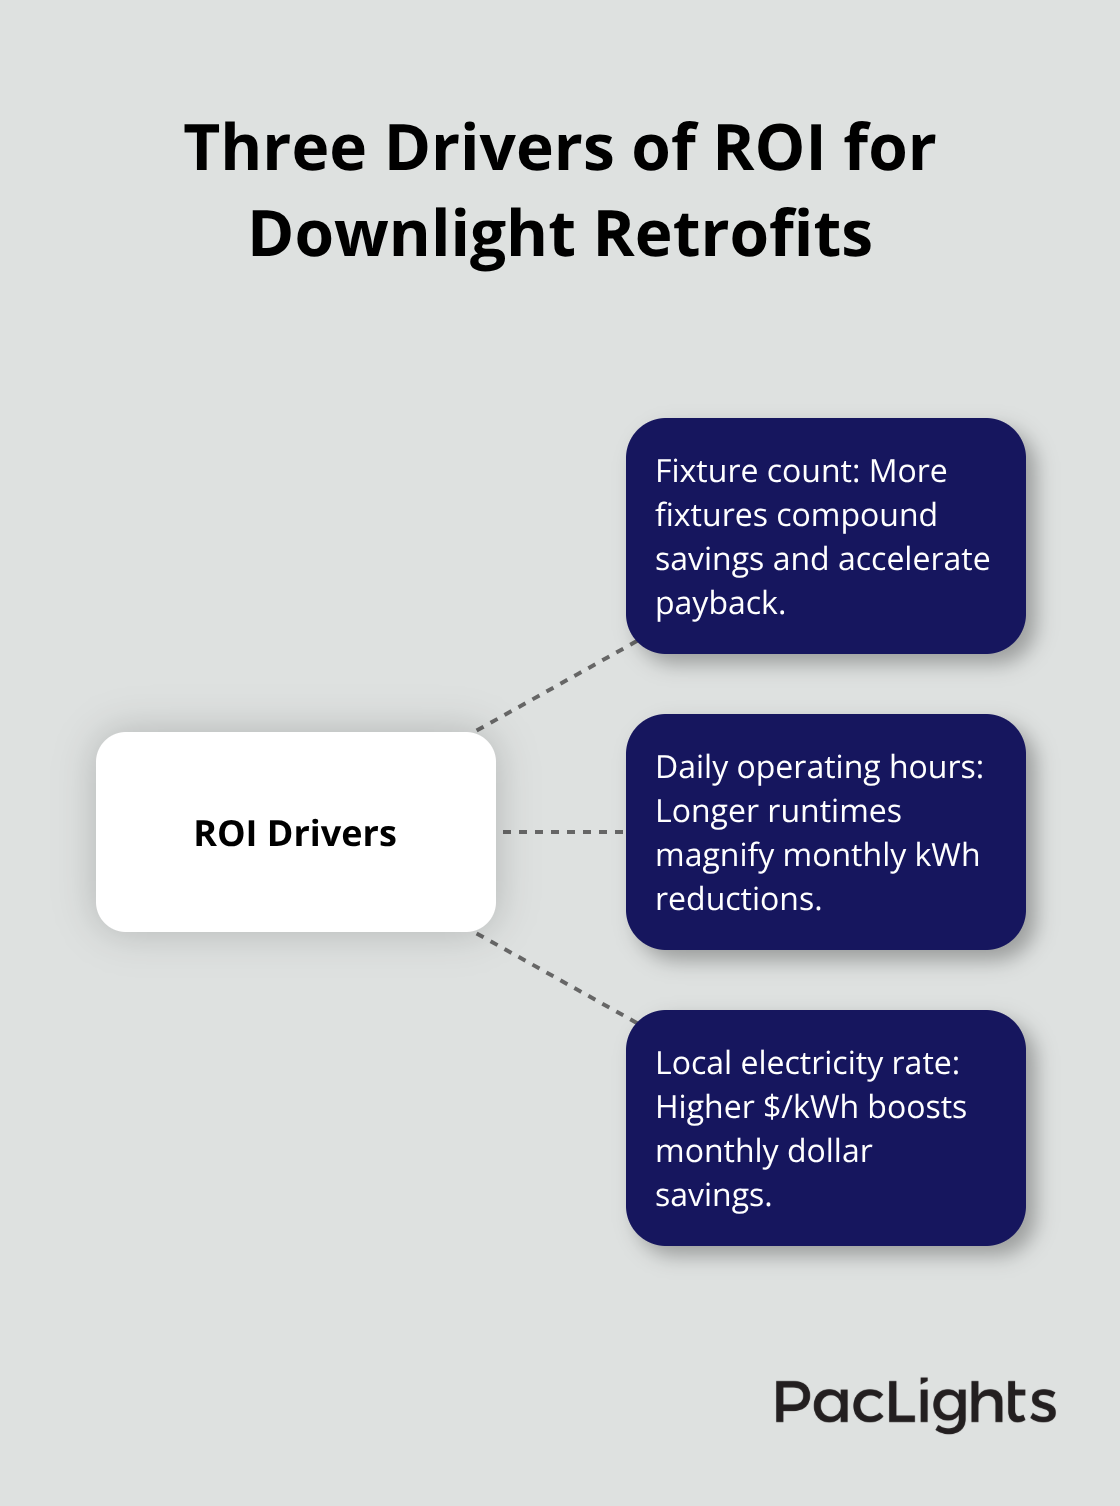
Calculate Real Savings, Not Estimates
Your ROI depends on three variables: fixture count, daily operating hours, and your local electricity rate. A facility with 50 downlights running 10 hours daily at $0.12 per kilowatt-hour currently consumes roughly 325 kWh monthly on older 65W incandescents; switching to 12W LEDs drops this to 60 kWh monthly, saving 265 kWh or about $32 per month. Over one year that’s $384 in electricity savings from just 50 fixtures.
Most retrofit kits cost $40-80 per fixture installed, meaning a $2,000-4,000 total investment pays back in 5-10 months through energy savings alone, before accounting for eliminated bulb replacement costs or reduced cooling expenses. Your electricity rate matters enormously-facilities paying $0.18 per kilowatt-hour see payback in 3-4 months instead of 10. Check your commercial electricity invoice to find your actual rate rather than using national averages. Factor in maintenance labor savings: replacing incandescent bulbs every 1,000 hours across dozens of fixtures annually costs real money in labor time and ladder work. LED fixtures lasting 25,000-50,000 hours eliminate this recurring expense almost entirely.
Select Fixtures That Match Your Space Function
Color temperature determines whether your space feels warm and inviting or cold and clinical. Kitchens and hospitality spaces benefit from 2700K-3000K warm white, which makes food look appetizing and guests feel comfortable. Offices and retail environments typically use 3500K-4000K neutral white for task visibility without the warmth that can feel drowsy. Try for a color rendering index of 80 or higher, preferably 90+, especially in retail where accurate color perception affects purchasing decisions. Brightness matters less than you think-800-1000 lumens per fixture handles most commercial applications effectively, and oversizing creates glare and wastes energy. Verify your ceiling thickness compatibility before purchasing; retrofit kits work with ceilings ranging from 1mm to 23mm thick, but some fixtures have limitations. If your facility uses dimming, confirm the retrofit kit is dimmable-rated and compatible with your existing dimmer type, or budget for dimmer replacement. Fire safety requires fire-rated fixtures in most commercial installations (these include intumescent seals and gaskets that contain fire and smoke within ceiling cavities, meeting building codes and protecting your facility). Beam angle affects task lighting effectiveness-narrow beams concentrate light on work surfaces like kitchen counters and reduce shadows, while wider beams provide ambient room illumination.
Get Professional Guidance on Fixture Selection
Request a free lighting layout from your supplier showing fixture placement and spacing recommendations; proper 4-6 foot spacing prevents dark spots and ensures uniform illumination across your space. At PacLights, we provide free lighting layout designs and ROI assessments to help you make informed decisions about your retrofit investment. This professional guidance takes the guesswork out of fixture selection and ensures your retrofit delivers the performance and savings you expect.
Getting Your Retrofit Installation Right
Prepare Your Facility and Test for Safety
Preparation separates smooth retrofits from projects that waste time and money. Power down at the circuit breaker and test with a non-contact voltage tester to confirm the circuit is dead before touching any wiring. Inspect your existing wiring for damage, corrosion, or loose connections at the junction box, as these issues cause flickering or complete fixture failure after installation. Gather your complete tool kit before starting: non-contact voltage tester, screwdrivers, wire strippers, ladder, measuring tape, and push-in connectors if you’re wiring multiple fixtures.
Execute Retrofit Kit Installation Quickly
For retrofit kits fitting existing housings, the process moves fast. Remove the trim ring and existing bulb, screw the adapter into the recessed can, plug in the LED module, and secure it with spring clips. The entire operation takes 10-15 minutes per fixture when you have the right parts on hand.
Spring clips matter more than most installers realize. Improper clips cause trim rings to sit uneven or proud of the ceiling, creating visible gaps that undermine the flush appearance you paid for. If your existing clips prevent flush seating, replace them with the retrofit kit’s low-profile alternatives or verify the kit includes a flange designed specifically for flush mounting.
Verify Circuit Capacity Before Connection
Check the maximum wattage rating before connecting anything. On a typical 15-amp circuit, you can safely run roughly 1,440 watts total, meaning 20-30 LED fixtures drawing 10-15W each per circuit is feasible when no other loads share that circuit. Exceeding this limit risks tripping breakers or creating fire hazards, so verify your circuit capacity matches your fixture count.
Install Canless Fixtures with Proper Spacing
For canless installations requiring new wiring, plan your layout with 4-6 foot spacing between fixtures to eliminate dark spots and ensure uniform illumination. Cut ceiling openings using an adjustable hole cutter with a 40-163mm cutting range, which covers most downlight sizes, then run wiring through the ceiling cavity and connect hot, neutral, and ground using push-in connectors at each fixture. Always wire fixtures in parallel so each receives full voltage independently; a failed fixture won’t cascade and take others offline. Connect everything, fit trims, and test from multiple angles to confirm proper seating and stability.
Test and Troubleshoot After Power-Up
After installation, power the circuit back on and run each fixture through its full brightness range if dimmable, watching for flicker or buzzing that indicates dimmer incompatibility. Flicker almost always stems from using non-LED-rated dimmers on LED circuits, so if you encounter it, replace the dimmer with an LED-compatible model rather than downgrading your fixtures.
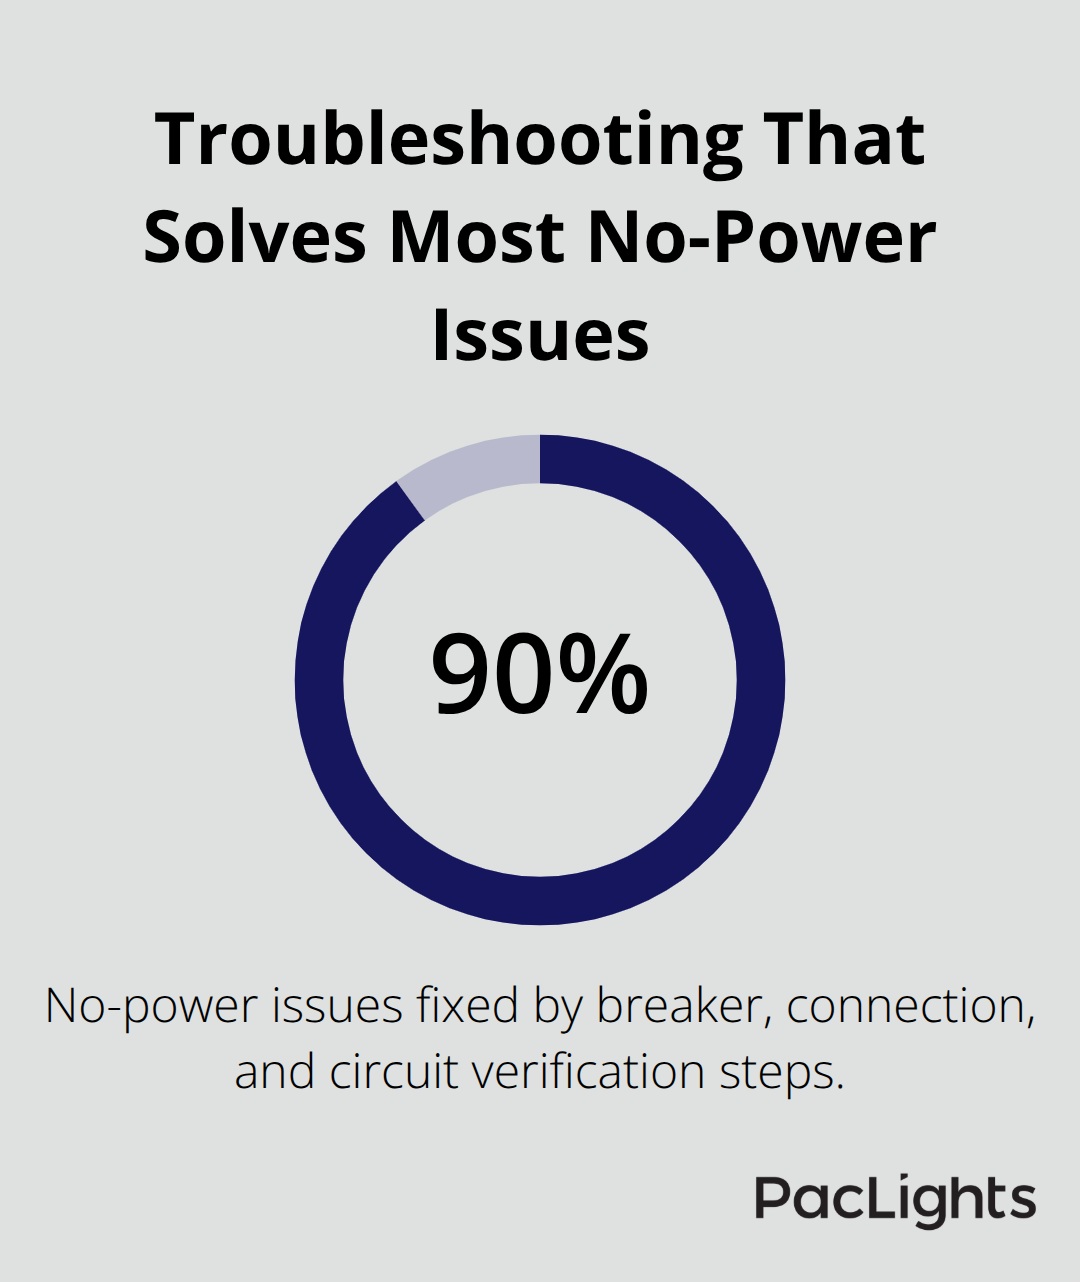
A fixture that won’t turn on requires systematic troubleshooting. First, check the breaker hasn’t tripped. Second, recheck every wire connection at the junction box or driver to confirm nothing came loose during installation. Third, verify you powered the correct circuit. These three steps resolve roughly 90 percent of no-power issues without requiring professional service calls.
Final Thoughts
Your flush mount downlight retrofit delivers measurable returns that extend far beyond the first year. The 75-80% energy reduction translates directly to lower monthly bills, and the real value compounds over time as you eliminate bulb replacements, reduce cooling costs, and avoid maintenance labor entirely. A facility that invests $2,000-4,000 in retrofit kit installation recovers that cost within months and continues saving $300-500 annually for decades as LED fixtures operate through their 25,000-50,000 hour lifespan.
The installation process proves straightforward when you follow the steps outlined here: assess your housing, select fixtures matched to your space function, prepare safely, and execute the retrofit methodically. Most facilities complete their projects in days with minimal operational disruption, and the light quality improvement becomes apparent immediately (your space feels brighter, colors render more accurately, and uniform illumination eliminates the dark spots that plagued older downlights). Your facility gains fire safety improvements from lower operating temperatures and compliance with modern building codes through fire-rated fixtures.
Start by documenting your current lighting system with measurements and photos, then request a free lighting layout and ROI assessment from PacLights to understand your specific savings potential. This professional guidance removes guesswork and ensures your flush mount downlight retrofit delivers the performance and financial returns you expect.
Disclaimer: PacLights is not responsible for any actions taken based on the suggestions and information provided in this article, and readers should consult local building and electrical codes for proper guidance.