

Linear cove lighting transforms any room with elegant, hidden illumination that highlights architectural features while providing ambient light. This indirect lighting technique has grown 40% in residential installations over the past three years.
We at PacLights see homeowners tackle this project successfully with proper planning and the right components. This guide walks you through every step, from initial measurements to final connections.
Planning Your Linear Cove Lighting Installation
Where Should You Place Your Linear Cove Lighting
Success with linear cove lighting starts with location decisions that affect both visual impact and installation complexity. The most effective installations place LED strips 6-12 inches from the ceiling edge, which creates optimal light distribution without visible hotspots. Crown molding installations work best with strips positioned 4-6 inches behind the molding face, while recessed ceiling coves need strips centered in the channel for even illumination. Kitchen installations perform exceptionally well above upper cabinets, where the 18-24 inch gap to the ceiling creates perfect light wash conditions.

How to Calculate Your Exact Lighting Requirements
Professional installations require precise calculations based on room dimensions and intended use. For ambient lighting applications, target 200-500 lumens per linear foot of LED strip. Task lighting areas need 400-1,000 lumens per foot, while accent applications work with 100-300 lumens per foot. A 12-foot kitchen cove needs approximately 3,600-6,000 lumens total for effective ambient lighting. Color temperature selection dramatically impacts room atmosphere – 2700K creates relaxed environments while 4000K enhances focus in work areas (particularly important for home offices). Always calculate total wattage and add 20% overhead for power supply size to prevent system overload.
Component Selection That Actually Works
Component compatibility determines installation success more than individual product quality. Choose 24V LED strips over 12V options for runs longer than 16 feet to minimize voltage drop issues. High-CRI strips with ratings above 90 provide accurate color representation, particularly important in kitchens and living spaces. Aluminum channels with diffuser lenses eliminate visible LED dots while they improve heat dissipation for strips that exceed 10 watts per foot. Dimmable transformers must match strip specifications exactly – mixed incompatible components create flicker and premature failure. Solderless connectors simplify installations but require strips with matched connector space (typically every 2-4 inches depending on strip density).
With your components selected and measurements complete, the next step involves the actual installation process that transforms your planning into professional results.
How Do You Actually Install Linear Cove Lighting
Electrical Preparation That Prevents Problems
Turn off power at the breaker before you start any electrical work – this non-negotiable safety step prevents dangerous accidents. Run 14-gauge Romex cable from your electrical panel to the transformer location, which should sit within 6 feet of the LED strips to minimize voltage drop. Install a dedicated 15-amp circuit for cove systems that exceed 1,200 watts total load.
Mount the transformer in an accessible location with at least 6 inches of clearance on all sides for heat dissipation. Professional electricians recommend GFCI protection for bathroom and kitchen cove installations, which adds critical safety protection in moisture-prone areas.
Surface Preparation and Channel Installation
Clean the surface with isopropyl alcohol before you apply LED strips – this simple step increases adhesive bond strength by 60% according to 3M test data. Mount aluminum channels first with screws every 12 inches, then install diffuser lenses before you place strips to avoid fingerprints on the lens surface.

Mark your channel positions with a level to maintain straight lines across long runs. Pre-drill holes in drywall or wood surfaces to prevent cracking during screw installation. Check that channels align properly at corners and joints before you secure them permanently.
Strip Installation and Connection Methods
Cut LED strips only at designated cut points marked every 2-4 inches (depending on strip density). Use solderless connectors for strip-to-strip connections, which provide reliable joints without specialized tools. Connect strips to the transformer with 18-gauge wire for runs under 20 feet, then upgrade to 16-gauge for longer distances.
Install dimmer switches between the transformer and wall switch location, positioning them away from heat sources that cause premature failure. Test each connection before final installation to identify wiring issues early in the process.
Common connection mistakes at this stage can create flickering, uneven brightness, or complete system failure – issues that become much harder to diagnose once you complete the installation and close up access points.
What Installation Mistakes Ruin Linear Cove Lighting
Voltage Drop Destroys Professional Results
Voltage drop failures occur when installers ignore distance limitations between transformers and LED strips. Strips lose 15-20% brightness over 25-foot runs with inadequate wire gauge, which creates uneven illumination that looks unprofessional. Use 16-gauge wire for runs between 20-30 feet and upgrade to 14-gauge for distances that exceed 30 feet.
Install transformers within 6 feet of strip start points when possible, or add amplifiers every 32 feet for longer installations. Homeowners often place transformers in basements or attics for convenience, then wonder why their strips dim progressively across the room. Multiple shorter runs with dedicated transformers outperform single long runs every time.
Heat Buildup Kills LED Lifespan
Poor heat management reduces LED strip lifespan from 50,000 hours to under 15,000 hours (according to Lighting Research Center studies). Strips that exceed 10 watts per foot require aluminum channels with thermal backing for proper heat dissipation. Install channels with 1-inch minimum air gaps behind surfaces to allow heat circulation.
Avoid enclosed fixtures or tight spaces that trap heat around high-output strips. Recessed installations need ventilation slots every 24 inches along the channel length. Check strip temperatures during operation – surfaces that exceed 140°F indicate inadequate cooling that leads to premature failure and color shift over time.
Water Damage and Wire Failures
Moisture infiltration destroys electrical connections within months in kitchen and bathroom installations. Use IP65-rated strips and sealed connectors in areas with humidity above 60%. Route low-voltage wires through conduit when crossing moisture barriers like shower enclosures or above-sink areas.
Secure wire connections with heat-shrink tubing rather than wire nuts, which loosen over time from thermal cycling. Leave service loops at connection points for future maintenance access. Poor wire management creates stress points that break connections when materials expand and contract seasonally.
Final Thoughts
Professional linear cove lighting installation delivers transformative results that justify the effort you invest in proper planning and execution. When you install these systems correctly, they provide 50,000+ hours of reliable operation while they consume 75% less energy than traditional fluorescent alternatives. The indirect illumination creates visual depth that makes rooms appear larger and more sophisticated.
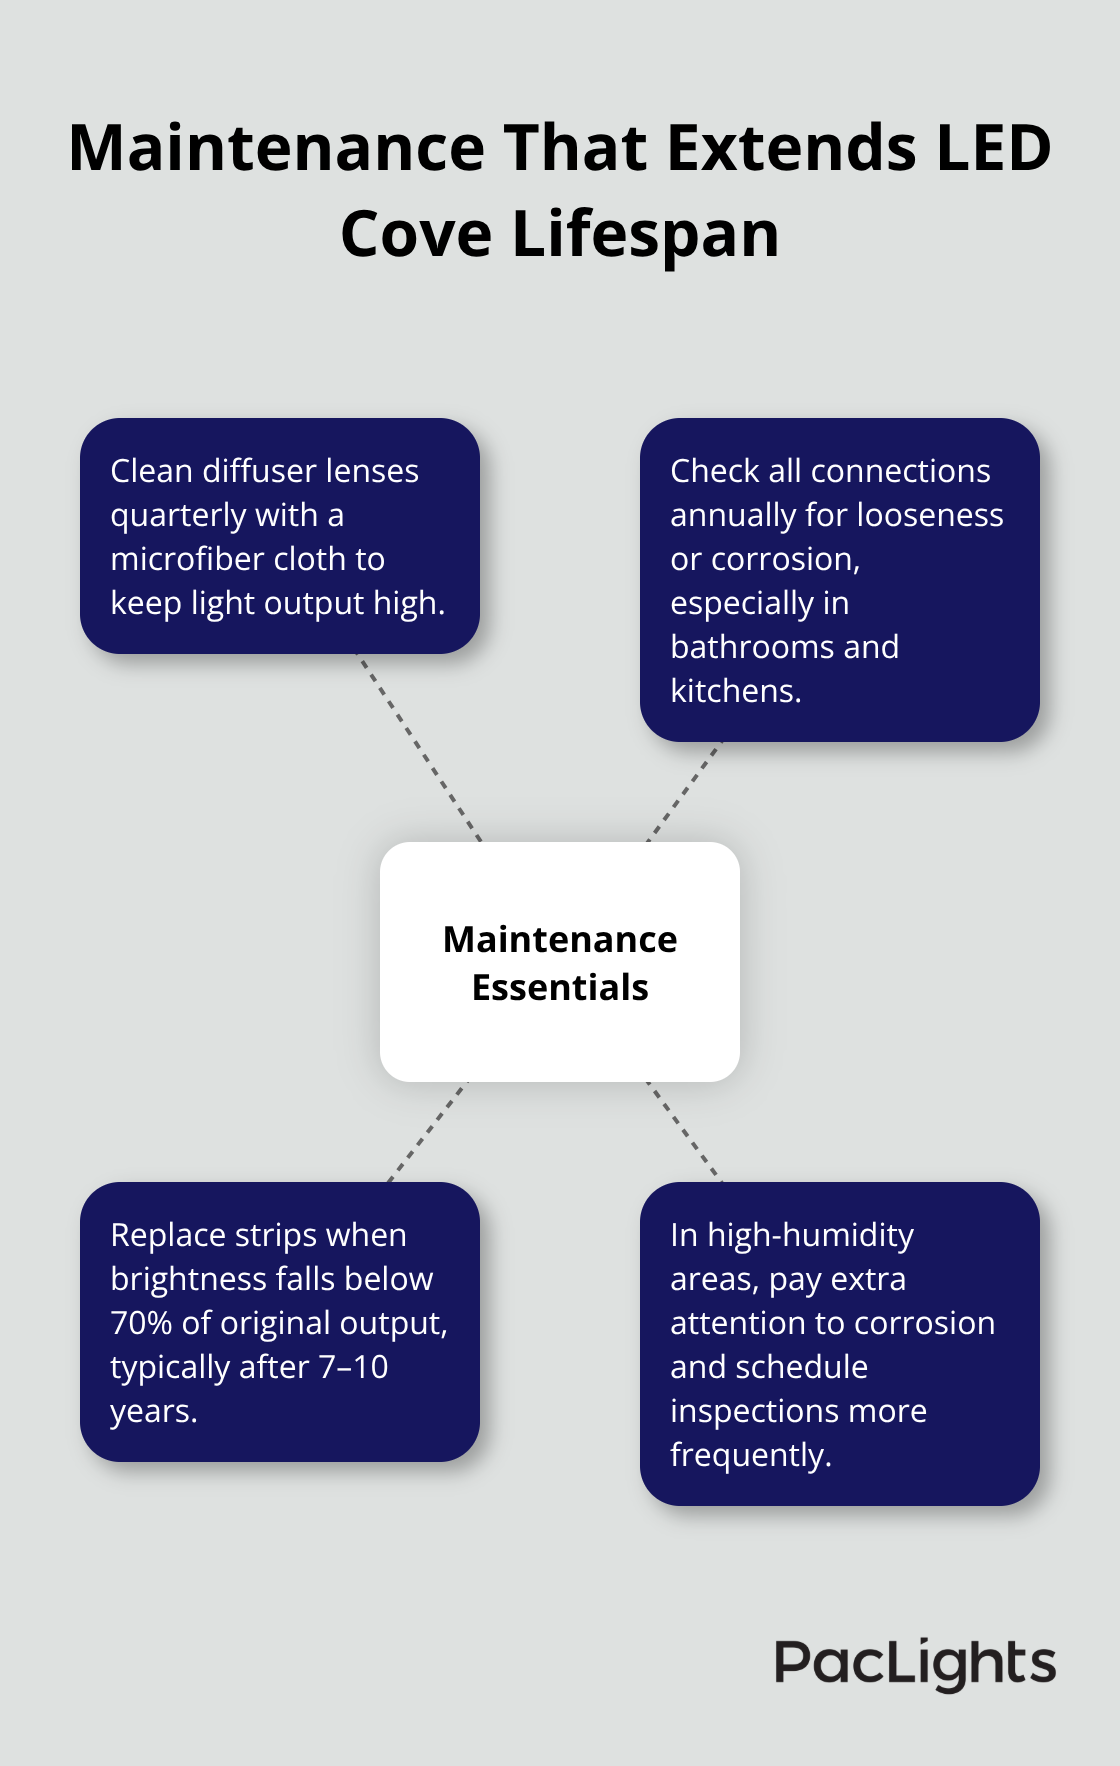
Regular maintenance extends system lifespan significantly. You should clean diffuser lenses quarterly with microfiber cloths to maintain optimal light output. Check connections annually for looseness or corrosion, particularly in high-humidity areas (especially bathrooms and kitchens). Replace individual LED strips only when brightness drops below 70% of original output, which typically occurs after 7-10 years of normal use.
Smart control upgrades make sense when you want to schedule lights, adjust color temperature, or integrate with home automation systems. Modern controllers add precision and energy monitoring capabilities that weren’t available during initial installation. We at PacLights offer advanced lighting controls and networked solutions that optimize energy use while they provide precise illumination control for both residential and commercial applications. Your linear cove lighting investment pays dividends through reduced energy costs, enhanced property value, and improved daily comfort for decades to come.
Disclaimer: PacLights is not responsible for any actions taken based on the suggestions and information provided in this article, and readers should consult local building and electrical codes for proper guidance.