

Flush mount downlights are one of the most practical lighting solutions for modern homes and offices. They sit seamlessly into your ceiling, offering clean aesthetics without taking up extra space.
At PacLights, we’ve helped countless customers navigate the selection and installation process. This flush mount downlight guide walks you through everything you need to know, from picking the right fixture to getting it installed correctly.
What Flush Mount Downlights Actually Do
Flush mount downlights sit directly against your ceiling, creating a seamless look that doesn’t eat into your headroom. Unlike pendant lights or semi-flush fixtures that hang down, these lights attach flat to the ceiling surface, making them ideal for spaces where every inch matters. The fixture housing contains the electrical connections and mounting bracket, while the trim ring sits flush with the ceiling plane. Light travels downward from the integrated LED module or replaceable bulb, distributing illumination across your room. This design works particularly well in kitchens, bathrooms, and hallways where you need clean sightlines and practical brightness without visual clutter.
New Construction vs. Retrofit Installation
New construction downlights install during building before drywall goes up, giving you complete control over placement and wiring runs. You mount the fixture arms directly to ceiling joists, route the electrical cable to a splice box, and connect wires by color before the drywall closes everything in. This approach delivers the cleanest final look because all wiring stays hidden inside the ceiling cavity. Retrofit downlights work in existing ceilings without requiring structural changes. These use spring-loaded clips that lock into the fixture housing once you push it through a ceiling hole, making installation faster and simpler if your electrical wiring already reaches the location. Most homeowners and small office managers choose retrofit fixtures because they avoid ceiling demolition and can be installed in an afternoon.
Energy Efficiency Outperforms Traditional Bulbs
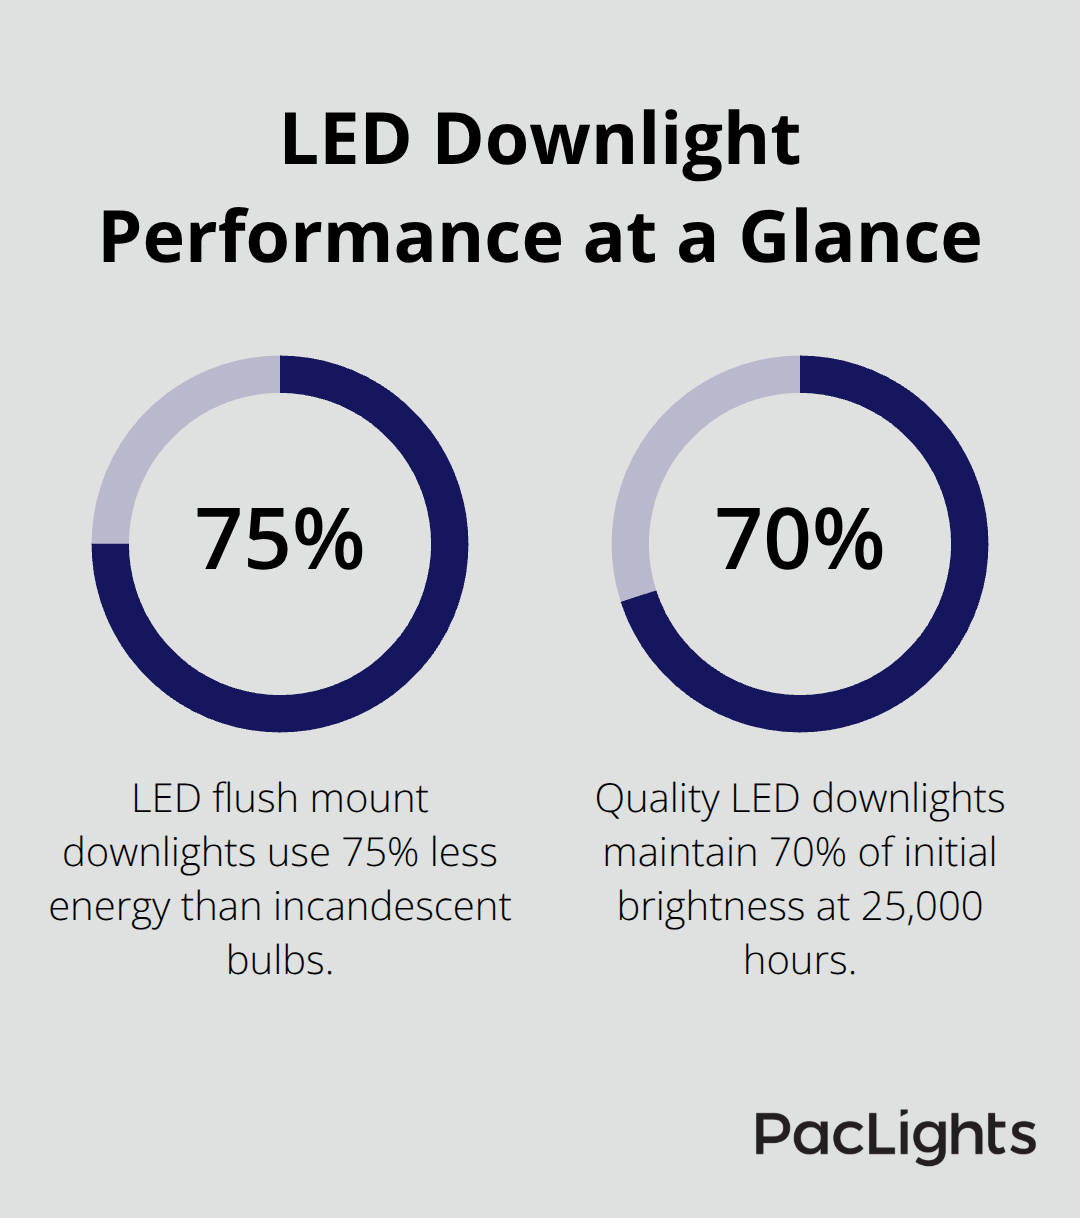
LED flush mount downlights consume approximately 75% less energy than incandescent bulbs while delivering the same or greater brightness. A typical LED downlight rated at 10 watts produces around 800 lumens, whereas an incandescent bulb delivering similar output consumes 60 watts. LED fixtures last beyond 25,000 hours, meaning you’ll replace them far less frequently. This combination of lower energy use and extended lifespan significantly reduces your operating costs over time.
Brightness Levels Match Your Space and Tasks
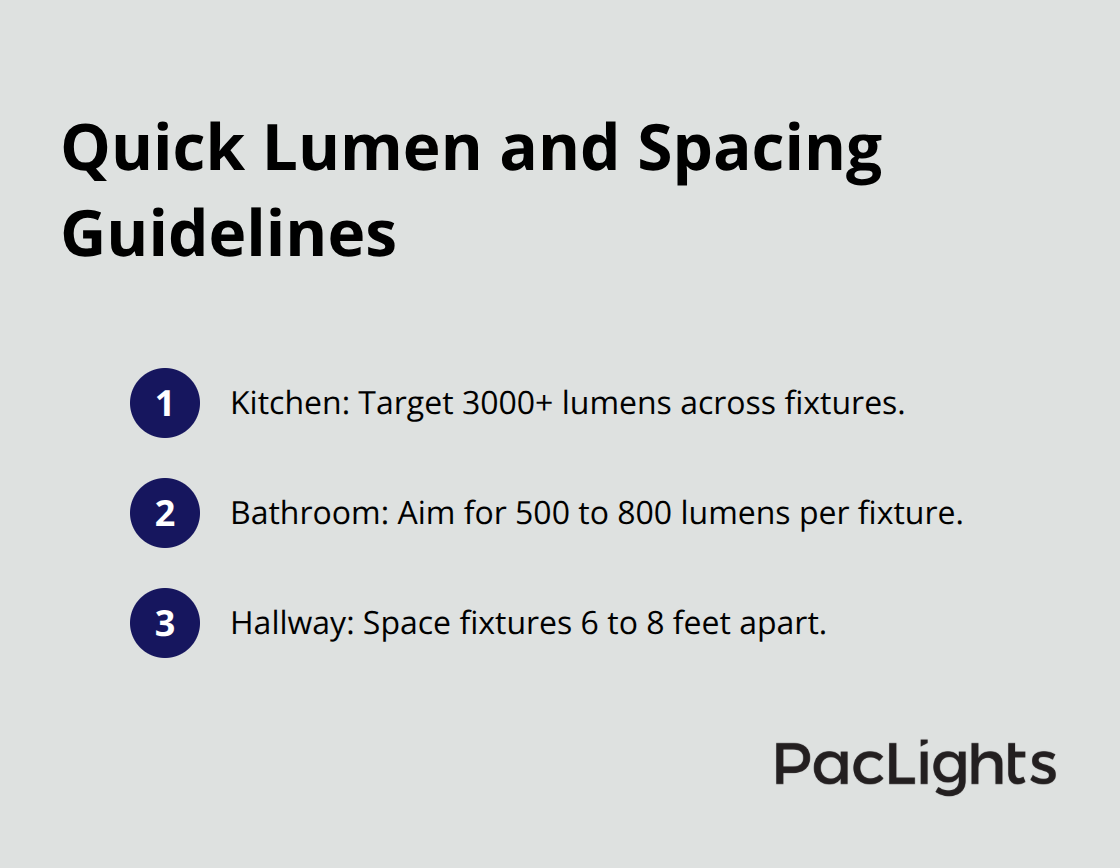
For kitchens and task areas, try 3000 or more lumens total across all fixtures. Bathrooms typically need 500 to 800 lumens per fixture. Hallways work well with fixtures spaced roughly 6 to 8 feet apart to create seamless light flow without dark spots. Color temperature affects how a space feels: warm white at 2700K to 3000K creates coziness in bedrooms and living areas, while cool white at 4000K to 5000K supports focus in kitchens and offices. Many modern LED downlights offer dimmable capabilities, letting you adjust brightness throughout the day and further reduce energy consumption during low-light hours.
Now that you understand how flush mount downlights function and what performance levels they deliver, the next step involves selecting the right fixture for your specific space and requirements.
Selecting the Right Fixture for Your Space
Match Lumens to Room Function First
Start with room dimensions and task requirements, not aesthetics. Measure your space and identify what activities happen there. A kitchen where you prep food demands 3000 lumens or more across all fixtures to safely handle knives and see food colors accurately. A bathroom needs 500 to 800 lumens per fixture for grooming tasks. Hallways function well with fixtures spaced 6 to 8 feet apart, creating continuous light flow without dark zones.
This approach prevents undersized or oversized fixtures that fail to meet your actual lighting needs.
Size and Ceiling Height Shape Your Choices
Ceiling height matters significantly. Low ceilings under 8 feet benefit from slim-profile flush mounts that sit nearly flat, preventing that cramped feeling. Higher ceilings above 10 feet can accommodate slightly deeper fixtures without visual consequences. Room size determines fixture diameter: try a fixture width roughly one-third your room width. A 12-by-14-foot bedroom works well with a 14-to-16-inch fixture, while a 20-by-20-foot living space needs an 18-to-20-inch fixture to avoid looking undersized.
Color Temperature Controls Function and Biology
Color temperature directly impacts function and mood. Warm white at 2700K to 3000K belongs in bedrooms, living rooms, and dining areas where relaxation matters. Cool white at 4000K to 5000K belongs in kitchens, bathrooms, and offices where clarity and task performance take priority. This isn’t a preference issue-it’s biology. Cool temperatures suppress melatonin production and sharpen focus, while warm tones trigger relaxation responses.
Dimmable Fixtures Deliver Immediate ROI
LED downlights with dimmable capability cost roughly 15 to 25 percent more upfront but justify the investment immediately. Dimmable fixtures let you reduce energy consumption during evening hours when full brightness isn’t necessary, lowering your electric bill noticeably. LED downlights rated at 10 watts typically cost between 20 and 40 dollars per fixture, while quality retrofit models with integrated spring-clip mounting run 30 to 50 dollars. New construction fixtures cost slightly less since they skip the spring-clip mechanism.
Calculate Total Cost and Long-Term Savings
Calculate total cost by fixture count, not per-unit price. A kitchen needing eight fixtures at 35 dollars each costs 280 dollars in materials. Factor in installation labor if you hire an electrician-typically 75 to 150 dollars per hour depending on location and complexity. Long-term value tips the scale heavily toward LED. An incandescent downlight consuming 60 watts running 5 hours daily costs roughly 11 dollars monthly in electricity. The same light output from a 10-watt LED costs less than 2 dollars monthly-a 9-dollar monthly savings. Over a 25,000-hour LED lifespan, that totals 2700 dollars in energy savings for a single fixture. Add the reduced replacement frequency (LEDs last 10 to 15 years versus 1 to 2 years for incandescent), and the economics become obvious.
Once you’ve selected the right fixture specifications for your space, the actual installation process determines whether your downlights perform as intended and last their full rated lifespan.
Installation and Maintenance of Flush Mount Downlights
Preparation and Safety Come First
Correct installation determines whether your fixture performs reliably for its full 25,000-hour lifespan or fails prematurely. Start by turning off power at the circuit breaker, then verify the power is actually off using a voltage tester. This single step prevents electrocution, the leading cause of DIY electrical injuries. For retrofit installations in existing ceilings, locate your electrical box and measure the fixture hole diameter carefully-most retrofit downlights require 4-inch or 6-inch holes, and cutting the wrong size wastes time and drywall.
Connecting Wires Correctly Prevents Future Problems
Strip approximately half an inch of insulation from each wire using a wire stripper, then connect black to black, white to white, and green or bare copper to ground. Loose wire connections cause flickering and dimming issues that develop within weeks of installation. Push the fixture up into the hole until the spring-loaded clips lock into place with an audible click-if you don’t hear that click, the fixture isn’t secured properly. For new construction installations, mount the fixture arms to ceiling joists using provided screws, route electrical cable to your splice box, and complete all wire connections before drywall installation. This approach hides wiring completely and delivers the cleanest final appearance.
Installation Timeline Varies by Method
Retrofit installations typically take 20 to 30 minutes per fixture once you locate the electrical box, while new construction requires more planning but eliminates retrofit limitations around existing wiring locations. After installation completes, restore power and test each fixture immediately-flickering or dimming at startup indicates a wiring problem that needs correction before you close up the ceiling.
Monthly Cleaning Preserves Brightness and Finish
Clean fixtures monthly using only a microfiber cloth-never use paper towels or abrasive materials that scratch finishes. For glass or acrylic trim rings, use standard glass cleaner applied to the cloth, not sprayed directly on the fixture, which risks moisture entering electrical components. Inspect mounting hardware every six months to confirm screws remain tight, as vibration from HVAC systems or building settling can loosen connections.
Watch for Signs of Aging and Dimmer Issues
Check for visible burn marks, discoloration, or persistent dimming around the 20,000-hour mark, which signals the LED is approaching end-of-life. Many quality LED downlights maintain 70 percent of initial brightness at 25,000 hours, but if dimming accelerates earlier, have an electrician inspect for loose connections or incompatible dimmer switches.

Dimmable LED fixtures require dimmer switches rated for LED loads-standard incandescent dimmers often cause flickering or prevent full brightness. If you installed dimmable downlights with an older incandescent dimmer, upgrade to an LED-compatible dimmer immediately rather than accepting flickering as normal. This maintenance approach costs nothing beyond a microfiber cloth and prevents the expensive replacement of fixtures that failed from neglect rather than age.
Final Thoughts
Selecting and installing flush mount downlights requires matching lumens to your specific tasks, sizing fixtures to your room dimensions, and choosing color temperatures that support how you actually use the space. Correct wire connections, proper mounting security, and immediate testing after installation prevent the flickering and dimming issues that plague poorly executed projects. This flush mount downlight guide demonstrates that the installation process itself determines whether your fixtures perform reliably for their full 25,000-hour lifespan or develop problems within months.
Quality LED downlights deliver measurable financial returns that extend far beyond the initial purchase price. A single LED downlight consuming 10 watts instead of 60 watts saves approximately 9 dollars monthly in electricity costs, totaling 2,700 dollars in energy savings per fixture over a 25,000-hour lifespan spanning 10 to 15 years. Monthly cleaning with a microfiber cloth and semi-annual hardware inspections cost nothing but extend fixture lifespan, maintain brightness levels, and prevent expensive premature failures.
We at PacLights understand that lighting decisions impact both your immediate comfort and long-term operating costs. Contact our team for free lighting layout designs and ROI assessments to help you select the right fixtures for your specific space and budget.
Disclaimer: PacLights is not responsible for any actions taken based on the suggestions and information provided in this article, and readers should consult local building and electrical codes for proper guidance.