

Upgrading your commercial space with new downlights doesn’t have to mean days of disruption or messy installations. We at PacLights know that clean, efficient upgrades matter-especially when you’re running a business.
This guide walks you through commercial downlights installation tips that deliver professional results without the headaches. From planning your layout to making final connections, you’ll find practical steps that work.
Planning Your Downlight Installation
Measure your space accurately from the start, because poor measurements lead to either too many fixtures creating harsh shadows or too few leaving dark corners. Most commercial spaces need one downlight per 4 to 6 square meters, depending on the ceiling height and the type of work performed in that area. For a 100 square meter office, that means roughly 17 to 25 fixtures. However, task-intensive areas like reception desks or meeting rooms need denser coverage, while storage areas can use fewer.
Walk through your space at different times of day and note where natural light enters and where shadows fall. This observation takes 15 minutes but prevents expensive mistakes. Take photos of your current setup and mark problem areas on a floor plan. This visual reference becomes invaluable when you meet with your supplier or electrician.
Recessed Versus Surface-Mount Options
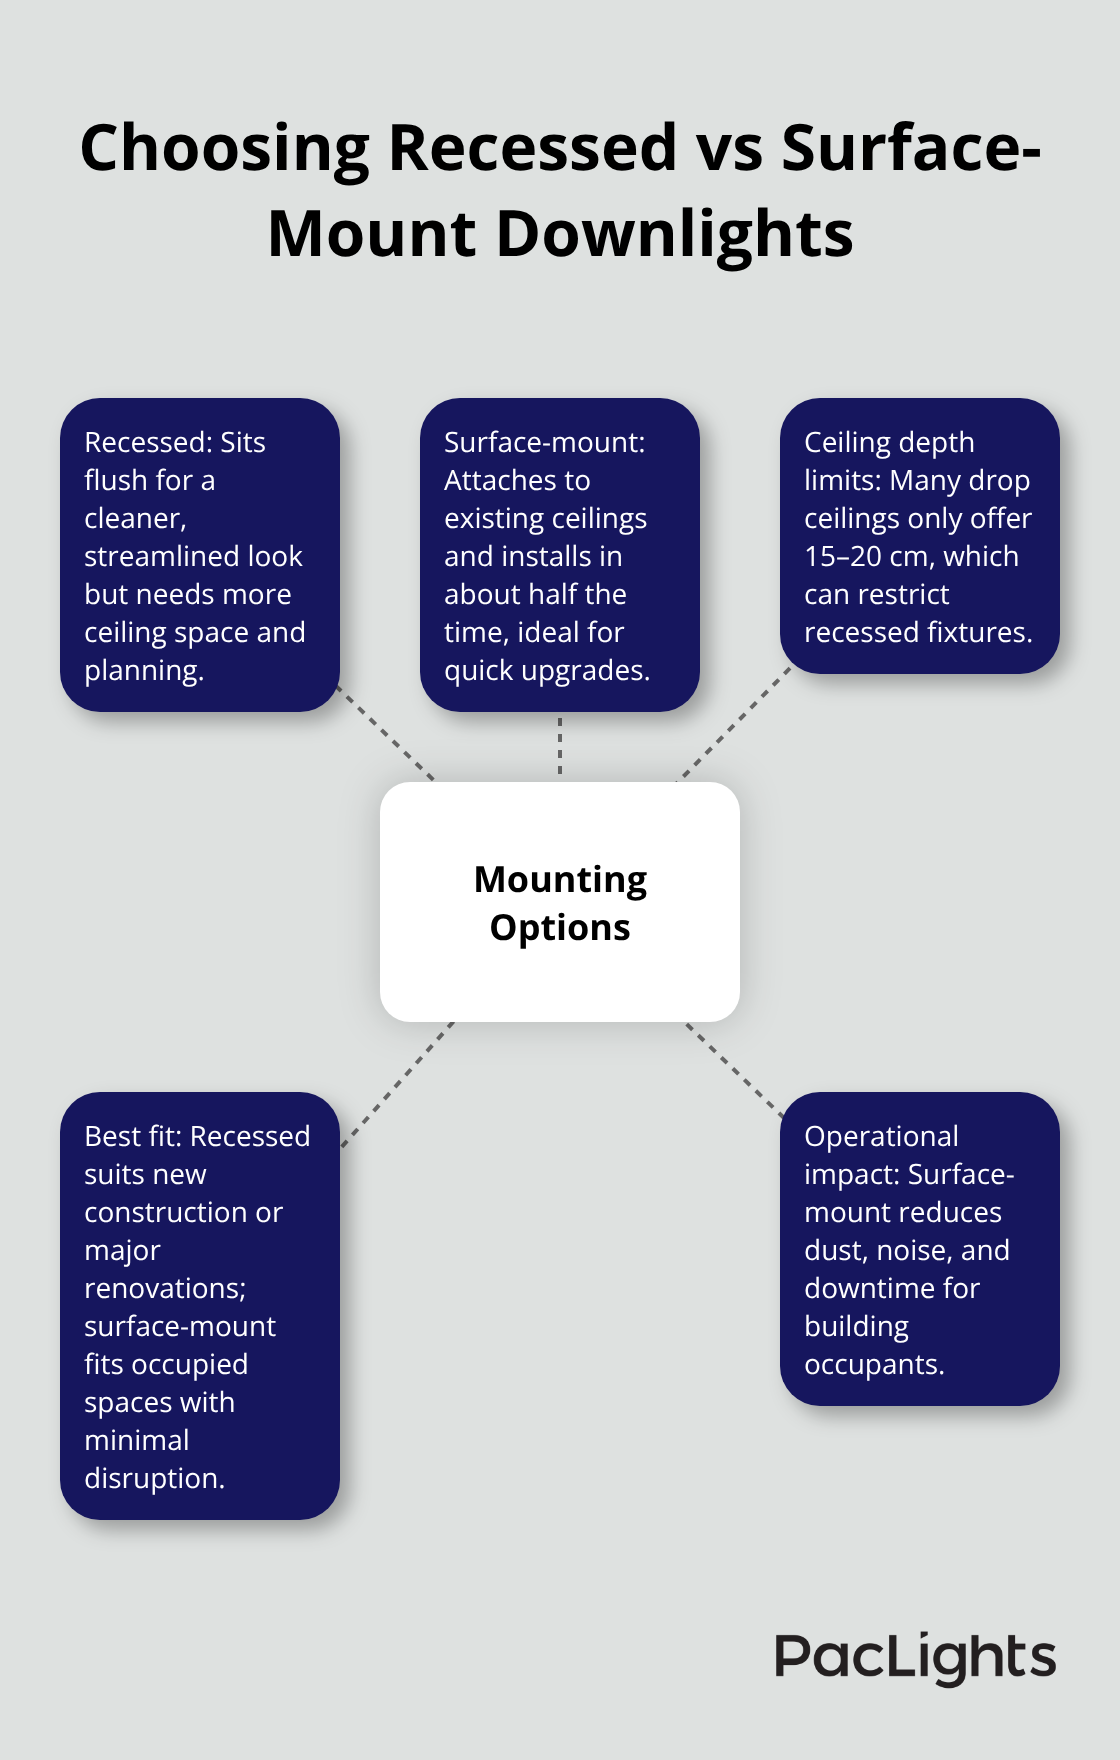
Recessed downlights sit flush with your ceiling and look cleaner, but they demand more ceiling space and create more installation work. Surface-mount options attach directly to your existing ceiling and take half the time to install. If your ceiling has limited depth, structural obstacles, or asbestos concerns, surface-mount becomes the practical choice despite the slightly more visible appearance.
Recessed fixtures work best in newly constructed spaces or major renovations where you can plan around them. Surface-mount fixtures make sense for quick upgrades in occupied buildings where you need minimal disruption. Calculate your actual ceiling depth before deciding, because many commercial ceilings have only 15 to 20 centimeters of space above the drop ceiling, which creates real constraints for recessed installation.
Identifying Hidden Obstacles
Check for HVAC ducts, sprinkler pipes, and electrical conduits in your ceiling cavity before you finalize your fixture locations. One unexpected obstruction can derail your timeline and budget significantly. Inspect your ceiling structure carefully and mark these obstacles on your floor plan. This preparation step determines whether your installation stays on schedule or hits costly delays.
Pre-Installation Preparation and Safety Measures
Kill Power and Verify De-Energization
Safety comes first, and that means killing power to the circuits you’ll work on before touching anything electrical. Switch off the main breaker or the specific circuit breaker that controls your existing lighting, then use a non-contact voltage tester to confirm power is actually gone. Many electricians make the mistake of trusting the breaker label alone, which can lead to serious injury or equipment damage if labels are wrong or outdated. Test every wire and fixture location twice, because voltage testers are cheap insurance against electrocution. After you’ve verified de-energized circuits, place a note on the breaker panel stating that work is in progress so no one accidentally restores power while you’re on the ceiling.
Organize Tools and Materials Before You Start
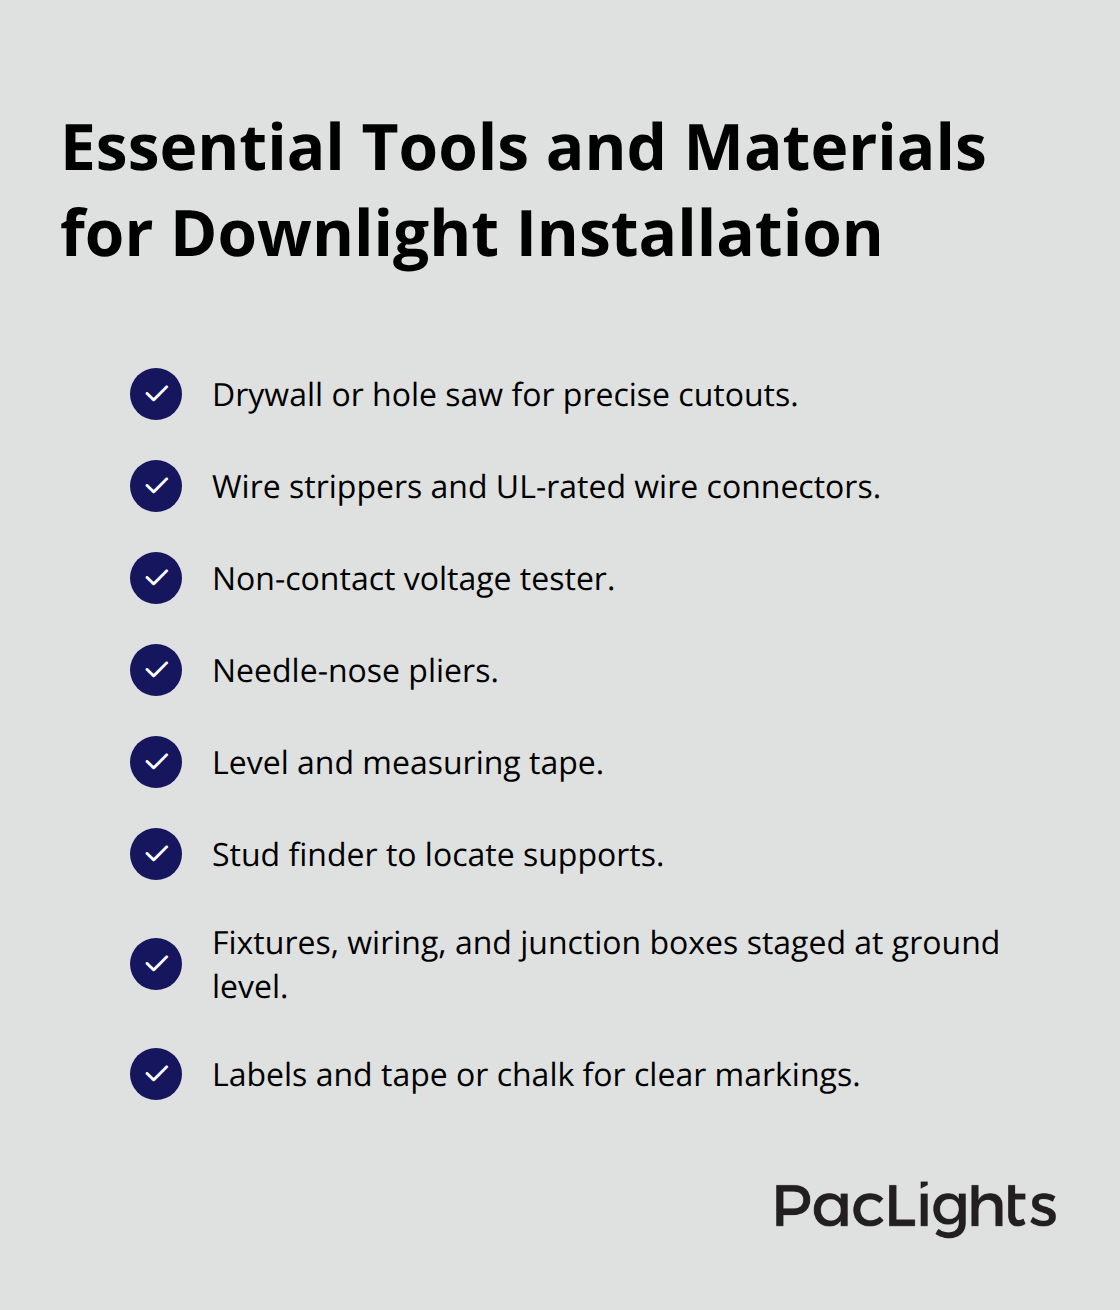
Gather your tools before climbing the ladder, because climbing down repeatedly wastes time and increases fall risk. You’ll need a drywall saw or hole saw for cutting precise openings, wire strippers and connectors for electrical work, a voltage tester, needle-nose pliers, a level, a measuring tape, and a stud finder to locate structural supports. Have your fixtures, wiring, and junction boxes staged and organized at ground level. This preparation prevents the frustration of discovering mid-installation that you lack a critical tool or connector.
Inspect Your Ceiling Cavity for Hazards and Obstacles
Inspect your ceiling cavity carefully for asbestos materials, which were common in commercial buildings installed before 1980 and require professional removal if present. Check for HVAC ducts, sprinkler systems, and existing electrical runs, then mark their locations on your ceiling grid with tape or chalk so you avoid cutting into them during installation. This pre-work inspection takes 30 to 45 minutes but prevents the catastrophic mistakes that turn a one-day project into a week-long nightmare involving contractors, code violations, and insurance claims. Once you’ve mapped out all obstacles and confirmed your tools are ready, you can move forward with confidence to the actual cutting and wiring work.
Installation Steps for a Clean, Professional Finish
Cut Precise Openings in Your Ceiling
Accurate openings determine whether your downlights sit flush and professional or create gaps and misalignment problems. Use your floor plan markings to locate each fixture position, then measure twice from two reference points on your ceiling grid to confirm placement before cutting anything. Most commercial downlights require either 75mm, 90mm, or 100mm holes depending on the trim ring size. A hole saw matched to your fixture diameter cuts cleaner openings than a drywall saw, and operating at low speed prevents binding and ceiling damage. Mark your cutting line with a pencil, then cut carefully-stop immediately if you hit resistance, because resistance indicates a pipe, duct, or electrical line that you marked during pre-installation inspection. Cut from below the ceiling whenever possible so gravity helps pull debris away from the work area and keeps dust out of your face. After cutting, use a vacuum with a HEPA filter to capture drywall dust, since leaving dust in your ceiling cavity attracts pests and clogs HVAC systems.
Run Electrical Wiring Safely and Efficiently
Run new wiring in conduit along your ceiling structure rather than loose through the cavity, because conduit protects wire from damage and makes future maintenance easier. This approach also simplifies troubleshooting if problems arise later. Connect wires using wire nuts rated for the wire gauge you’re using (typically 14 or 12 gauge for commercial downlight circuits), and twist each connection until the nut sits tight against the insulation without gaps. Test continuity with a multimeter before securing fixtures to confirm power flows correctly through each connection. Loose connections create heat, fire risk, and flickering lights that frustrate building occupants, so this verification step matters significantly.
Secure Fixtures and Connect Wiring Properly
Mount your fixtures into the ceiling opening using the mounting brackets or springs that came with them, adjusting height so the trim ring sits flush against the ceiling surface. Secure all wiring to the fixture junction box using the provided strain relief, then connect the fixture leads to your circuit wiring using wire nuts, ensuring no bare copper shows after connection. Tighten all mounting hardware firmly so vibration from HVAC systems doesn’t loosen connections over time. Install your trim rings and lamps last, after all electrical connections are complete and tested (this sequence prevents accidental lamp breakage during installation work and keeps contaminants out of the fixture housing).
Final Thoughts
Clean, professional downlight installations depend on methodical planning, rigorous safety practices, and precise execution. The commercial downlights installation tips covered in this guide-from measuring your space accurately to verifying de-energized circuits before touching any wiring-form the foundation for upgrades that look polished and perform reliably for years. When you follow these steps, you avoid the costly mistakes that plague rushed installations.
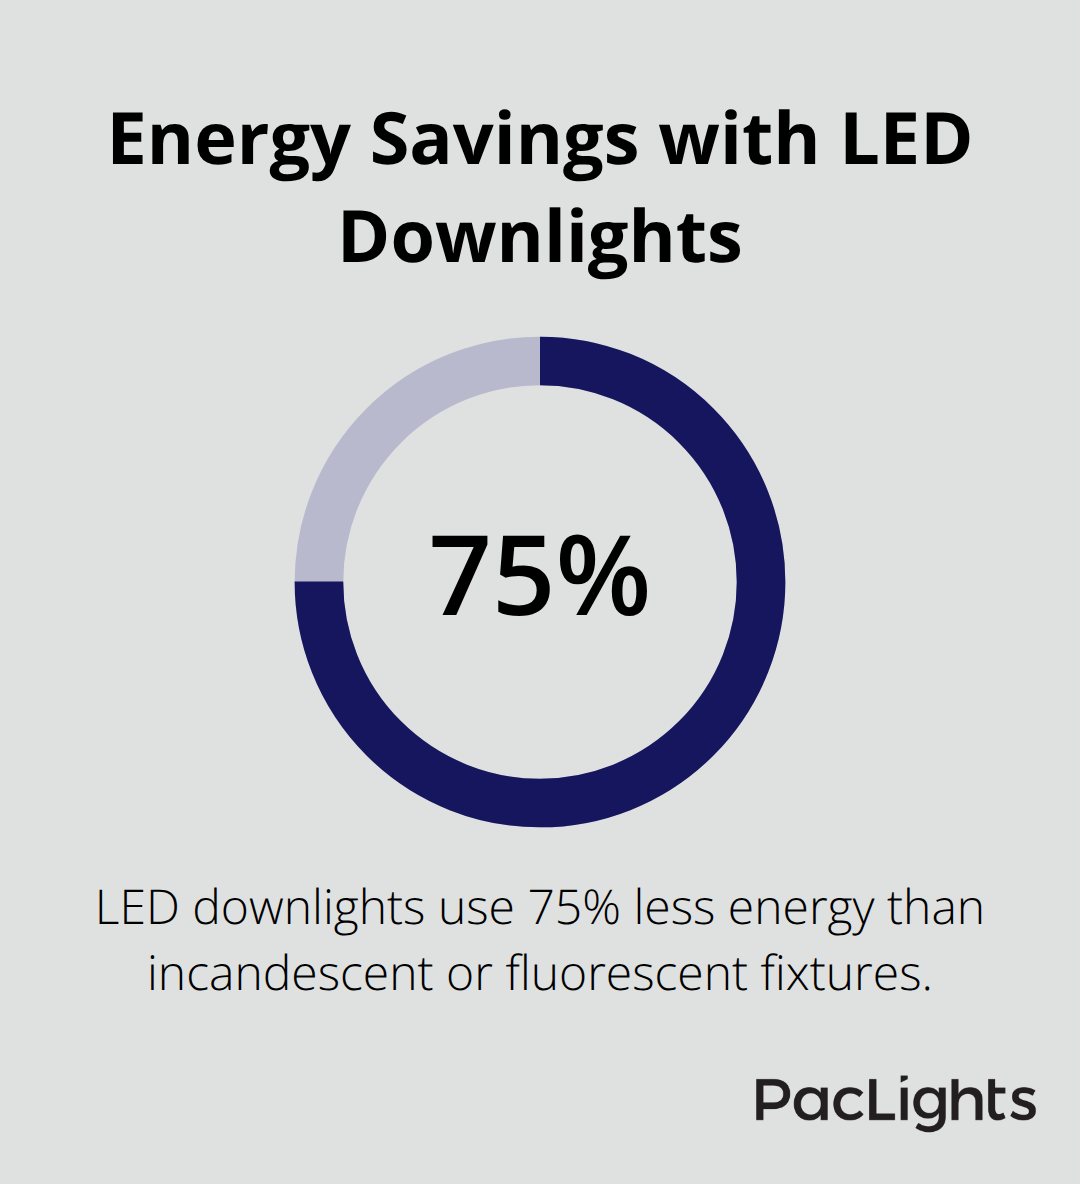
Modern LED downlights consume 75 percent less energy than older incandescent or fluorescent fixtures, which directly reduces your monthly utility bills. Better lighting improves employee productivity and reduces eye strain in task-intensive areas like reception desks and meeting rooms. Consistent, well-planned illumination also enhances safety by eliminating dark corners and shadows that create trip hazards.
Establish a maintenance schedule that includes quarterly inspections of your fixtures and connections to catch loose trim rings or mounting hardware that vibration may loosen over time. If you’re planning a larger facility upgrade or need professional guidance on fixture selection and layout optimization, we at PacLights provide free lighting layout designs and ROI assessments to help you make informed decisions about your commercial lighting investment.
Disclaimer: PacLights is not responsible for any actions taken based on the suggestions and information provided in this article, and readers should consult local building and electrical codes for proper guidance.