

Uneven lighting in warehouses costs money. Dark spots slow down operations, create safety hazards, and waste energy on over-illuminated areas.
At PacLights, we know that wafer light distribution patterns are the foundation of effective warehouse lighting. The right distribution strategy eliminates shadows, improves visibility, and optimizes your energy spend.
How Beam Angles Control Your Distribution
Matching Beam Angle to Ceiling Height
Beam angle is the primary lever you control to shape how light spreads across your warehouse floor. A narrow 25-degree beam concentrates light in a tight footprint, ideal for ceilings up to about 12 feet where you want intensity without scatter. A wider 40-degree beam spreads light across a larger area, better suited for ceilings around 14 feet or higher. The International Association of Lighting Designers recommends matching beam angle directly to ceiling height to avoid both dark zones and wasteful over-illumination.
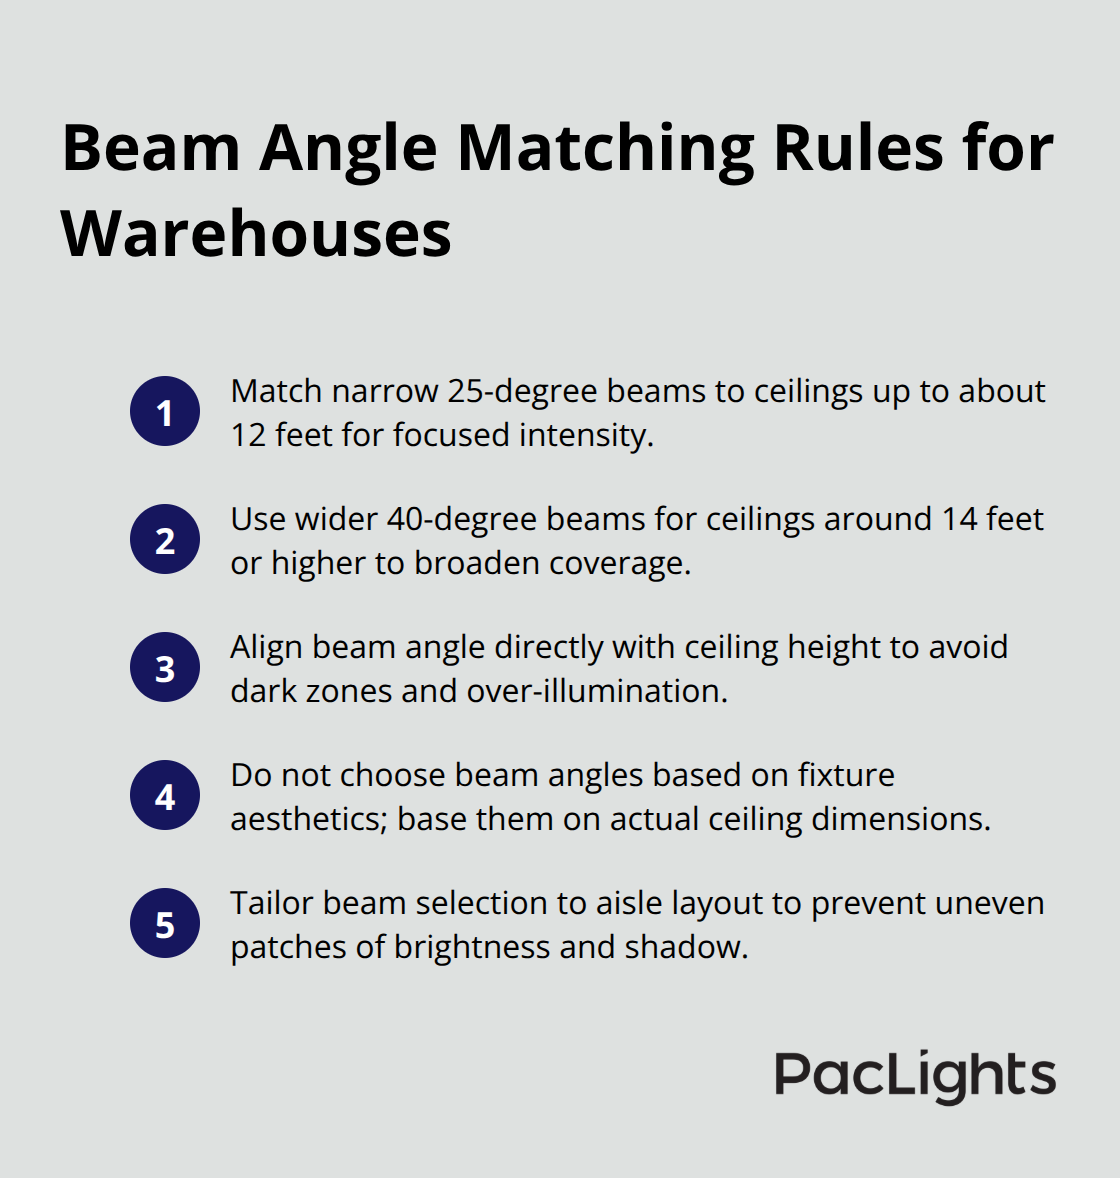
Most warehouses choose beam angles based on fixture aesthetics rather than actual ceiling dimensions, which creates uneven patches of brightness and shadow across aisles.
Spacing and Wall Placement Rules
Spacing between wafer downlights must follow a simple rule: divide your ceiling height by two. An 8-foot ceiling calls for 4-foot spacing, a 10-foot ceiling needs 5-foot spacing. This ratio ensures light from adjacent fixtures overlaps just enough to eliminate shadows without creating hot spots. Place fixtures 2 to 3 feet away from walls to reduce harsh shadows on shelving and loading zones-a detail most installers overlook. Avoid clustering all fixtures in the room center; instead, distribute them around perimeters and along aisles to prevent flat, glare-prone illumination that makes it hard to distinguish labels and inventory details.
Calculating Fixture Counts and Wattage
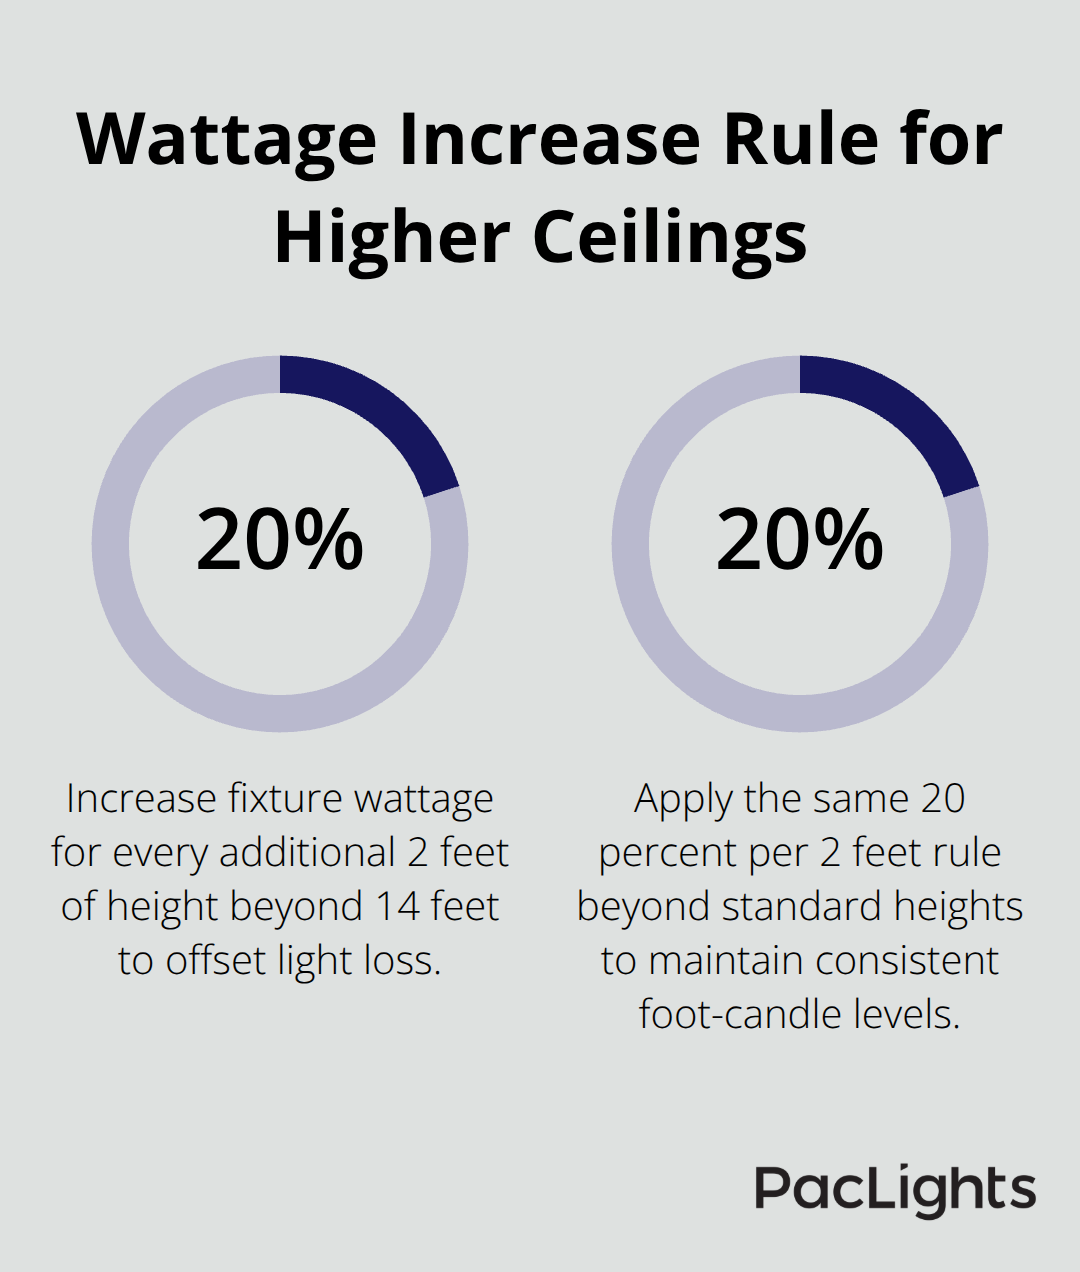
A standard 6-inch LED wafer delivers roughly 600 to 1,000 lumens depending on wattage and color temperature, so a 200-square-foot area typically needs 8 to 10 fixtures to meet the 50 lumens-per-square-foot baseline for warehouse tasks. For every 2 additional feet of ceiling height beyond standard, increase fixture wattage by about 20 percent to maintain consistent foot-candle levels across the space. This adjustment prevents the brightness loss that occurs when light travels farther to reach the floor.
Color Temperature and Consistency
Choose 4000K color temperature for warehouse environments-this delivers crisper, more accurate lighting for task visibility and reduces eye fatigue compared to warmer tones. Never mix different color temperatures in the same zone, as this creates visual discontinuity that confuses workers and wastes the efficiency gains of LED.
Pre-Installation Planning
Before finalizing positions, map HVAC ducts and structural obstacles using deep-scanning tools to prevent coverage gaps and installation conflicts. This step takes minimal time but eliminates costly rework after installation. With these distribution fundamentals in place, the next step involves selecting the specific beam angle and fixture type that matches your warehouse layout and operational demands.
Designing Your Spacing and Mounting Strategy
The Spacing Formula That Prevents Dark Zones
The spacing formula you learned earlier-ceiling height divided by two-is not a suggestion. It is the baseline that prevents dark zones and over-illumination simultaneously. A 9-foot ceiling demands 4.5-foot spacing; a 12-foot ceiling requires 6-foot spacing. Deviate from this ratio and you create either overlapping hot spots that waste energy or gaps where workers struggle to read labels and inventory details. Start with this calculation, then validate it against your actual warehouse layout using photometric data from your fixture manufacturer. A 6-inch wafer downlight with a 40-degree beam angle behaves differently at 10 feet than at 14 feet, so running numbers on paper alone is insufficient.
Uniformity Ratios and Height Adjustments
The International Association of Lighting Designers recommends a minimum-to-average illuminance uniformity ratio of at least 0.6 to prevent eye strain across wide layouts. This means your brightest spot should not exceed 1.67 times your average brightness. Most warehouse teams skip this uniformity check entirely and end up with scattered bright patches that fatigue workers and create safety blind spots. For higher ceilings beyond 14 feet, increase your fixture wattage by roughly 20 percent for every additional 2 feet of height to compensate for light loss over distance. A 150-watt high-bay fixture delivers approximately 21,750 lumens and covers substantially more ground than a standard wafer, but wafer downlights remain your best choice for retrofits and shallow plenums since they require as little as 2 inches of ceiling clearance and eliminate the need for traditional housing.
Using Software to Model Your Distribution
Lighting design software transforms spacing calculations from guesswork into precision. Tools like Dialux and AGi32 let you input your exact ceiling height, beam angle, fixture output, and warehouse geometry, then display illuminance maps showing where light lands on your floor. You see dark zones instantly and can adjust spacing or fixture wattage before installation begins. This prevents costly rework and eliminates the trial-and-error approach that wastes both materials and labor. When modeling your distribution, try 50 lumens per square foot for general storage areas and 75 to 150 foot-candles for task zones like packing and inspection stations according to IES industrial lighting guidelines. The software calculates how many fixtures you actually need rather than letting you guess based on room size alone.
Wall Placement and Photometric Validation
Wall placement matters more than most installers realize-position fixtures 2 to 3 feet away from walls to reduce harsh shadows on shelving and loading zones. Fixtures placed flush against walls create dark bands that hide inventory and create trip hazards. After you model your layout, print the photometric report and compare the uniformity ratio to your target of 0.6 or higher. If uniformity falls short, tighten spacing, increase fixture wattage, or shift beam angles. This iterative process takes hours on paper but minutes in software, and the difference between a well-lit and poorly-lit warehouse directly impacts worker productivity and safety. Once you validate your spacing and mounting heights through software, you move into the practical phase of selecting specific fixture types and positioning them to match your operational zones.
Installing Wafer Downlights for Uniform Coverage
Positioning Fixtures with Precision
Installation precision determines whether your spacing calculations translate to even light on the warehouse floor. Wafer downlights require as little as 2 inches of plenum clearance, which allows you to retrofit shallow ceilings that reject traditional recessed housings entirely. Mark fixture positions with adjustable housings and template guides before cutting any drywall; this prevents costly repositioning mid-installation. IC-rated wafer fixtures install safely in direct contact with insulation, eliminating the 3-inch clearance requirement that slows traditional downlight retrofits. Deep-scanning tools reveal HVAC ducts and electrical conduit before you finalize positions, preventing gaps in coverage and installation conflicts. Many installers skip this step and discover obstacles mid-project, forcing them to shift fixture positions and destroy their carefully calculated spacing ratios.
Managing Electrical Circuits and Connections
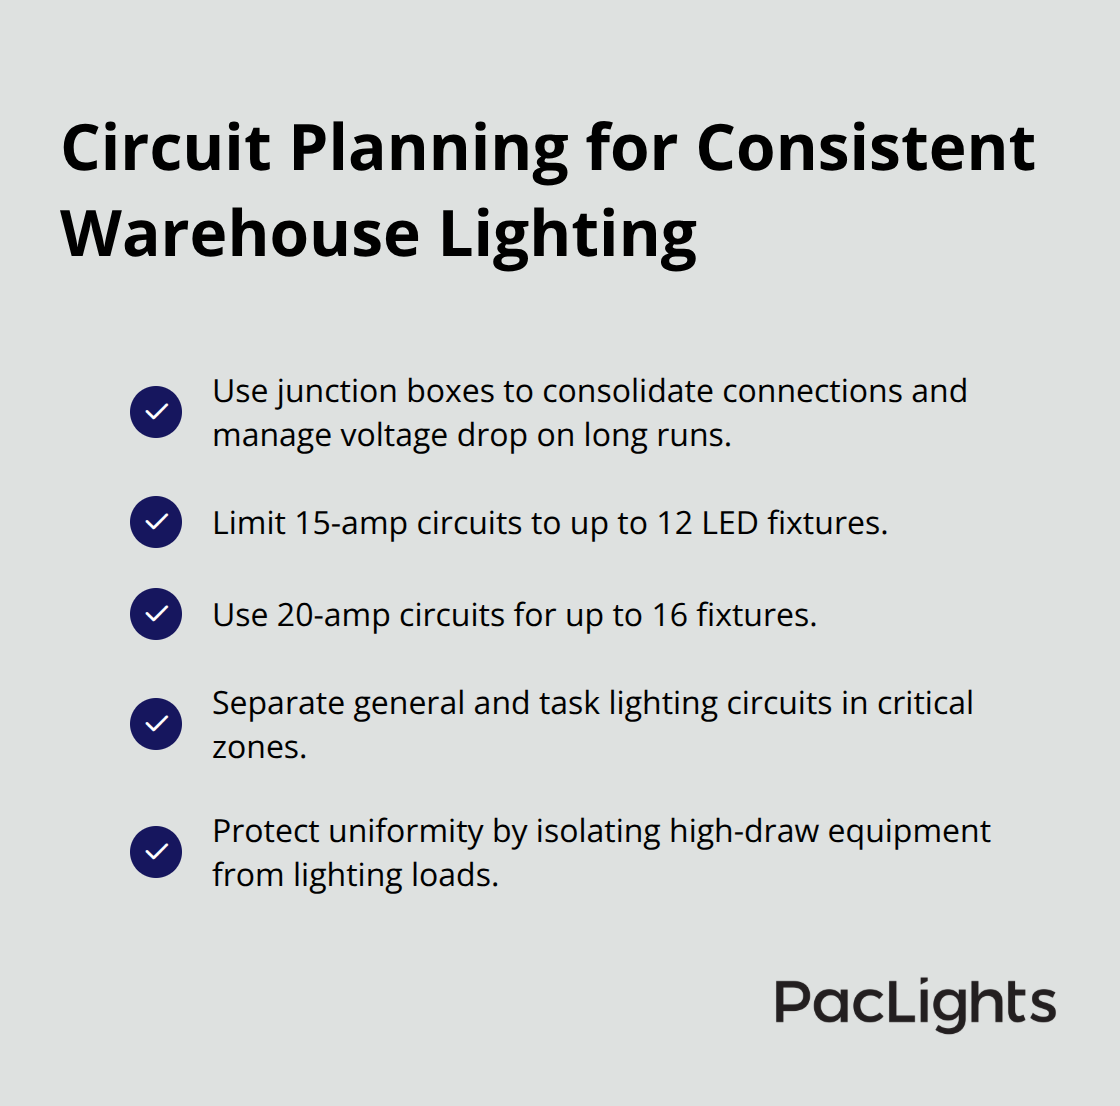
Consolidate wiring connections with junction boxes to manage voltage drop on long runs. Standard 15-amp circuits support up to 12 LED fixtures, while dedicated 20-amp circuits handle up to 16 fixtures. Separate circuits for general lighting and task lighting in critical zones prevent dimming when equipment activates elsewhere. This circuit strategy protects your uniformity ratio and maintains consistent brightness across work areas, especially in zones where forklifts or machinery draw significant power.
Validating Coverage After Installation
The edge-lit LED technology in wafer downlights delivers more uniform illumination than traditional pot lights, so you achieve your target uniformity ratio of 0.6 or higher with fewer fixtures. Install fixtures slightly away from walls as planned, then verify actual floor illuminance with a light meter at three to four points per 100 square feet to catch installation errors before workers occupy the space. This post-installation validation confirms that your photometric calculations match real-world performance and identifies any spacing adjustments needed before operations begin.
Working with Qualified Professionals
Avoid hiring installers unfamiliar with photometric principles or warehouse lighting standards. Professional lighting designers understand how beam angles interact with mounting height and identify when your calculated spacing conflicts with structural reality. They run post-installation photometric validation to confirm uniformity ratios and foot-candle targets are met, preventing the dark zones and over-illumination that plague poorly designed retrofits. For complex electrical projects or commercial facilities, qualified professionals who understand code requirements and safety protocols verify compliance with IES industrial lighting guidelines and OSHA safety standards, protecting both your workers and your liability.
Maintaining Long-Term Performance
The long lifespan of LED wafer downlights (typically 50,000 hours or more) justifies the investment in proper installation; poor positioning wastes this efficiency advantage by forcing you to over-light areas or accept dark spots. Schedule regular maintenance and remote monitoring to detect lumen depreciation or color shift before they impact operations. PacLights offers free lighting layout designs and ROI assessments to support your warehouse lighting decisions, helping you avoid costly installation mistakes before they happen.
Final Thoughts
Even warehouse illumination directly impacts your bottom line through faster picking speeds, fewer errors, and reduced safety liability. Dark zones slow operations while over-illuminated areas waste energy and drive up costs unnecessarily. Wafer light distribution patterns solve both problems by placing light exactly where workers need it, eliminating the guesswork that plagues most warehouse retrofits.
The spacing formula (ceiling height divided by two), beam angle selection, and wall placement rules you learned prevent dark spots and maintain uniformity ratios above 0.6, the threshold where worker productivity and safety improve measurably. A 6-inch wafer downlight with proper spacing delivers 600 to 1,000 lumens per fixture, and when positioned correctly, these fixtures require fewer total units than poorly planned layouts. The 50,000-hour lifespan of LED wafers means your investment in correct installation pays dividends for years, reducing maintenance interruptions and protecting your energy efficiency gains.
Map your warehouse ceiling height, identify structural obstacles, and calculate your spacing ratio using the ceiling-height-divided-by-two formula to start. Run your layout through lighting design software like Dialux or AGi32 to validate uniformity before installation begins. Contact us for a free lighting layout design and ROI assessment to discuss your specific warehouse geometry and operational requirements.
Disclaimer: PacLights is not responsible for any actions taken based on the suggestions and information provided in this article, and readers should consult local building and electrical codes for proper guidance.