

Linear suspension lighting transforms commercial and residential spaces with sleek, modern illumination that spans across rooms. These fixtures offer unmatched versatility in both design and functionality.
At PacLights, we see growing demand for linear systems that combine energy efficiency with architectural appeal. This guide covers everything from fixture selection to installation best practices for your next lighting project.
Which Linear Suspension Type Fits Your Space
Direct vs Indirect Light Output
Direct linear fixtures send light downward for task-focused illumination. These fixtures work perfectly for workstations, kitchen islands, and retail displays. Direct systems deliver 90-95% of their light output below the fixture plane.
Indirect systems bounce light off ceilings to create ambient illumination that reduces glare and shadows. The best commercial installations use a 70/30 split between direct and indirect light output (according to IES recommendations for office environments). This ratio provides optimal visual comfort while maintaining adequate task lighting levels.

Continuous Row Systems Beat Individual Pendants
Continuous row linear systems connect multiple fixtures end-to-end without visible gaps. These systems create seamless light lines across large spaces. Individual pendant systems work better for accent lighting and smaller areas but create uneven light distribution in spaces longer than 20 feet.
Installation costs drop by 30-40% with continuous systems since you need fewer electrical connections and mounting points. These systems also eliminate the hot spots and dark zones that plague individual pendant installations. The uniform light distribution improves visual comfort and reduces eye strain in commercial environments.
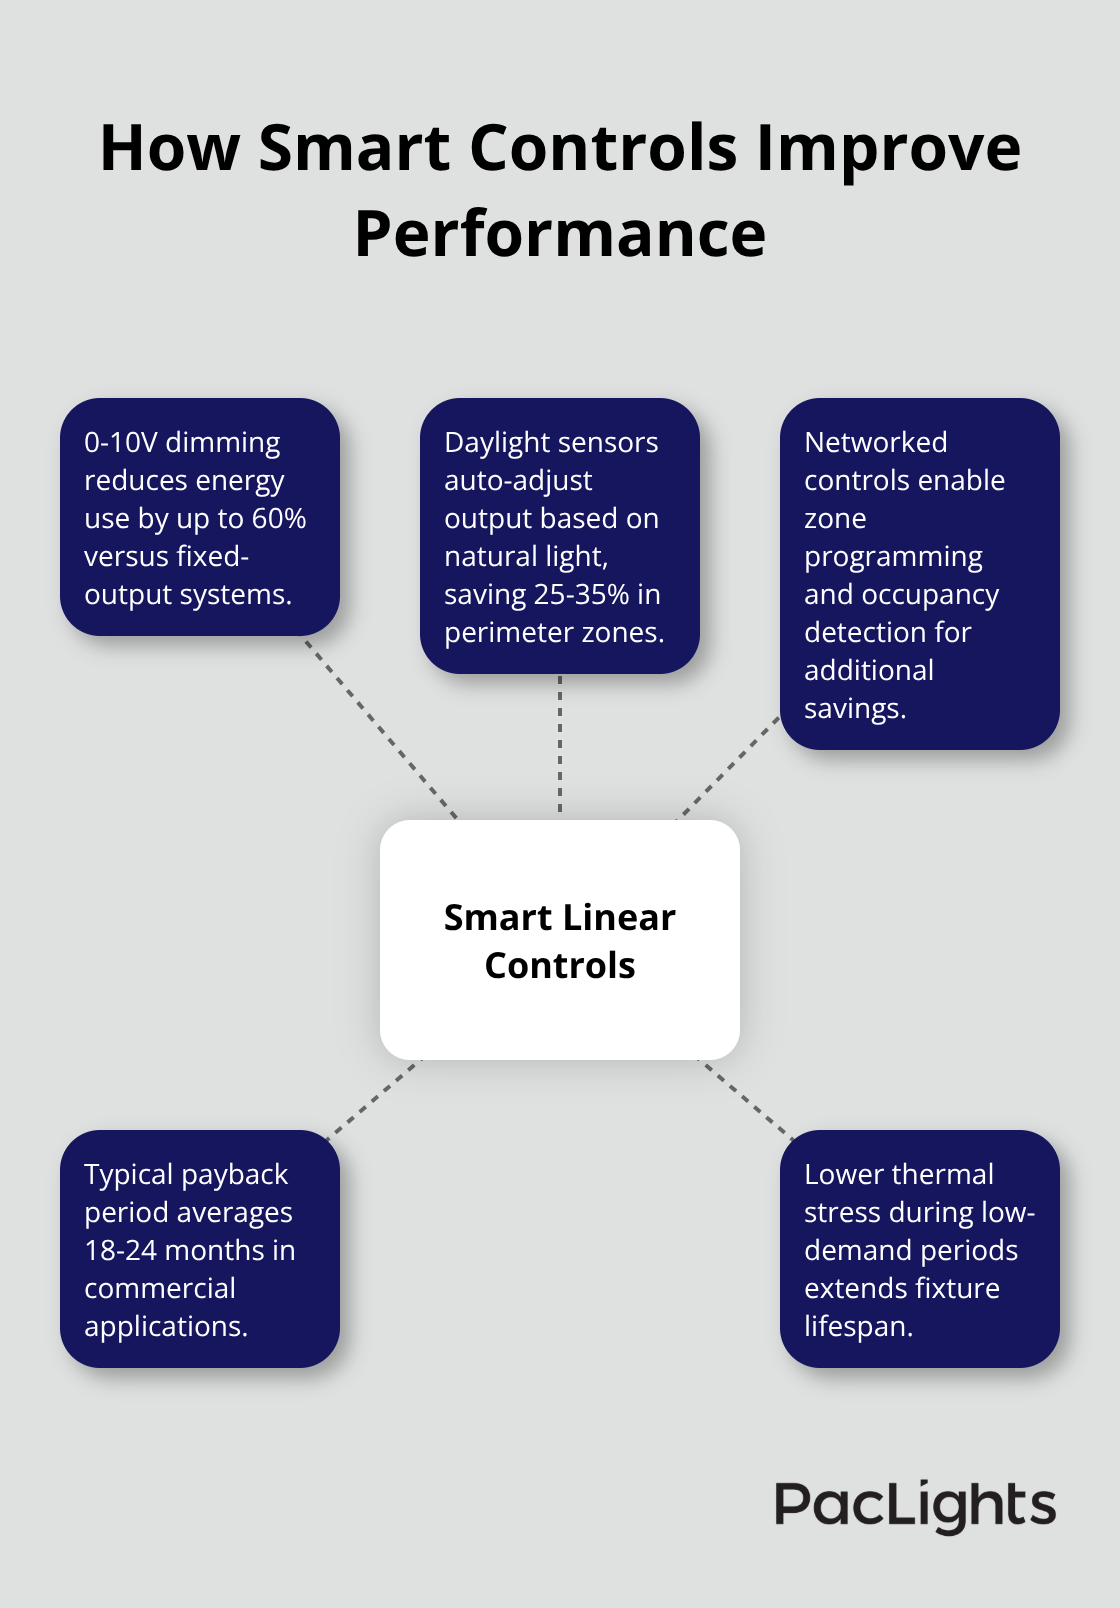
Smart Controls Transform Energy Performance
Dimmable linear fixtures with 0-10V capability reduce energy consumption by up to 60% compared to fixed-output systems. Smart linear systems with daylight sensors automatically adjust output based on available natural light. This technology cuts electricity costs by 25-35% in perimeter zones.
Networked controls allow zone-based programming and occupancy detection that further optimize energy use. The payback period for smart linear systems averages 18-24 months in commercial applications through reduced energy and maintenance costs. These advanced controls also extend fixture lifespan by reducing thermal stress during low-demand periods.
With your fixture type selected, the next step involves calculating proper spacing and mounting heights to achieve optimal light distribution throughout your space.
Design Considerations for Linear Suspension Lighting
Ceiling Height and Mounting Requirements
Ceiling height dictates mounting strategy and light distribution patterns. Standard 8-9 foot ceilings require fixtures mounted 7-8 feet above floor level for optimal task lighting. Higher ceilings between 10-14 feet allow suspension lengths of 24-48 inches while maintaining proper illumination levels. The rule stays simple: maintain 30-36 inches clearance above work surfaces and 7 feet minimum above walkways to meet safety codes.
Light Distribution and Spacing Calculations
Fixture spacing depends on beam angle and mounting height. Narrow 30-degree beam angles need closer spacing at 6-8 foot intervals for even coverage. Wide 120-degree distributions allow 12-16 foot spacing between fixtures. The formula works straightforward: mounting height multiplied by 1.5 equals maximum spacing for uniform illumination.

Commercial spaces require 30-50 foot-candles at work surface level (which drives these calculations). Wrong spacing creates dark spots that reduce productivity and increase eye strain.
Integration with Architectural Elements
Linear fixtures must coordinate with HVAC diffusers and structural beams during planning. Position fixtures between HVAC runs to prevent air flow interference that causes flickering and premature LED failure. Structural steel limits mounting locations, so identify beam locations before you finalize fixture runs. Fire sprinkler heads need 18-inch clearance from light fixtures per NFPA codes. These coordination requirements often force fixture layout changes that impact lighting uniformity.
Proper planning prevents costly field modifications and code violations, but successful installation requires attention to structural support and electrical connections that meet local building codes.
How Do You Install Linear Suspension Lighting Correctly
Structural Support Requirements Matter More Than You Think
Linear suspension fixtures need dedicated structural support rated for 150% of the fixture weight plus dynamic loads from thermal expansion and building movement. Standard ceiling grid systems cannot support fixtures longer than 4 feet without supplemental braces. The International Building Code mandates independent support wires at 4-foot intervals for continuous runs, with each support point rated for 200 pounds minimum load capacity.
Steel cable suspension systems must use aircraft-grade 1/8-inch galvanized wire rope with proper swage fittings and turnbuckles for height adjustment. Beam clamps work only on structural steel rated for the additional load. Drywall anchors fail catastrophically with linear fixtures over 20 pounds.
Electrical Code Compliance Prevents Costly Rework
National Electrical Code Section 410.36 mandates accessible junction boxes every 6 feet for continuous linear runs, with separate disconnect switches for circuits that exceed 20 amperes. Low-voltage control wires must maintain 6-inch separation from line voltage conductors unless jacketed for 600V rating. Emergency circuits need dedicated conduit runs and cannot share raceways with normal feeds.
GFCI protection becomes mandatory for fixtures within 6 feet of sinks or wet locations. Dimmer controls must match fixture load ratings exactly to prevent overheating failures. Improper neutral connections cause voltage imbalances that destroy LED drivers within months (licensed electricians prevent these costly mistakes).
Maintenance Access Design Prevents Future Problems
Position linear fixtures with 36-inch minimum clearance to adjacent walls or equipment for safe maintenance access. Suspended ceiling installations need removable panels directly above each fixture junction point. The Occupational Safety and Health Administration mandates fall protection for maintenance work above 6 feet, so plan ladder placement and anchor points during installation.
Driver compartments must face downward for gravity-assisted heat dissipation and easy component replacement. Group control devices at accessible locations rather than scattered throughout the installation to reduce service time and costs.
Final Thoughts
Linear suspension lighting delivers measurable benefits that justify the investment. Energy savings reach 60-70% compared to traditional fluorescent systems, while smart controls add another 25-35% reduction in operating costs. The 18-24 month payback period makes these systems financially attractive for commercial projects.
Successful implementation requires careful planning from day one. Calculate mounting heights based on ceiling dimensions, verify structural support capacity, and coordinate with HVAC and fire safety systems. Proper electrical design prevents code violations and costly rework during installation (which saves both time and money).
The combination of energy efficiency, design flexibility, and reduced maintenance costs makes linear suspension lighting the preferred choice for modern commercial spaces. These systems provide uniform illumination while supporting architectural goals and sustainability targets. We at PacLights offer comprehensive lighting solutions to help you select the right linear suspension system for your project.
Disclaimer: PacLights is not responsible for any actions taken based on the suggestions and information provided in this article, and readers should consult local building and electrical codes for proper guidance.