

Flush mount downlights generate significant heat during operation, and poor thermal management directly shortens their lifespan and reduces efficiency. At PacLights, we’ve seen countless installations fail prematurely because heat wasn’t properly controlled.
This guide covers practical strategies to manage heat dissipation effectively, from selecting the right fixtures to maintaining them over time.
Why Heat Matters in Flush Mount Downlights
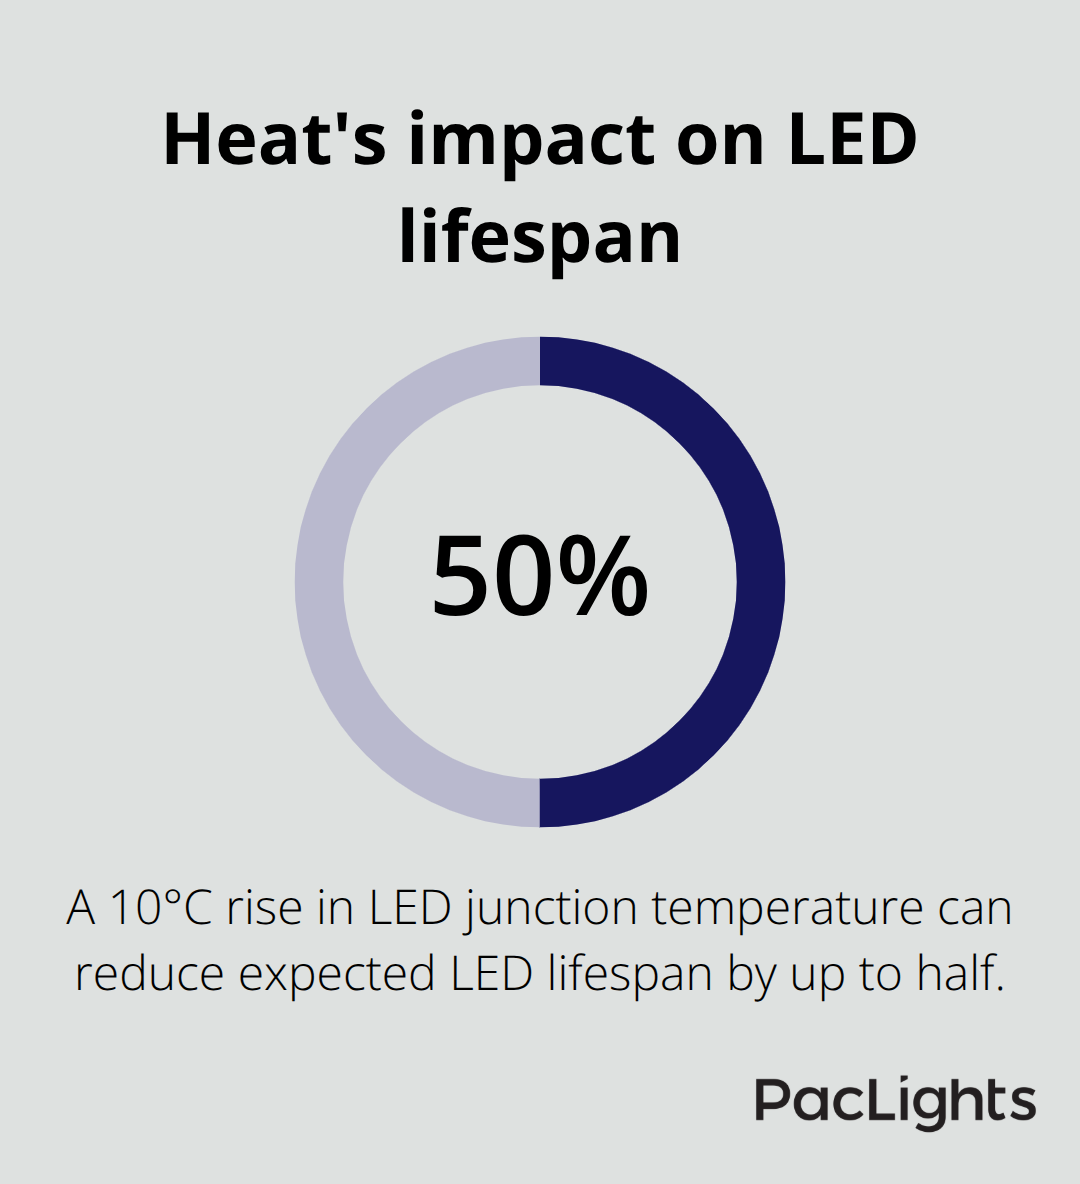
LED downlights convert 70 to 85 percent of electrical energy into heat at the junction, making thermal management non-negotiable for reliable performance. Most installers focus on brightness and aesthetics but ignore the fact that a 10-degree Celsius rise in LED junction temperature reduces lifespan by up to 50 percent. This isn’t theoretical-it’s a direct relationship between temperature and durability. When heat accumulates inside the fixture, the LED chip degrades faster, the driver fails sooner, and capacitors lose capacity.
Installations where fixtures dimmed noticeably within 2 to 3 years typically suffered from heat trapped in the housing. The real challenge isn’t the outer shell temperature; it’s managing internal component temperatures. Your LED chip needs to stay below 95 degrees Celsius, the driver below 70 degrees Celsius, and capacitors below 105 degrees Celsius to maintain stable color output and consistent brightness over 50,000 hours or more. Without proper heat dissipation, you face flickering lights, color shifts toward yellow or blue tints, unexpected driver failures, and premature replacement costs that far exceed the savings from choosing cheaper fixtures initially.
Where Heat Problems Start
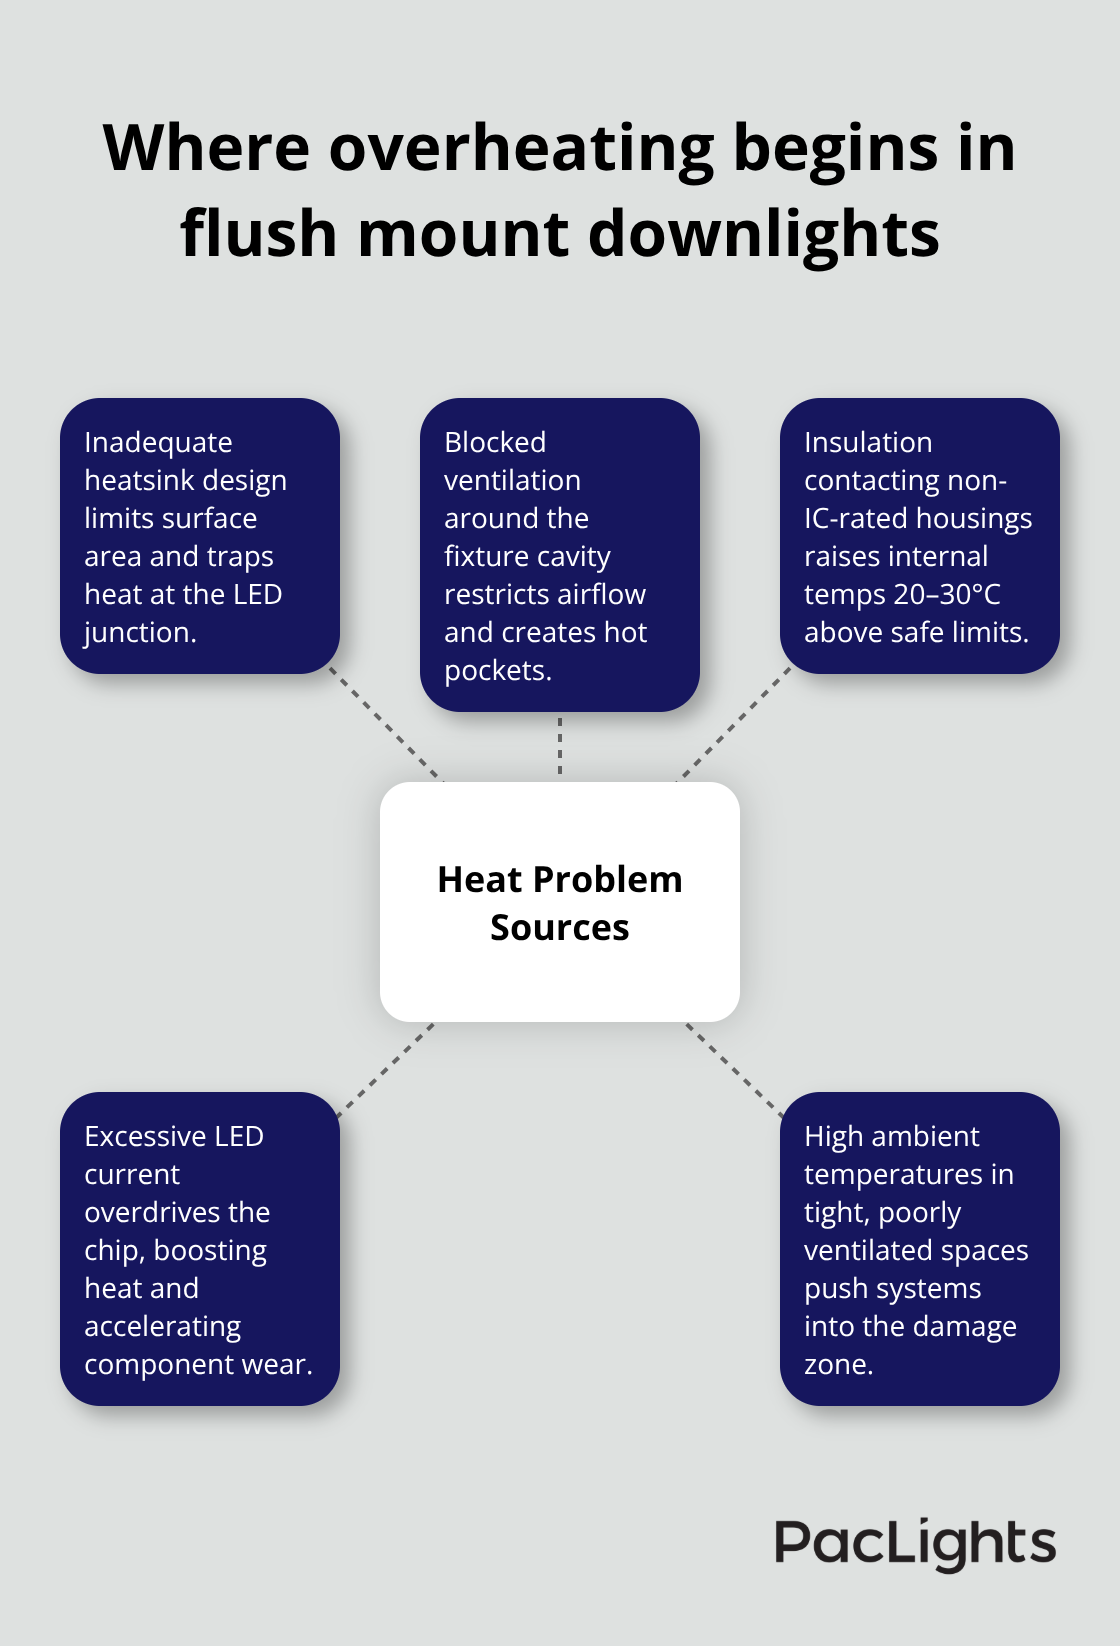
Overheating in flush mount downlights stems from five main culprits: inadequate heatsink design, blocked ventilation around the fixture cavity, insulation pressing against non-IC-rated housings, excessive LED current driving the chip harder than necessary, and high ambient temperatures in poorly ventilated spaces. Non-IC-rated fixtures without thermal protection create especially problematic conditions in insulated ceilings-building insulation traps heat and can raise internal temperatures 20 to 30 degrees Celsius above safe operating limits. Early warning signs include warm patches on the ceiling above fixtures, discolored or yellowing trim rings, buzzing or humming from the driver, sudden brightness drops, and rapid color temperature shifts. If you notice these symptoms, the fixture already operates in a damage zone.
The Role of Materials and Design
Aluminum heatsinks with finned designs and perforations expand surface area and accelerate heat transfer to surrounding air. Metal housings conduct heat far more effectively than plastic alternatives. Ventilation membranes, airflow slots, and adequate spacing between fixtures allow air circulation that prevents heat pockets. IC-rated downlights include built-in thermal protections and are designed specifically for contact with insulation, making them the only safe choice for insulated ceiling cavities. The cost difference-typically 10 to 20 percent more upfront-pays back through extended lifespan and lower energy consumption as cooler components operate more efficiently.
What Happens Next
Understanding these heat sources and design principles sets the stage for selecting fixtures that actually perform. The next section covers how to choose downlights with advanced thermal design and install them correctly to maximize airflow and heat dispersal.
Choosing Fixtures and Installing Them Right
Select Fixtures Built for Heat Management
Aluminum heatsinks with finned designs are non-negotiable if you want thermal performance that lasts. Aluminum conducts heat roughly three times faster than plastic, and finned surfaces increase contact area with surrounding air by 40 to 60 percent compared to smooth housings. Look for fixtures rated with thermal protection built in, especially IC-rated models designed for insulated ceiling cavities. These fixtures include automatic shutoff thresholds that cut power if internal temperatures exceed safe limits, typically set between 85 and 95 degrees Celsius. The upfront cost runs 10 to 20 percent higher than basic alternatives, but you recover this investment within three to five years through extended lifespan and stable light output. Verify that the driver is rated for wide temperature ranges, ideally from minus 10 to 70 degrees Celsius, and confirm it uses high-quality thermal interface materials like ceramic pads or thermal paste between the LED chip and heatsink. These materials fill microscopic gaps and reduce junction temperature by 5 to 10 degrees Celsius compared to direct contact alone.
Install with Proper Clearance and Spacing
Installation technique determines whether your thermal design actually works in practice. Mount fixtures with at least three inches of clearance between the housing and surrounding insulation to allow air circulation, and never install non-IC-rated fixtures in contact with insulation regardless of how tight your ceiling space feels. Space multiple downlights at least 12 inches apart horizontally to prevent heat pockets where warm air becomes trapped between adjacent fixtures. Ensure cavity vents and perforations on the fixture housing remain unobstructed, and confirm that drywall, wood, or other materials don’t seal around the fixture rim.
Optimize Airflow in Commercial Installations
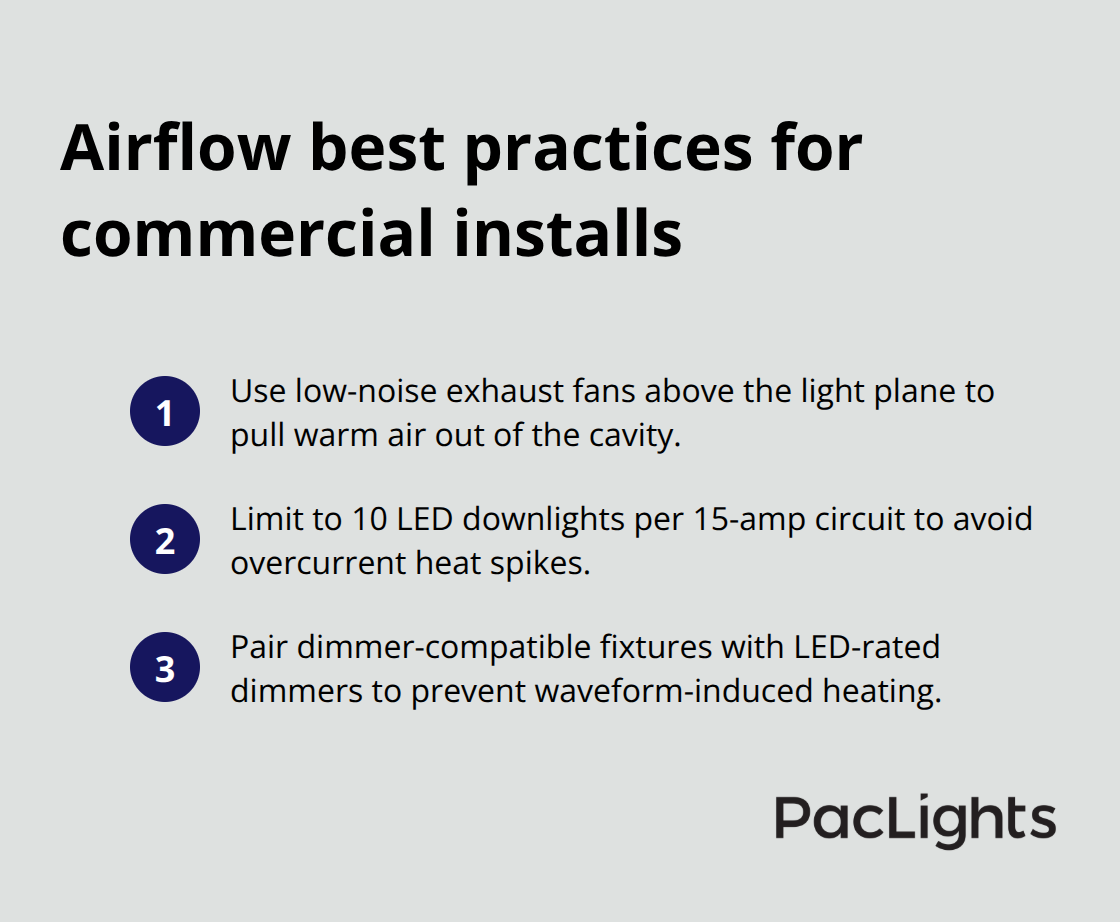
In drop ceiling installations, consider low-noise exhaust fans positioned above the light plane to actively pull warm air upward and out of the cavity, especially for commercial spaces with eight or more downlights on a single circuit. Keep circuit loads at a maximum of 10 LED downlights per 15-amp circuit to prevent driver stress and heat spikes from overcurrent conditions. Use dimmer-compatible LED fixtures paired with dimmers rated for LED loads to avoid the heat surges that occur when standard dimmers chop waveforms incompletely.
Verify Performance After Installation
After installation, measure surface temperatures with an infrared thermometer at the fixture trim ring; readings above 50 degrees Celsius indicate inadequate airflow and demand immediate ventilation improvements. These temperature checks reveal whether your installation strategy actually controls heat in the real environment. Once you confirm proper thermal performance, the next step involves establishing a maintenance routine that keeps heat dissipation working effectively throughout the fixture’s operational life.
Keep Heat Dissipation Working Over Time
Dust accumulation destroys thermal performance in flush mount downlights. After six months of operation, dust settles on heatsink fins and blocks airflow that would otherwise carry heat away from internal components. Vacuum fixture cavities and vents biannually with a soft brush attachment to restore airflow paths. If your fixtures sit in dusty environments like workshops or warehouses, increase cleaning frequency to quarterly. A 2-millimeter layer of dust reduces heat dissipation efficiency by 15 to 20 percent, meaning internal component temperatures rise 3 to 5 degrees Celsius unnecessarily. Use an infrared thermometer to spot-check trim ring temperatures before and after cleaning to confirm that dust removal actually improves thermal performance.
Beyond dust, inspect the thermal interface material between your LED chip and heatsink annually. If the fixture has run for three or more years, thermal paste or ceramic pads can dry out or compress, reducing thermal conductivity by 10 to 15 percent. Some manufacturers allow disassembly for TIM reapplication; others do not. Check your fixture documentation first. If reapplication is possible and internal temperatures have drifted upward by 5 degrees Celsius or more compared to initial readings, reapply thermal paste using a thin, even layer. This single maintenance step recovers 3 to 8 degrees Celsius of cooling performance.
Monitor Temperature Trends Over Time
Track surface temperatures monthly during the first six months after installation, then quarterly thereafter. Record readings at the same time of day and under consistent ambient conditions to identify gradual temperature creep that signals degrading thermal performance. If trim ring temperatures climb steadily from 40 degrees Celsius to 48 degrees Celsius over a year, internal component temperatures have likely risen proportionally. This trend warns you that cleaning or TIM reapplication is needed before color shift or brightness loss occurs.
Look for physical signs of thermal stress: discolored or yellowing trim rings, visible cracks in plastic housings, or solder joint failures on driver boards. These symptoms appear only after internal temperatures have exceeded safe limits for extended periods. If you spot them, the fixture already operates in a damage zone and replacement cannot wait. Measure driver casing temperature directly if your fixture design permits access; drivers should stay below 70 degrees Celsius under normal operation. Capacitors inside drivers degrade rapidly above 85 degrees Celsius, cutting their operational lifespan from 10,000 hours to as little as 5,000 hours. Temperature data from your monitoring routine provides concrete evidence for maintenance decisions and warranty claims if early failure occurs.
Adjust Installation When Performance Drifts
If monitoring reveals rising temperatures despite regular cleaning, your installation geometry may have changed. Furniture, storage boxes, or dropped ceiling panels sometimes shift and block ventilation slots around fixtures. Clear any obstructions within 12 inches of fixture housings to restore airflow. Insulation settling or shifting in attic spaces above fixtures can also trap heat. Inspect insulation annually to confirm it maintains the three-inch clearance from non-IC-rated fixtures or sits flush against IC-rated housings as designed.
In commercial spaces with multiple downlights, add low-noise exhaust fans above the ceiling plane to pull warm air upward and prevent thermal stratification that concentrates heat in localized zones. If eight or more fixtures share a single cavity with minimal ventilation, a single 100-CFM exhaust fan positioned above the fixture plane reduces average cavity temperatures by 4 to 8 degrees Celsius. Circuit redistribution also helps: if your original installation loaded 12 downlights onto a single 15-amp circuit, split them across two circuits to reduce driver stress and heat generation from sustained overcurrent conditions. These adjustments cost far less than replacing fixtures that failed prematurely from heat damage.
Final Thoughts
Flush mount heat management determines whether your downlights perform reliably for a decade or fail within two to five years. Internal component temperatures drive lifespan and efficiency far more than outer shell appearance, and a 10-degree Celsius rise in LED junction temperature cuts lifespan in half. Select fixtures with aluminum heatsinks and IC ratings for insulated ceilings, install them with proper clearance and unobstructed ventilation paths, and establish a maintenance routine that includes biannual cleaning and annual thermal interface material inspection.
Real installations prove this approach works across every facility type and climate condition. Facilities that implemented proper thermal management saw fixture lifespans extend beyond 50,000 hours with stable color output and consistent brightness, while energy consumption remained low because cooler components operate more efficiently. Maintenance costs dropped dramatically because thermal stress no longer triggered cascading component failures that would have required expensive replacements.
We at PacLights engineer our recessed downlights with advanced heat dissipation in mind, and we provide free lighting layout designs and ROI assessments to help you select fixtures matched to your specific installation conditions. Proper thermal management protects your investment and delivers years of dependable performance, whether you upgrade existing systems or design new installations from scratch.
Disclaimer: PacLights is not responsible for any actions taken based on the suggestions and information provided in this article, and readers should consult local building and electrical codes for proper guidance.