

Installing a recessed linear LED strip light transforms any space with clean, modern illumination. These fixtures provide superior energy efficiency compared to traditional fluorescent lighting.
We at PacLights see homeowners and contractors choosing this upgrade for kitchens, offices, and retail spaces. The installation process requires basic electrical knowledge and the right tools for professional results.
Tools and Materials Needed for Installation
Professional installation requires precision tools and quality materials. A reciprocating saw with 18-24 teeth per inch blades cuts clean lines in drywall without jagged edges that require extensive patches. Digital calipers that measure within 0.1mm accuracy deliver the precision you need for channel cuts. The National Electrical Manufacturers Association reports that electrical accidents frequently occur when circuits aren’t properly verified as dead, which makes non-contact voltage testers mandatory safety equipment. Laser levels prevent costly rework and maintain straight fixture installations, while heavy-duty clips rated for over 50 pounds securely hang fixtures and prevent installation failures.
Power Supply Requirements
Calculate your power requirements with precision. A 5-meter LED strip that consumes 14.4W per meter needs a minimum 90W power supply with 20% overhead capacity. Voltage must stay within 5% of rated specifications to prevent premature LED failure. Industry data shows that proper power calculations extend fixture life significantly and maintain consistent light output throughout the installation.
Electrical Components and Connectors
Wago 221 connectors eliminate 60% of LED-related connection failures according to industry data. These connectors provide secure wire joints that resist looseness over time. Purchase electrical boxes that comply with local codes and consult your building department before purchase to avoid project delays. Non-contact voltage testers verify circuits are dead before you begin work (a safety step that prevents most electrical accidents).
Installation Hardware
Aluminum channels dissipate heat effectively and prevent LED hotspots that reduce lifespan. Choose channels with appropriate IP ratings – IP65 or higher for moisture-exposed areas like bathrooms. Wire strippers, tape measures, and brackets complete your material list. Smart controls can reduce operational costs by 30% through automation, but verify compatibility with your LED specifications before purchase.
Quality Materials for Long-Term Performance
Professional-grade installations typically deliver 50,000 hours of operation with 80% energy savings compared to fluorescent fixtures. Heavy-duty materials resist wear and maintain performance over decades of use.

Quality components cost more upfront but eliminate frequent replacements and service calls (which saves money long-term). With your tools and materials ready, the next step focuses on proper measurement and layout techniques.
Step-by-Step Installation Process
Plan Your Layout and Measurements
Start with accurate ceiling measurements and use a laser level to mark straight lines across your installation area. Space fixtures 4-6 feet apart for even light distribution. Position fixtures 18 inches from walls to create effective light wash and minimize shadows. Mark cut locations with a template to prevent sizing errors that lead to costly ceiling patches.
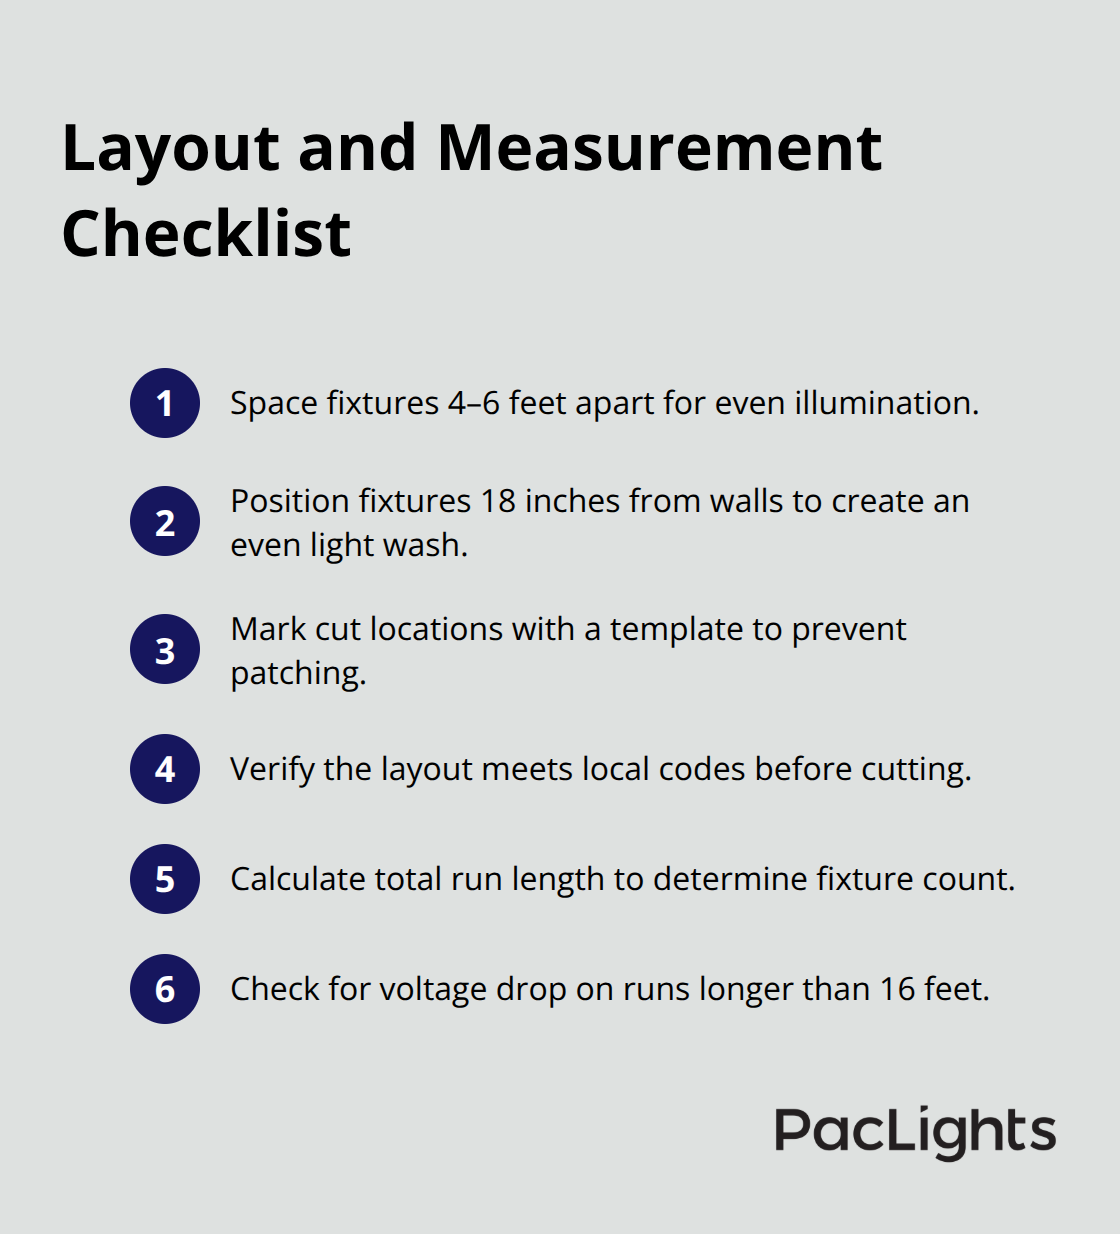
The National Electrical Code requires all LED installations meet local compliance standards, so verify your layout with local codes before you cut. Calculate your total run length to determine how many fixtures you need. Check whether voltage drop will affect brightness on runs longer than 16 feet (excess resistance can diminish LED brightness significantly).
Cut Ceiling Openings and Prepare the Area
Turn off power at the breaker and verify circuits are dead with your non-contact voltage tester before you cut. Use your reciprocating saw with 18-24 teeth per inch blades to cut precise openings without jagged edges. Make clean cuts to avoid extensive patching work later.
Cut LED strips only at marked points to avoid interruption of internal circuits that prevent proper function. Install aluminum channels immediately after you cut to protect against dust and moisture while heat dissipation extends LED lifespan. Check ceiling clearance for IC-rated fixtures that prevent heat buildup and insulation damage.
Wire and Connect the System
Connect LED strips to power supplies with Wago 221 connectors that eliminate connection failures responsible for 60% of LED-related issues. Match wire colors precisely and secure all connections before you test. Install dimmers rated for LED loads with 20% overhead capacity to prevent flicker during dimming transitions.
Test each fixture at full brightness and dimmed settings to verify smooth operation. Motion sensors compatible with LED technology can reduce energy consumption by 30% in low-traffic areas when you integrate them properly into your control system.
Test and Verify Performance
Check voltage levels stay within 5% of rated specifications to prevent premature LED failure. Verify all connections are secure and test the complete system before you close up ceiling openings. Look for any flicker or uneven brightness that indicates loose connections or compatibility issues.
Document your installation layout and keep records of fixture locations for future maintenance. With your recessed linear LED strips installed and tested, proper safety protocols become essential to protect both the installation and anyone who works on the system.
Safety Considerations and Best Practices
Electrical Safety and Code Compliance
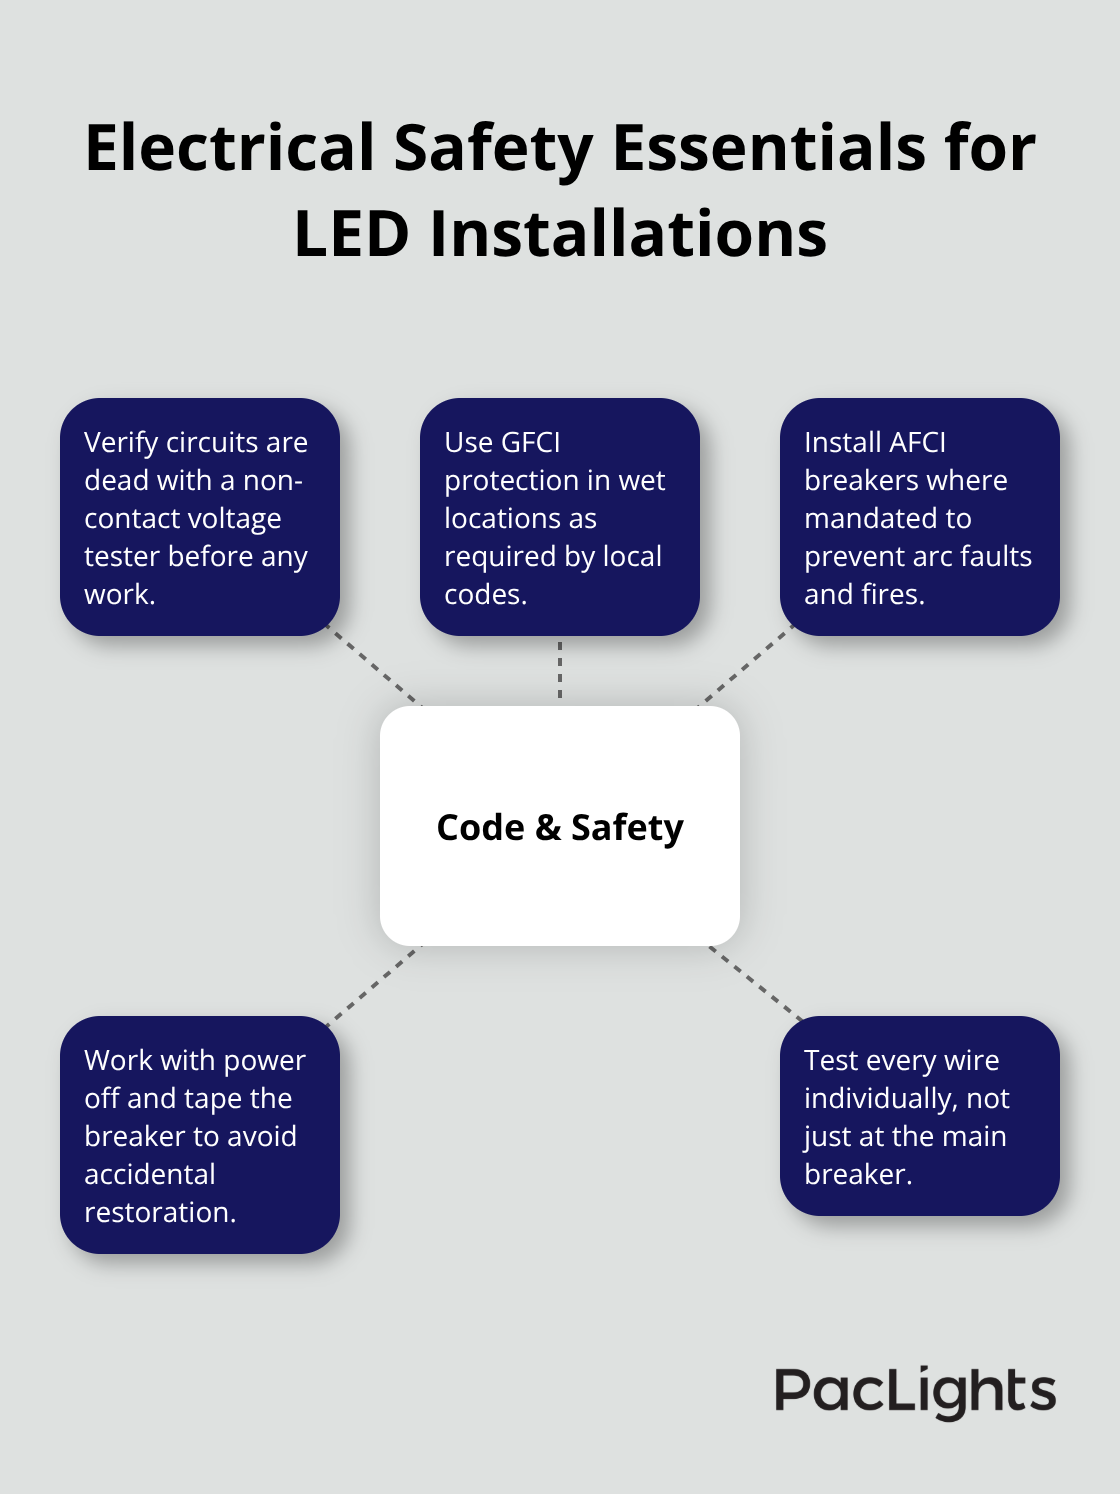
Electrical safety starts with proper circuit verification. Use non-contact voltage testers before you touch any wire. The National Electrical Manufacturers Association reports that most electrical accidents occur when workers assume circuits are dead without proper testing. Test every wire individually, not just the main circuit breaker.
Local building codes require GFCI protection for LED installations in wet locations like bathrooms and kitchens. Install AFCI breakers where codes mandate them to prevent arc faults that cause electrical fires. Work with the power completely off at the breaker panel and tape the breaker in the off position to prevent accidental restoration.
Install proper electrical boxes rated for LED fixture weights and verify they meet local code requirements. Aluminum wiring requires special connectors and techniques that differ from standard copper installations. Check your local electrical code for specific LED installation requirements because violations can void insurance coverage and create safety hazards.
Component Handling and Installation Best Practices
Handle LED strips with clean, dry hands to prevent oils from damaging the semiconductor junctions. Static electricity can destroy LED components instantly, so ground yourself before you handle strips or drivers. Cut LED strips only at designated cut points marked on the strip to avoid internal circuit damage.
Store LED components in anti-static bags when not installing to prevent damage from electrical discharge. Install LED drivers in ventilated areas where ambient temperature stays below 104°F (heat reduces driver lifespan significantly). Mount drivers at least 6 inches from LED fixtures to prevent heat transfer that shortens component life.
Use wire nuts rated for the specific wire gauge and current load rather than generic connectors that can fail under thermal cycling. This prevents connection failures that account for most LED system problems over time.
Testing and Troubleshooting Methods
Test LED installations systematically. Start with voltage measurements at the driver output. Voltage should remain within 5% of rated specifications or LEDs will fail prematurely. Flickering indicates loose connections or incompatible dimmers, so check all wire joints with gentle tugging to verify security.
Use only dimmers rated for LED loads with 20% overhead capacity to prevent compatibility issues. Check for voltage drop on runs longer than 16 feet with a digital multimeter because excessive resistance reduces brightness significantly.
Clean LED fixtures monthly with microfiber cloths because dust accumulation can reduce brightness by 15% over six months according to lighting industry studies. Document all connection points and driver locations for future maintenance because loose fittings develop over time and cause flickering problems.
Final Thoughts
Professional recessed linear LED strip light installation delivers 50,000 hours of operation with 80% energy savings compared to fluorescent fixtures. Smart controls and motion sensors reduce operational costs by 30% through automated management. These systems transform spaces with modern aesthetics while providing substantial long-term value.
Monthly cleaning with microfiber cloths prevents the 15% brightness reduction that dust accumulation causes over six months. Annual connection checks prevent loose fittings that develop over time and create flickering issues. Document driver locations and connection points for efficient future troubleshooting (this saves time during maintenance calls).
Licensed electricians handle installations with GFCI requirements, aluminum wiring, or complex control systems to prevent code violations. Professional installation protects insurance coverage and eliminates safety hazards from improper electrical work. We at PacLights provide commercial and industrial LED lighting solutions with energy-efficient fixtures that reduce costs and carbon footprints for decades of reliable illumination.
Disclaimer: PacLights is not responsible for any actions taken based on the suggestions and information provided in this article, and readers should consult local building and electrical codes for proper guidance.