

Flush mount downlights have become the standard for modern lighting design, and for good reason. They blend seamlessly into ceilings while delivering consistent, quality light across any room.
At PacLights, we’ve seen how the right downlight placement transforms spaces-from residential bedrooms to commercial offices. This guide walks you through practical applications, installation strategies, and the real cost savings LED technology delivers.
Where to Install Flush Mount Downlights for Maximum Impact
Living Rooms and Bedrooms
Living rooms need ambient lighting that feels natural without overwhelming the space. Space flush mount downlights 6–8 feet apart in a grid pattern to eliminate dark corners while maintaining a visually clean ceiling. A 12×15 foot living room typically requires 4–6 fixtures with 2,000–2,500 lumens each at 2700K color temperature for warmth. Bedrooms work best with dimmable fixtures positioned away from the bed to prevent direct glare. Place them 3–4 feet from walls and use 1,500–2,000 lumens at the same warm temperature to create a restful environment.
Kitchens and Bathrooms
Kitchens reveal the true value of downlights for task lighting. Position fixtures directly over countertops, islands, and sinks at 18–24 inch spacing to eliminate shadows on work surfaces. Kitchen downlights should deliver 3,000+ lumens at 4000K or higher for clarity and accurate food preparation. Bathrooms require moisture-resistant fixtures with UL Damp or UL Wet ratings to handle humidity safely. Center them over vanities and in shower areas, spacing them 4–6 feet apart with 1,500–2,000 lumens at 3000–4000K to balance task lighting with flattering illumination.
Commercial Spaces and Offices
Commercial spaces and offices demand uniform, flicker-free lighting that reduces screen glare. Space downlights 8–10 feet apart in straight rows above workstations and aisles, targeting 3,500–4000K color temperature and 2,500–3,500 lumens per fixture to maintain productivity without eye strain. Retail environments need flexible positioning to highlight merchandise; use 4000–5000K fixtures spaced 6–8 feet apart with adjustable beam angles to control where light falls on products. Healthcare facilities and educational spaces require reliable, long-lasting fixtures positioned 6–8 feet apart with neutral 4000K temperature and 2,500+ lumens for visibility without flicker that disrupts concentration.
Hallways, Entryways, and Motion-Sensor Applications
Hallways and entryways work best with compact, low-profile downlights spaced 10–12 feet apart. Motion sensors paired with these fixtures (especially in spaces with intermittent traffic) reduce energy waste significantly. This combination proves particularly effective in commercial corridors and residential passageways where occupancy varies throughout the day. The spacing and sensor integration create both convenience and measurable cost reductions over time.
Matching Fixtures to Room Requirements
The key across all applications is matching fixture spacing to room size, lumen output to task requirements, and color temperature to the mood or function of the space. These three variables work together to transform how a room feels and functions. Once you understand these principles, the next step involves the technical details of installation-how to position fixtures correctly within your existing ceiling structure and what tools and methods work best for different ceiling types.
Design and Installation Best Practices
Spacing Fixtures for Even Light Distribution
Proper spacing determines whether your downlights deliver even illumination or create dark zones that defeat the purpose of the installation. The formula is straightforward: divide your room’s length and width by the spacing distance you’ve chosen. A 20-foot by 16-foot kitchen with 4-foot spacing requires 5 fixtures across and 4 fixtures deep, totaling 20 fixtures minimum. Spacing fixtures too far apart (beyond 10 feet in most residential settings) leaves shadows between them; spacing them too close wastes money and creates excessive brightness. For retrofit installations in existing ceilings, measure twice before cutting holes. Mark the center of each planned fixture location with a pencil, then verify spacing with a tape measure running the full length and width of the room. This prevents the frustration of discovering misalignment halfway through installation.
Selecting Color Temperature for Your Space
Color temperature works hand-in-hand with spacing to create the atmosphere you want. A 2700K warm white in a living room at proper spacing feels inviting; the same 2700K in a kitchen makes food preparation harder because warm light masks color details. Kitchens and bathrooms need 4000K or higher for task visibility, while bedrooms and living areas benefit from 2700–3000K. The mistake most people make is selecting color temperature without considering the fixture count and lumen output together. Twenty fixtures at 2700K and 2000 lumens each creates a bright, warm living room; the same setup in a bedroom feels overwhelming unless you add dimming.
Dimming and Brightness Control
Dimming capability matters more than fixture count for residential spaces. A bedroom with 4 dimmable 2700K downlights at 2000 lumens each outperforms 6 non-dimmable fixtures because you control the light level to match the time of day. For commercial spaces, 4000K is the safe standard across offices, retail, and healthcare facilities because it balances visibility with comfort over 8+ hour workdays. Dimming transforms how residents experience their spaces throughout the day, shifting from task-focused brightness in the morning to relaxed ambiance in the evening.
Matching Fixtures to Existing Housings
When retrofitting over existing recessed housings, verify the housing diameter matches your new fixture. A standard recessed housing is 4 inches or 5 inches in diameter; flush mounts sized for 4-inch housings won’t fit 5-inch cavities without adapters. Some contractors recommend conversion rings to bridge this gap, but these create the visual clutter you see in DIY forums. A better approach is selecting a flush mount fixture sized to match your existing housing from the start, eliminating the adapter entirely. This strategy saves time, reduces costs, and preserves the clean ceiling aesthetic you want. Once you’ve planned your spacing and selected the right color temperature and fixture sizes, the actual installation process depends on whether you’re working with new construction or retrofitting into an existing ceiling structure.
Why LED Downlights Deliver Real Cost Savings
Energy Consumption: The Numbers That Matter
LED flush mount downlights cut energy consumption dramatically compared to incandescent or halogen alternatives. A single 60-watt incandescent bulb in a downlight fixture draws 60 watts continuously; an equivalent LED downlight uses 8–12 watts for the same brightness. In a kitchen with 20 downlights running 5 hours daily, switching from incandescent to LED saves approximately 24,000 watt-hours annually, translating to roughly $240–$300 per year on electricity bills depending on local rates. Over a 10-year period, that’s $2,400–$3,000 in energy savings from one room alone.
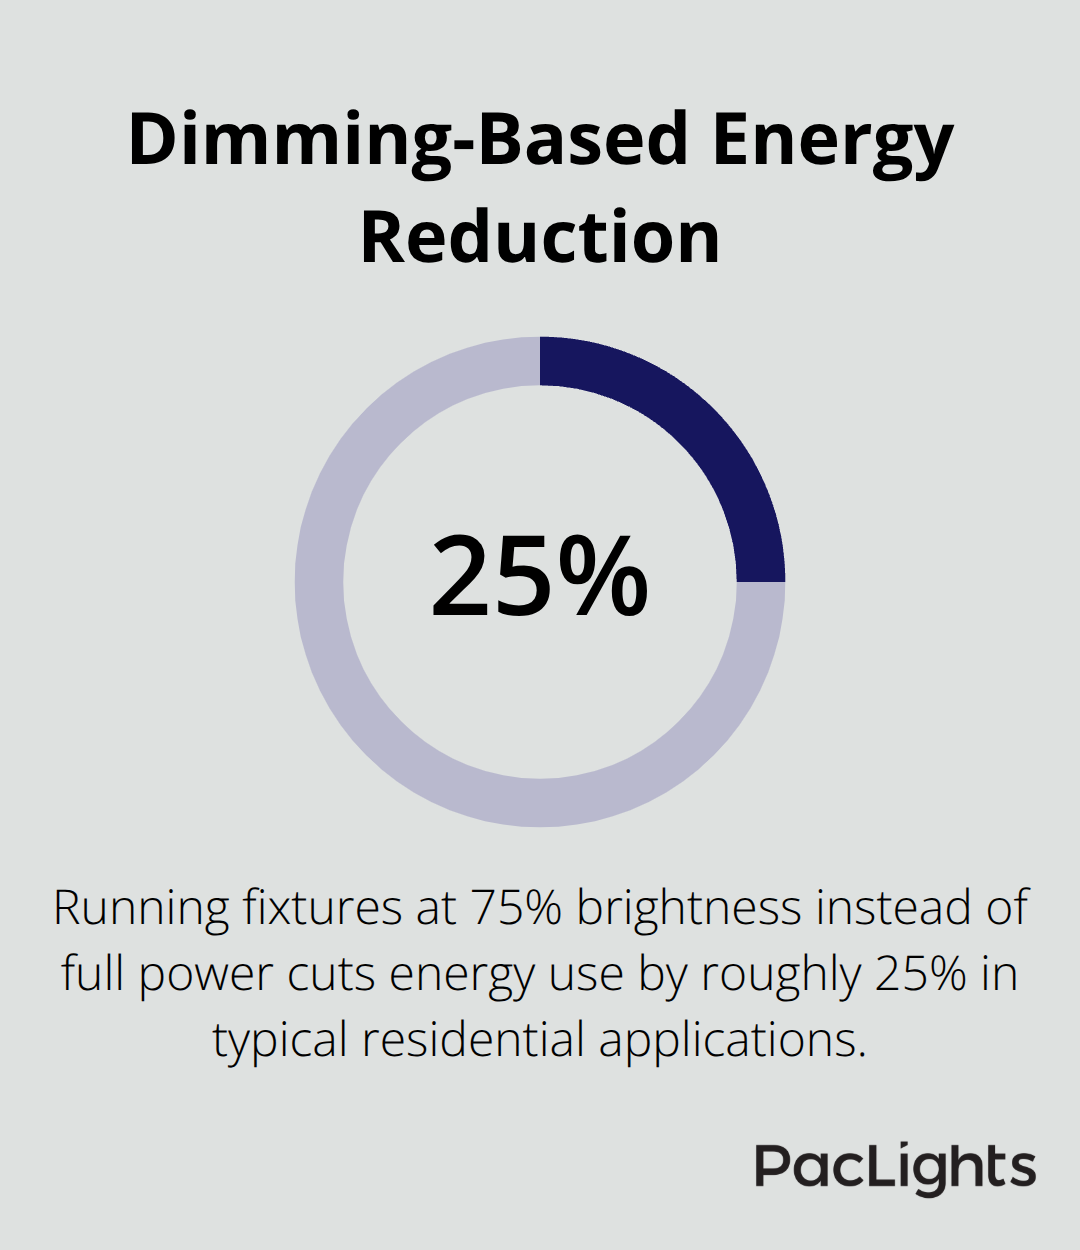
LED downlights reach full brightness instantly without warm-up time, unlike some older technologies, and they produce minimal heat, which reduces cooling costs in summer months. The efficiency gains compound when you control brightness with dimming; running fixtures at 75% brightness instead of full power cuts energy use by roughly 25% without noticeably reducing light quality in most residential applications.
Maintenance Costs and Lifespan Advantages
Long-term maintenance costs favor LEDs heavily because they last 50,000 hours or more compared to 1,000–2,000 hours for incandescent bulbs. This means replacing an LED downlight once every 10–15 years instead of every 6–12 months. Labor costs disappear when you stop climbing ladders every season to swap out burned-out bulbs, and bulk purchasing replacement fixtures costs less than constant incandescent replacements.
Smart Controls Amplify Your Savings
Smart dimming controls and motion sensors amplify savings further by eliminating wasted light in hallways, commercial corridors, and spaces with variable occupancy. A motion-sensor downlight in an office hallway runs only when someone is present, reducing daily runtime from 10+ hours to 2–3 hours, cutting energy use by 70–80% in that zone. Networked lighting controls allow facility managers to adjust brightness and color temperature across entire buildings remotely, optimizing energy for different times of day without manual intervention. Advanced lighting controls (such as networked systems) maximize these efficiency gains while giving you precise control over your lighting investment.
Final Thoughts
Flush mount downlight applications transform how modern rooms function and feel by solving real problems through proper spacing, color temperature selection, and dimming control. A kitchen with 20 fixtures running 5 hours daily saves $240–$300 annually on electricity alone, reaching $2,400–$3,000 over ten years, while LEDs lasting 50,000 hours eliminate the constant bulb replacements that plague incandescent systems. Motion sensors in hallways and commercial corridors cut energy use by 70–80% in those zones, and smart controls amplify savings further by adjusting brightness automatically based on occupancy patterns.
Modern rooms benefit most from layered lighting that combines ambient downlights with task-specific fixtures and accent lighting to match light levels to different activities without over-illuminating your space. Whether you renovate a residential kitchen, upgrade an office, or design a retail environment, flush mount downlights provide the foundation for efficient, functional lighting that adapts throughout the day. The financial case is straightforward: you reduce electricity costs, eliminate maintenance labor, and gain precise control over how your spaces feel and perform.
We at PacLights help you assess your lighting needs and calculate your potential savings through free lighting layout designs and ROI assessments tailored to your specific space and budget. Our team guides you through fixture selection, spacing strategies, and control options to make informed decisions about your upgrade.
Disclaimer: PacLights is not responsible for any actions taken based on the suggestions and information provided in this article, and readers should consult local building and electrical codes for proper guidance.